INSTALLATION
2 - 2
I-E96-416B
®
UNPACKING AND INSPECTION
These are steps to follow for general handling:
1. Examine the unit to make sure that no damage has
occurred in transit.
2. Notify the nearest Bailey Controls Sales/Service Office of
any damage.
3. File a claim for any damage with the shipping company
that handled the shipment.
4. Use the original packing material or container to store the
unit.
5. Store the unit in a place with clean air; free from extremes
of temperature and humidity.
SETUP/INSTALLATION
This section explains how to configure and install the NTAI05
termination unit. The required procedures are cutting the dip-
shunts, installing the termination unit, and connecting the
field wiring and termination cables.
Dipshunt Settings
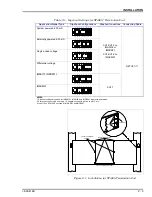
The dipshunts select the input type to match the device con-
nected to the termination unit. Each channel is independent.
The selections include voltage or current input, differential or
single ended, system or externally powered. Set the dipshunts
according to the instructions for the slave and input type used.
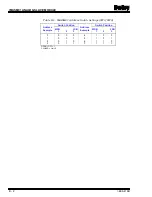
Refer to Table
for an example of dipshunts.
Physical Installation
NOTE: This section provides data to install the termination unit only.
For more slave information, refer to the instruction manual for the
slave module used.
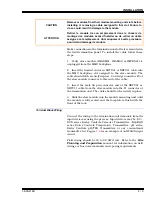
The termination unit mounts on a standard NFTP01 Field Ter-
mination Panel. Figure
shows how to secure the termina-
tion unit to the field termination panel. To install:
1. Insert the termination unit tabs into the slots in the outside
edge of the termination panel.
2. Mount the termination unit to the field termination panel
with two number 10, ¾-inch screws. Do not over tighten the
screws.

