


RADIO TROUBLESHOOTING
AXTC SERIES
REV
. 6/13/19
© COPYRIGHT 2019 METRA ELECTRONICS CORPORATION
Integrate •
AxxessInt
erfaces.com
If the AXTC interface’s LED light didn’t go out at the end of the radio programming sequence, or showed the wrong radio installed*, follow the
steps below to trace down where the problem may lie. The final LED feedback light will also flash
Red
slowly or turn solid
Red
, instead of turning
solid
Green
. If any of the following steps are performed, reset and reprogram the interface per the vehicle specific document. Take note where
SWC is worded means Steering Wheel Control.
* Reference the
Radio LED Feedback
table at the end of this document.
The 3.5mm jack from interface should be plugged into the
SWC Input
from the radio. Make sure it isn’t
plugged into the
Bluetooth Mic
or
AUX Input
. If unsure which input to use, refer to the manual provided with
the radio, or contact the radio Manufacturer.
Note:
Some radios use a wire an for SWC instead
Reference the
Radio LED Feedback
table. Boss, Clarion, and Eclipse have different radio types and the wrong
radio type may have been auto detected. Reference the
Changing Radio Type
document to change the radio
type. Also refer to the radio specific troubleshooting steps on the following page.
If all troubleshooting steps have been performed and the interface still doesn’t go solid
Green
at the end of
the final programming sequence,
update
the interface to the latest firmware, then try programming once
more. If the interface still doesn’t go solid
Green
, contact Tech Support at 1-800-253-TECH. Take note to
be prepared to perform some tests in the vehicle when you contact Tech Support, and have the
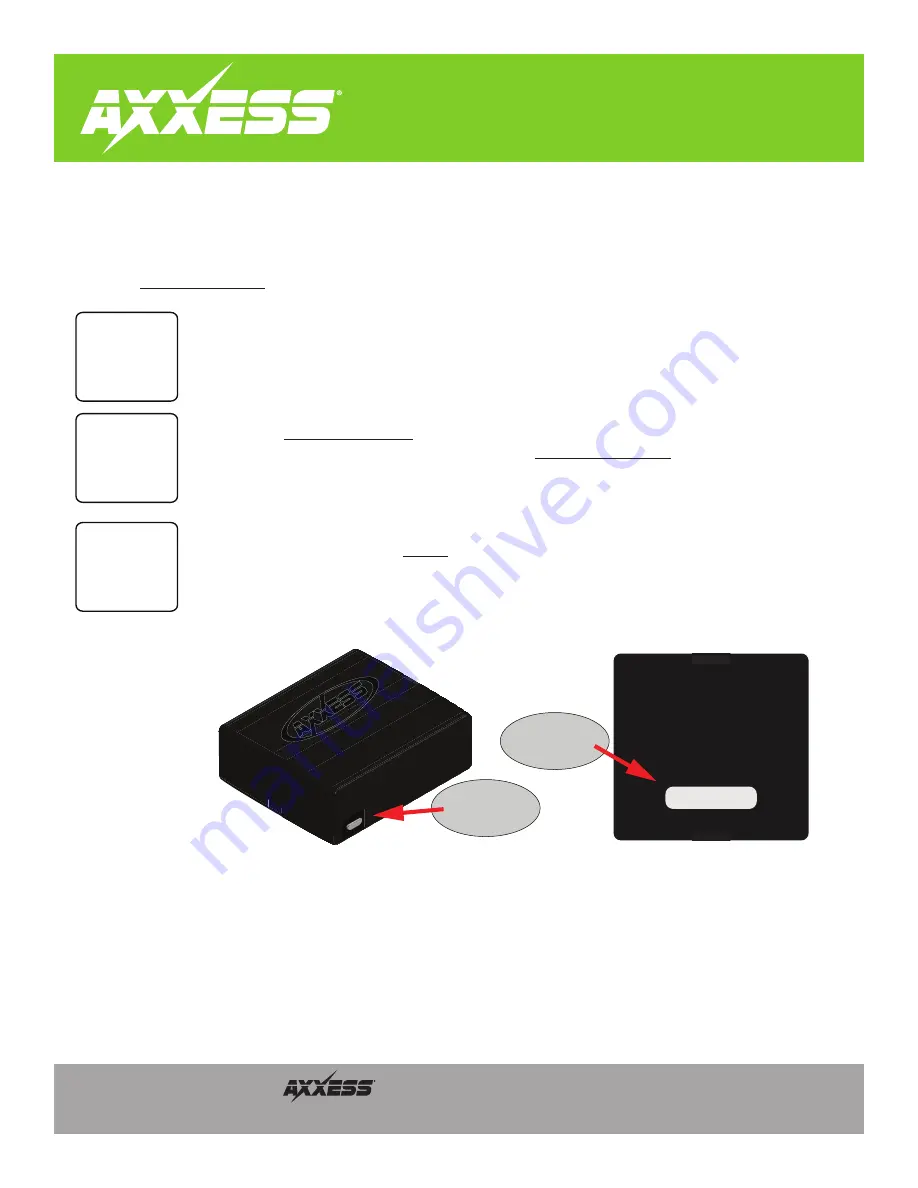
Product ID
Number
on the bottom of the interface noted.
Is the
3.5mm jack
connected?
Was the
correct
radio type
detected?
Update
the
interface
Back of interface
Continued on the next page
XXXX-XXX-XXXX
Update
Port
Product
ID Number


