


11
For DHCP:
a) Before selecting this option, you need to finish the DHCP router settings first.
Get a router and connect it to the Internet via your computer (with Static IP or PPPoE setting). There
are different setting methods for different routers. Please refer to their respective user manuals.
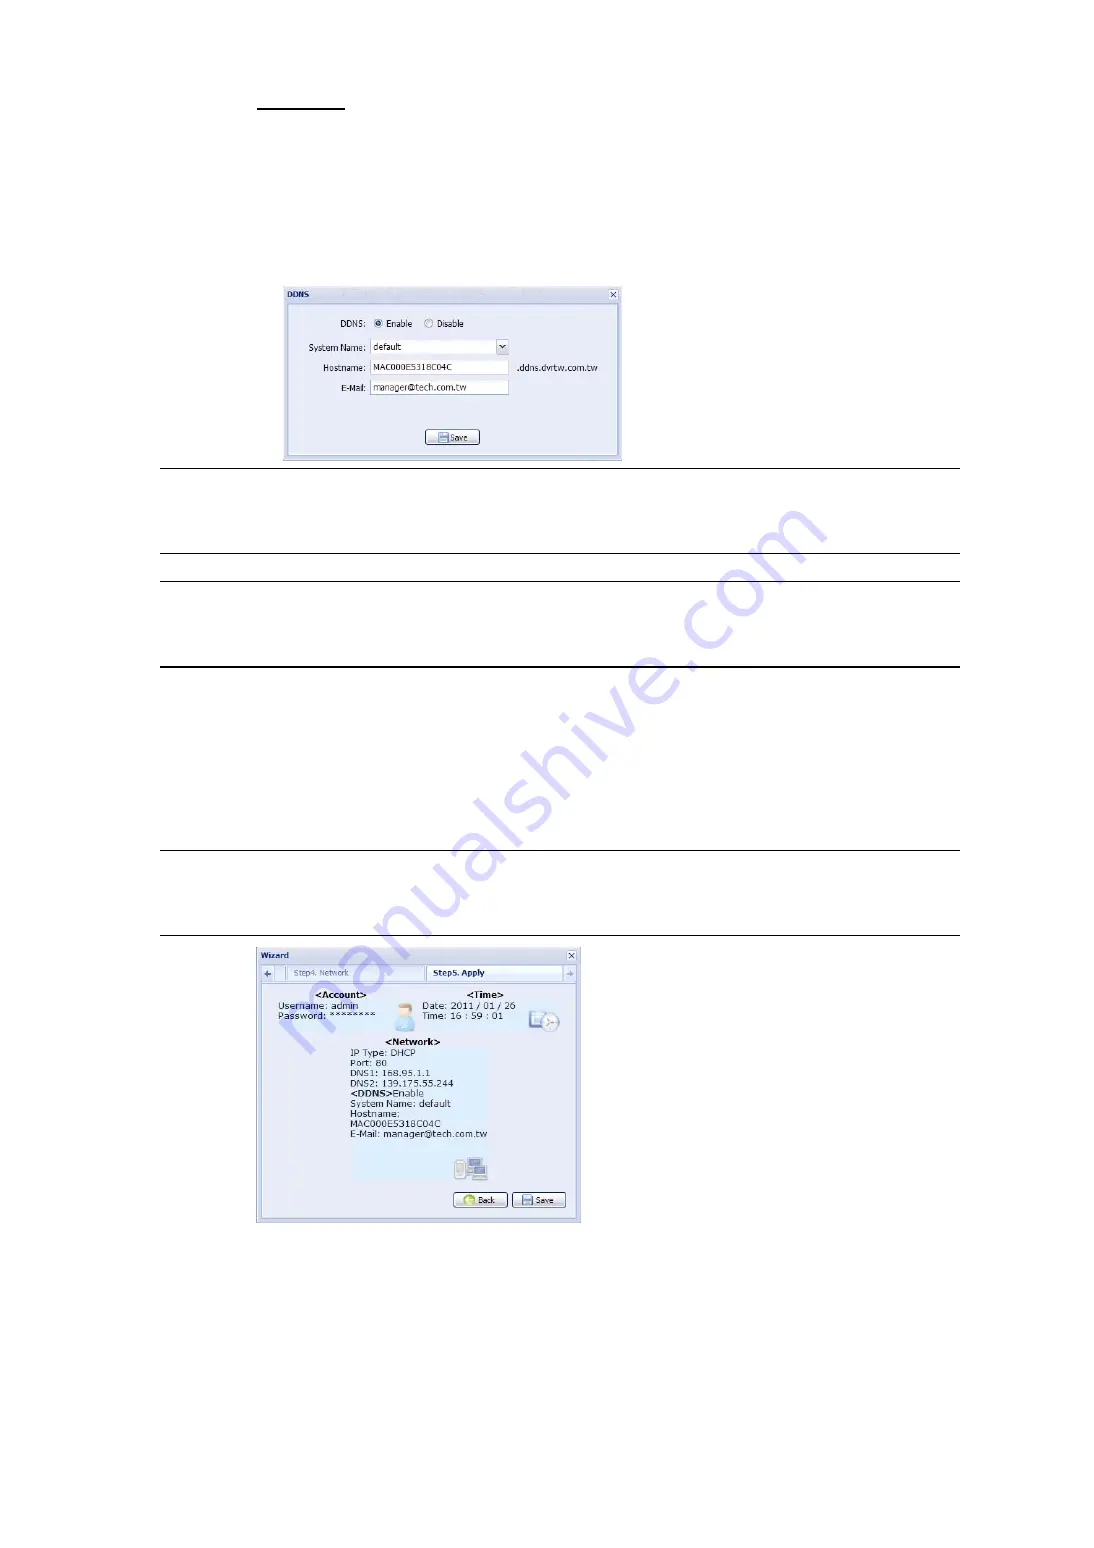
b) Continue the DDNS setting by clicking the “DDNS” button, as reminded in this page.
- Select “default” in “System Name”.
- In “Hostname”, keep the default value, i.e. the MAC address of this camera. Then, note down the
whole address of the camera, for example, MAC000E5318C04C.ddns.dvrtw.com.tw.
- (Optional) Enter your email address to receive messages from the DDNS server.
Note:
Please at least use the default address to access your DVR remotely once. This is
to ensure our DDNS server has your DVR registered. Then, you may change the
host name to a more meaningful name to memorize later here.
Note:
You can also create a DDNS account from a website which provides free DDNS
service. For details, please refer to “APPENDIX 1 CREATING AN ACCOUNT FOR
DDNS SERVICE” at page 12.
c) Select “Save” and return to the wizard.
Step7: In “Apply”, all the changes are listed. Check if the changes are correct.
‧
If yes, click “Save”.
‧
If no, click “Back” to where the changes should be made for modification, and click “Save” to apply the
settings.
You will be prompted to restart your web browser for network setting changes.
Note:
You can also change the settings in the system configuration page via your web
browser later. For details, please refer to “5. ACCESSING THE CAMERA VIA WEB
BROWSER” in the user manual.
Step8: Click “Save” and log out. Then, disconnect your camera and your PC, and connect them
to Internet separately.
Step9: Enter the host name you just note down in the URL address box of the web browser, and
see if you can access the camera successfully.


