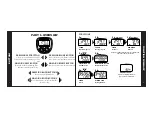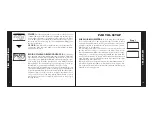
CLOCK SETUP.
The display shows ‘12 hr’ indicating that the clock
will display in 12 hour format. Press the left button to change to 24 hour
format. Press the right button to exit to clock set.
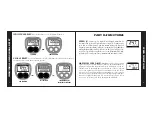
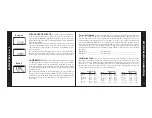
SET CLOCK HOUR.
The hour digits blink. Advance them by press-
ing the left button. At the correct hour press the right button.
SET CLOCK MINUTE.
The minute digits blink. Advance them
rapidly by holding the left button, or one at a time by pressing the left
button. At the correct minute, exit setup by pressing the right button.
SETUP-STEPS 3 & 4
13
SETUP-STEPS 5, 6, & 7
14
PM
P
PM
P
Step 3
Step 4
Step 5
Step 6
Step 7
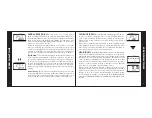
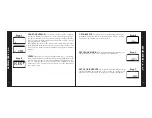
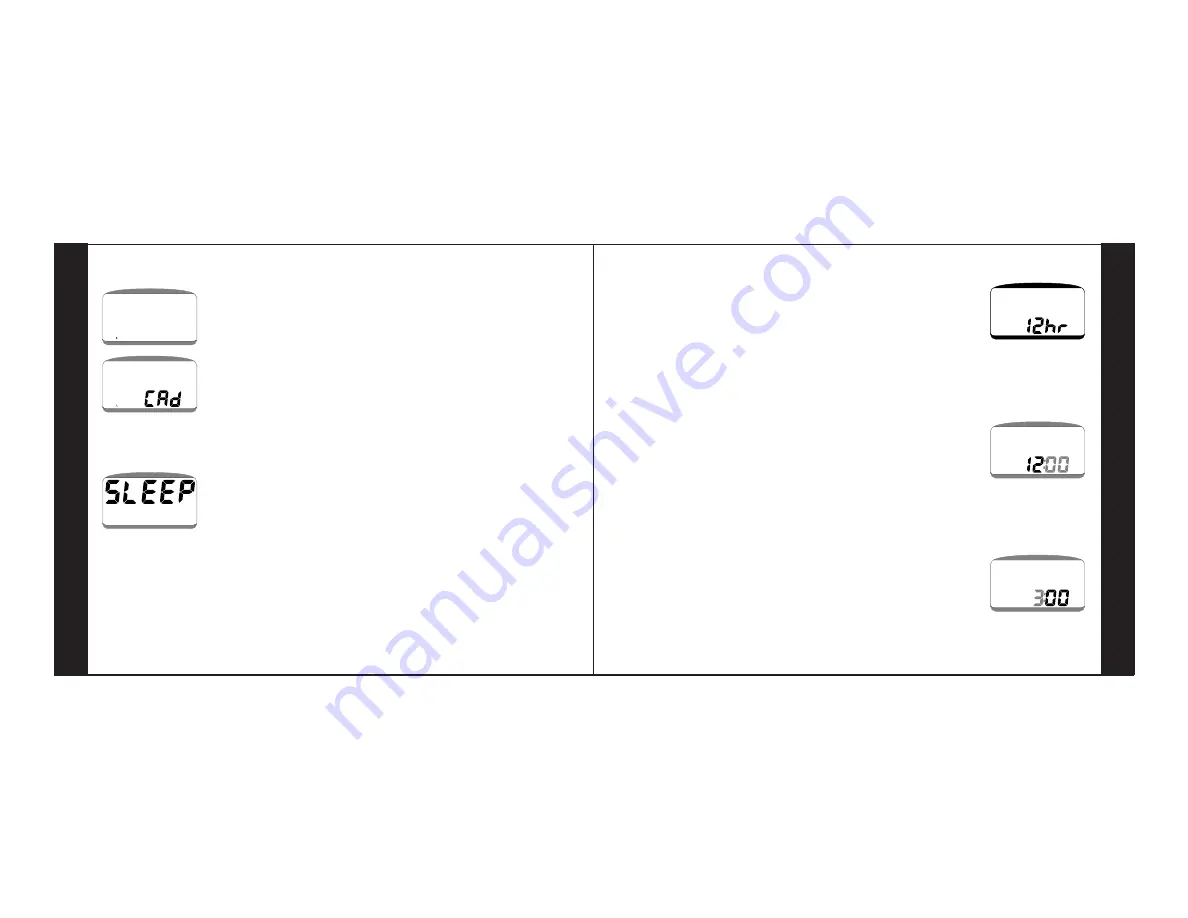
CADENCE SELECT.
All Cyclometer 45tt's are capable of display-
ing cadence. However, you must have a cadence mount if you want to use
the cadence function. If your Cyclometer package is marked ‘Gear/Ca-
dence’ you have the cadence mount. If you don't have a cadence mount,
you can purchase it separately.
When ‘RPM’ appears, press the left button to activate Cadence. ‘CAd’
shows indicating that Cadence is activated. If you activate Cadence, and
you don't have a cadence mount, no reading will display in the Cadence
function.
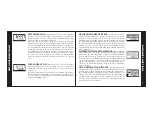
SLEEP
.
Ignore this step and press the right button to go to clock setup.
Later, if you don't intend to use the Cyclometer for more than two months,
return to setup. Advance to step 4 when ‘SLEEP’ is displayed and stop.
The screen will go blank in 1 to 2 hours and power consumption will be
reduced up to 50%. To activate the Cyclometer, press the right button
and complete setup.


