background image

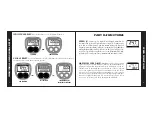
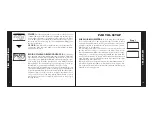
TRIP DISTANCE (D).


Trip distances up to 199.99 miles are displayed

with 0.01 resolution and from 200.0 to 1999.9 with 0.1 resolution. The
display freezes when it reaches 1,999.9 miles. Reset individually by pressing
both buttons when trip distance is displayed.
Most riders measure trip distance for an entire ride and zero the display
with a global reset before they start riding. The high resolution of the Cy-
clometer 45tt's Trip Distance display, and the Cyclometer's excellent low-
speed sensitivity give extremely accurate trip distances–but only if the unit
is calibrated precisely with an accurately measured tire circumference. See
setup instructions for the method for accurately measuring circumference.
Use the Cyclometer 45tt's Trip Distance function to follow a route slip or
to create a route slip for a tour with exact distances to turns and land-
marks. In racing, Trip Distance will tell you how far you are into the
course.

TOTAL DISTANCE (D).


Whole miles up to 19,999 are displayed.

After accumulating 19,999 miles the display freezes. Reset or adjust in
Total Distance Setup. To record yearly mileage, reset before your first ride
of a new year.
If you have accumulated over 12,500 miles total distance, then change
your Cyclometer to display kilometers, you will exceed the display capac-
ity of 19,999. However this distance will be retained and will be displayed
again upon returning to miles.

DIST

ANCE FUNCTIONS

7

DIST

ANCE FUNCTIONS

8

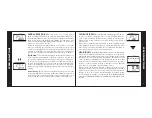
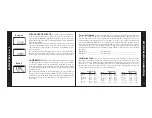
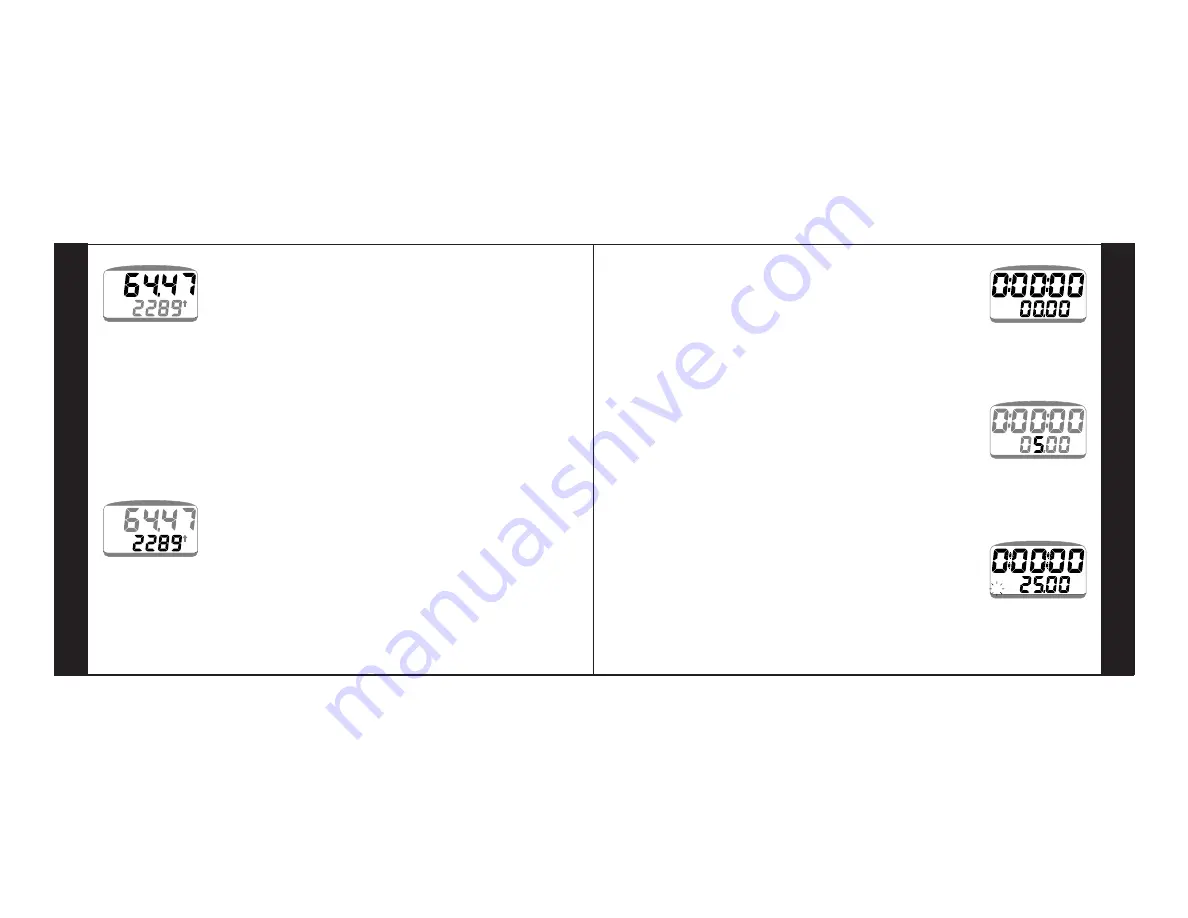
DESTINATION DISTANCE/TIME.


Press the left button in the

Trip/Total Distance function to reach Destination Distance. Destination
distances of up to 199.99 miles can be entered into the Cyclometer 45tt
and will begin to count down when the function is turned on by pressing
the left button. When the function is turned on, the “D” and the colons in
the time display flash. After distance reaches zero, negative distance accu-
mulates to -9.99 mi. At -9.99 the function resets to zero and turns off. The
upper display shows the time during which the destination distance has
been counting down.

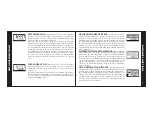
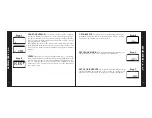
ENTERING DESTINATION DISTANCE.


In the destination

distance function hold down the left button until the lower right digit
flashes (3 seconds). Enter hundredths of a mile by pressing the left button.
Press the right button to go to tenths of a mile, whole miles, and tens of
miles. You can also enter 100 miles, but note that no number flashes until
you press the left button to enter 1 in the hundreds position. If you don't
enter a 1 in the hundreds position, you must press the right button twice to
complete your entry. When the entry is complete the lower screen flashes
once to confirm.

USING DESTINATION DISTANCE. 

In a time trial, you can

enter the course distance in advance, then activate the function at the start
line. Timing does not begin until the wheel turns. The relationship be-
tween remaining distance and elapsed time is constantly displayed so you
can apportion your effort. At the finish, lock in the time and distance by
pressing the left button. On any touring or training ride you can enter the
distance to a town, landmark, or ride's end from a map, road sign, or from
data collected by your Cyclometer.

D

mi

D

mi

D

mi

D

mi

D

mi

Содержание 45tt

Страница 1: ...vocet com service html or by calling 650 470 0478 Warranty claims are to be sent to the Service Center by the owner not by the retail store where the Cyclometer was purchased Include a description of the problem Only the original dated cash register or charge card receipt will be accepted for proof of purchase date no exceptions Send your Cyclometer freight prepaid to the Service Center at the add...

Страница 2: ...timer and changes setup data FUNCTIONS 2 1 HOLDING LEFT BUTTON Reaches Gear Inch and Riding Time In Setup reaches Distance Setup BUTTONS FUNCTION SUMMARY L R R L L V mi AV V MX mi V mi PM P mi PM P SPEED Maximum Speed SPEED Cadence GEAR INCH Cadence SPEED Average Speed D mi mi TRIP DISTANCE Total Distance TIMER Clock RIDING TIME Riding Distance 1a 2a 1b 3a 3b 1d OPTIONAL 1c OPTIONAL D mi L L DESTI...

Страница 3: ...speed climbing or while walking unridable trails Speed data is on line and not clipped or av eraged The speed display is updated every second With immediate high precision speed you can gauge your performance and smoothness clearly MAXIMUM SPEED MX Maximum speeds of up to 400 0 mph or km h are recorded with 0 1 resolution Reset individually by pressing both buttons when maximum speed is displayed ...

Страница 4: ...fic lights or rest stops on long rides such as centuries will not reduce your average speed SPEED FUNCTIONS 6 CADENCE RPM OPTIONAL REQUIRES CADENCE MOUNT KIT Cadence the rate of pedaling is displayed from 15 to 250 crank rpm Cadences below 15 rpm display as 0 When you start pedaling no cadence will be displayed for 4 seconds and when you stop pedaling a rate will remain for 4 seconds Most coaches ...

Страница 5: ... left button in the Trip Total Distance function to reach Destination Distance Destination distances of up to 199 99 miles can be entered into the Cyclometer 45tt and will begin to count down when the function is turned on by pressing the left button When the function is turned on the D and the colons in the time display flash After distance reaches zero negative distance accu mulates to 9 99 mi A...

Страница 6: ...lly when the wheel turns Also with time and distance displayed together you can easily ride to a schedule For example if you set a goal of two hours for 40 miles Riding Time will show you how much ahead of schedule or behind schedule you are as you progress through the ride PART III SETUP MILES OR KILOMETERS To reach setup hold both buttons for 8 seconds until mi or km appears Press the left butto...

Страница 7: ...monthly or tour miles CALIBRATION Find the calibration number that matches your tire size from the table or measure tire circumference by the precise calibra tion method Calibration by the table will give acceptable precision for speed but if you want to take advantage of your Cyclometer 45tt s ability to measure distance with precision to 0 01 mile you must measure your tire circumference When th...

Страница 8: ...capable of display ing cadence However you must have a cadence mount if you want to use the cadence function If your Cyclometer package is marked Gear Ca dence you have the cadence mount If you don t have a cadence mount you can purchase it separately When RPM appears press the left button to activate Cadence CAd shows indicating that Cadence is activated If you activate Cadence and you don t have...

Страница 9: ...5 Battery 1 5 volt 2 year life Use Avocet Cyclometer 45 battery or 357 Renata Eveready RayOVac Phillips SR44W Maxell National Panasonic Sony Toshiba D357H Duracell Accessories Cadence mount kit to add gear cadence if your package is marked Gear Cadence you already have this kit Rear mount kit for use with trainers that keep the front wheel stationary Instrument displays either miles or kilometers ...

Страница 10: ...d 3 RECEIVER AND CADENCE WIRES Attach the receiver wire to the inside of the chainstay with ties gathering any excess under one of the ties Run the cadence wire from under the bottom bracket shell and up the underside of the down tube Secure the wire with ties then run it up the brake cable wrapping excess wire around the cable Leave enough slack in the wire between the frame and the brake cable t...

Страница 11: ...and fine tune the adjustment by sliding the receiver in its holder until it nearly touches the transmitter PART V INSTALLATION FRONT MOUNT 1 TRANSMITTER Remove the front wheel Count the number of spokes in the wheel Use the 4 prong transmitter for 32 spoke wheels and the 3 prong transmitter for 36 or 28 spoke wheels If necessary remove the magnet and metal ring from one housing and move it to the ...

Страница 12: ...fork blade opposite the transmit ter magnet black stripe in illustration The side of the receiver with the wires coming out of it should be next to the magnet Thread a cable tie through the hole in the receiver holder and around the fork Pull the cable tie tight Position the receiver so that it is as close as possible to the transmitter by rotating the holder on the fork and by sliding its toothed...

Отзывы: