Page 3-2
Spring Levers
The springs of the spring lever return system should also be adjusted for
positive harness return, i.e., the harnesses stay all the way down in the
depressed position and require the least amount of effort for lifting. This
will vary according to the weight of the warp. In general, lightweight,
less dense, looser tensioned warps with a smaller weaving width will
need very little spring tension to assure positive harness return.
Heavier, denser, tighter tensioned, and wider warps will need more
spring tension. Attach the spring to the spring lever hooks, if you have
not already done so, using the last link in the chain to attach to the other
hook. To tell if the harnesses are returning all the way, open several
sheds by working the treadles. Watch the unlifted harnesses. If the tops
of their heddles become loose and tend to move around, then spring
tension should be increased, but just enough to get the harnesses to stay
down and no more, or your treadling effort will be made greater than it
has to be.
To adjust the spring tension, simply unhook the spring and then rehook it
one chain link shorter. This tightens the spring and makes it pull down
harder on that particular harness. Test the warp again by doing some
more treadling and if more spring tension is still needed, try one or
more chain links less. Under unusual conditions (perhaps a very tight rug
warp), two springs on some or all of the harnesses may be necessary. If
all the springs are set the same, the back harnesses will have a looser
tension than the front. This is because the back spring levers and their
hooks are longer since the back harnesses travel farther when a shed is
made. Accordingly, in some cases, the back spring levers might have to
be adjusted shorter to give the same tension as the front ones. The
important thing to remember is that the system is designed so that it can
be “fine tuned” for each particular warp, so experiment with it. In
general, for most medium tensioned warps, you will find that a lot of
adjusting will not be necessary.
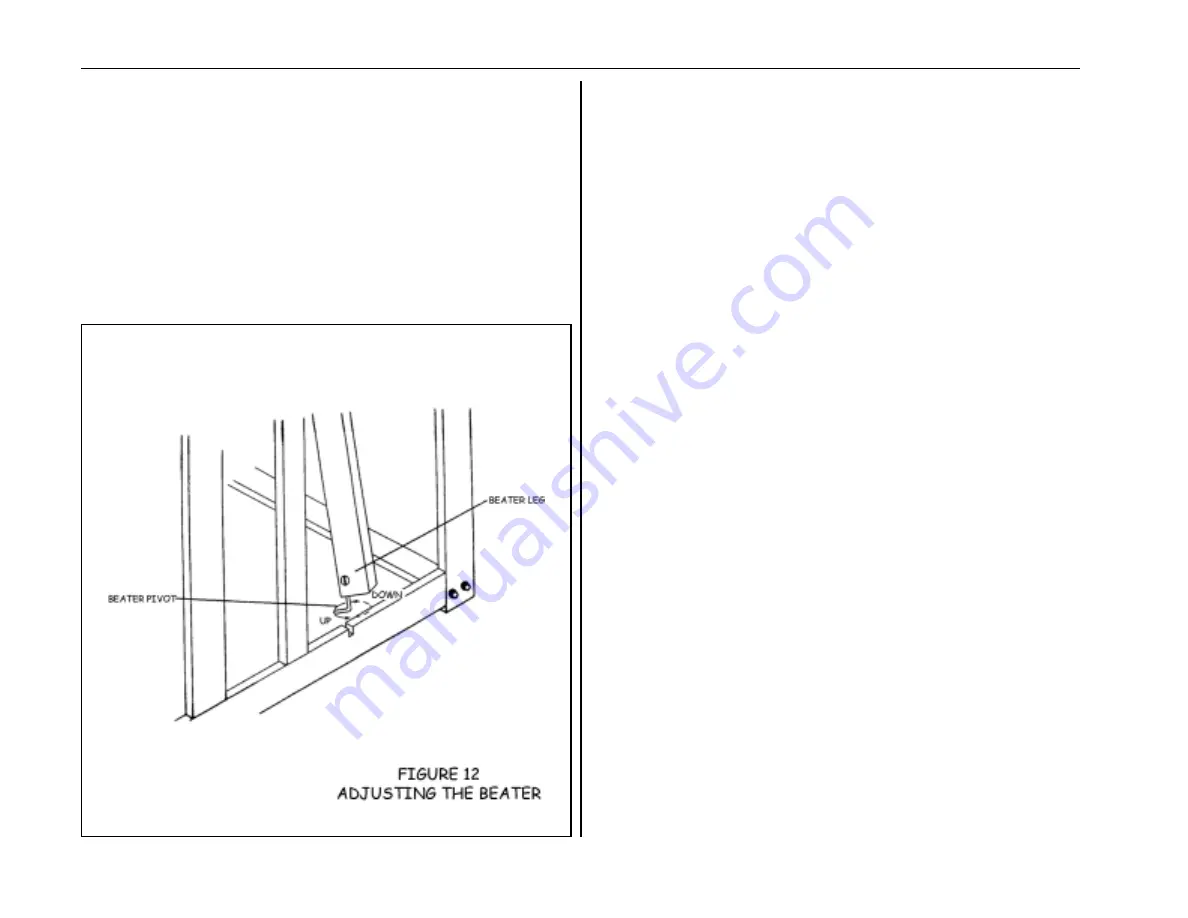
Beater Height
(refer to Figure 12)
The height of the beater is adjustable to compensate for different weav-
ing situations. Each leg of the beater can be lifted and the steel pivots can
be screwed into or out of the bottom of each beater leg, thereby chang-
ing how close the top of the shuttle race is to the warp. You should
always make this adjustment while the warp is under tension and the
beater is swung away from the weaver. Once this adjustment is made,
make sure that the steel pivots are put back into their notches at the
bottom of the loom.


