


1
1. Phoenix-G Configuration
The Avitech Phoenix-G program (formerly Galaxy) requires no installation. Just copy the system files to
your computer
’s hard drive. This chapter introduces Phoenix-G software for setting up Sequoia 2H2U.
Make sure the Sequoia 2H2U is powered on and connected properly to your computer through Ethernet
before launching the Phoenix-G software.
1.1 Connection Method
Connect your Sequoia 2H2U to the controlling computer through an Ethernet (IP address) cable.
Before connecting the computer to the Sequoia 2H2U, the computer with DHCP LAN connection will
need to be changed to static IP, similar range as the Sequoia 2H2U (e.g.,
”210.100.100.151” – factory-
default setting). Or, change the IP address of the Sequoia 2H2U to a similar range as the controlling
computer. See Appendix A for details.
1.2 Pinging the Sequoia 2H2U
Make sure you can ping the chassis
at “210.100.100.151” (factory-default IP address).
Step 1. Click
Start
All Programs
Accessories
Command Prompt
. The
Command Prompt
screen will appear.
Step 2.
Type “ping 210.100.100.151” and press Enter.
Step 3.
Type “exit” to exit the
Command Prompt
screen.
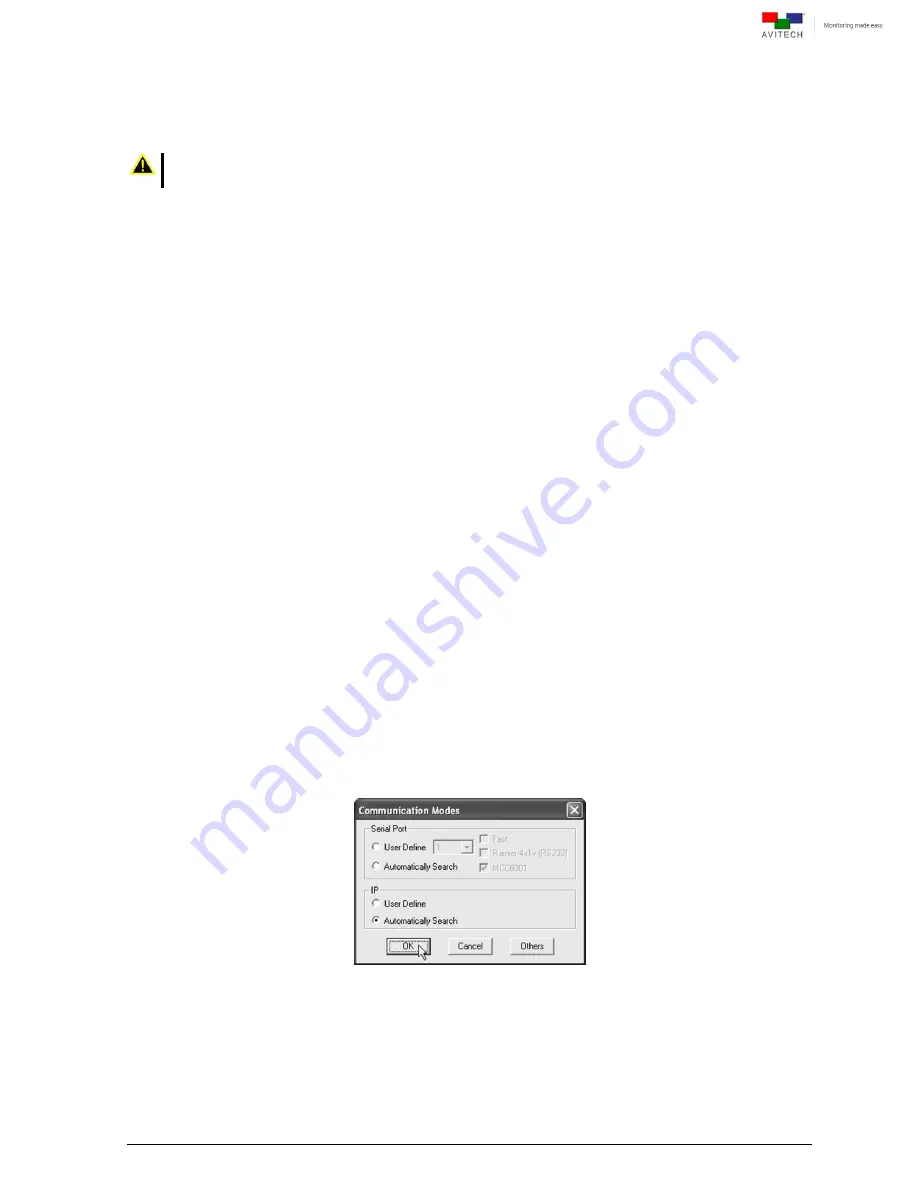
1.3 Starting Up the Phoenix-G Software
Step 1. Run the Phoenix-G software by double-clicking
Phoenix-G.exe
. Under
IP
select
User Define
if
you know the IP address assigned to the Sequoia or select
Automatically Search
.
Figure 1-1
Phoenix-G Software: Set Communication Mode
Step 2. Before clicking
OK
(next step), press the
Ctrl
+
Esc
keys to make sure that you are not in host
(MKC
– mouse keyboard controller) mode.


