Valet Switch
1 . Discuss placement with the owner.
2. Choose a location for the valet switch that is hidden, but convenient for
the owner to access.
3 . Drill a ¼" hole and mount the switch.
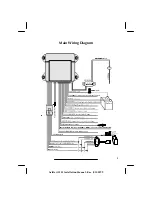
4. Route the valet switch wires to the control unit.
5 . Plug the valet switch
WHITE
connector into the control unit
WHITE
plug.
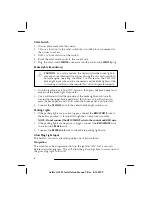
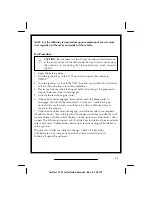
Brake Lights (Mandatory)
I
CAUTION
: As a safety feature, the unit monitors the brake light to
prevent an unauthorized driver from driving the car and to switch to
normal engine operating condition. For this reason, the YELLOW
brake light input wire must be connected and the brake light must be
in working condition or the remote start will not operate properly.
1 . Turn the ignition key to the "ON" position, then press the brake pedal and
make sure the brake light illuminates.
2 . Use a voltmeter to find the one wire at the brake light switch (usually
located on the upper brake pedal arm) that shows +12 volts when you
press the brake pedal and 0 volts when the brake pedal is not pressed.
3. Connect the
YELLOW
wire to the vehicle brake light switch wire.
Parking Lights
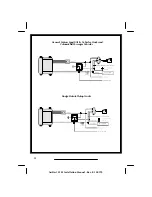
1 . If the parking lights are positive trigger, connect the
RED/WHITE
wire to
the battery positive (+) terminal through the 20 amp fuse assembly.
NOTE: Do not connect the RED/WHITE wire to the control unit RED wire.
2. If the parking lights are negative (-) trigger, connect the
RED/WHITE
wire
to control unit
BLACK
wire.
3. Connect the
RED/BLACK
wire to the vehicle parking light wire.
Glow Plug Light Input
The AviStart can start a diesel engine by one of two methods.
Pre-ignition
The module can be programmed to turn the ignition "ON" for 15 seconds
before the starter engages. This will allow the glow plugs time to warm up and
the glow plug light to turn off.
6
AviStart 2501 Installation Manual - Rev. B 100199


