51
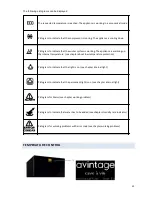
During the start-up of the wine cellar or after an electrical power cut-off, the control system is set by a
calibration process. During this process, the display and the selection buttons are lit and the alert pictogram
(triangle with exclamation point) blinks.
The process can take from 10 to 60 seconds. When the process is terminated, the display and buttons
return to normal.
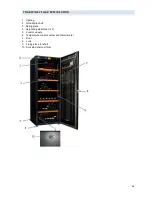
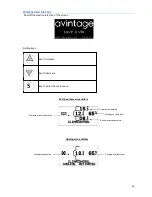
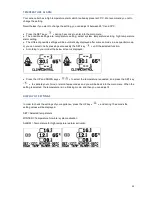
The temperature inside the wine cellar is automatically controlled by the electronic control system (figure 1)
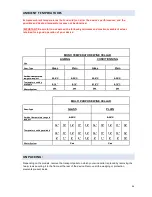
The system is preset in the factory and operates automatically. The basic parameters were defined for an
average central area temperature of 12°C (+/- 2°C). If you change the settings, the last selection will be
kept in memory.
TEMPERATURE SELECTION
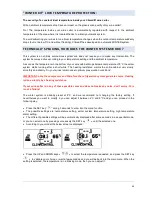
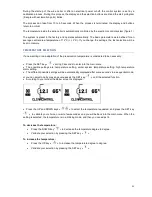
If a new setting or an adaptation of the preservation temperature is considered to be necessary:
•
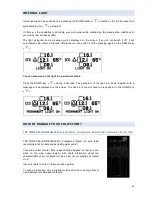
Press the SET key «
» during 3 seconds to enter into the main menu.
•
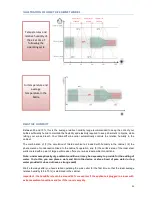
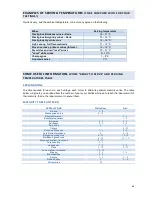
The possible settings are: temperature setting, winter system temperature setting, high temperature
alarm setting.
•
The different possible settings will be automatically displayed after some seconds in a sequential mode,
or you can select one by pressing successively the SET key “
» until the selected function.
•
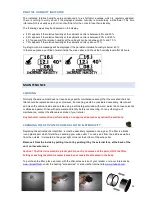
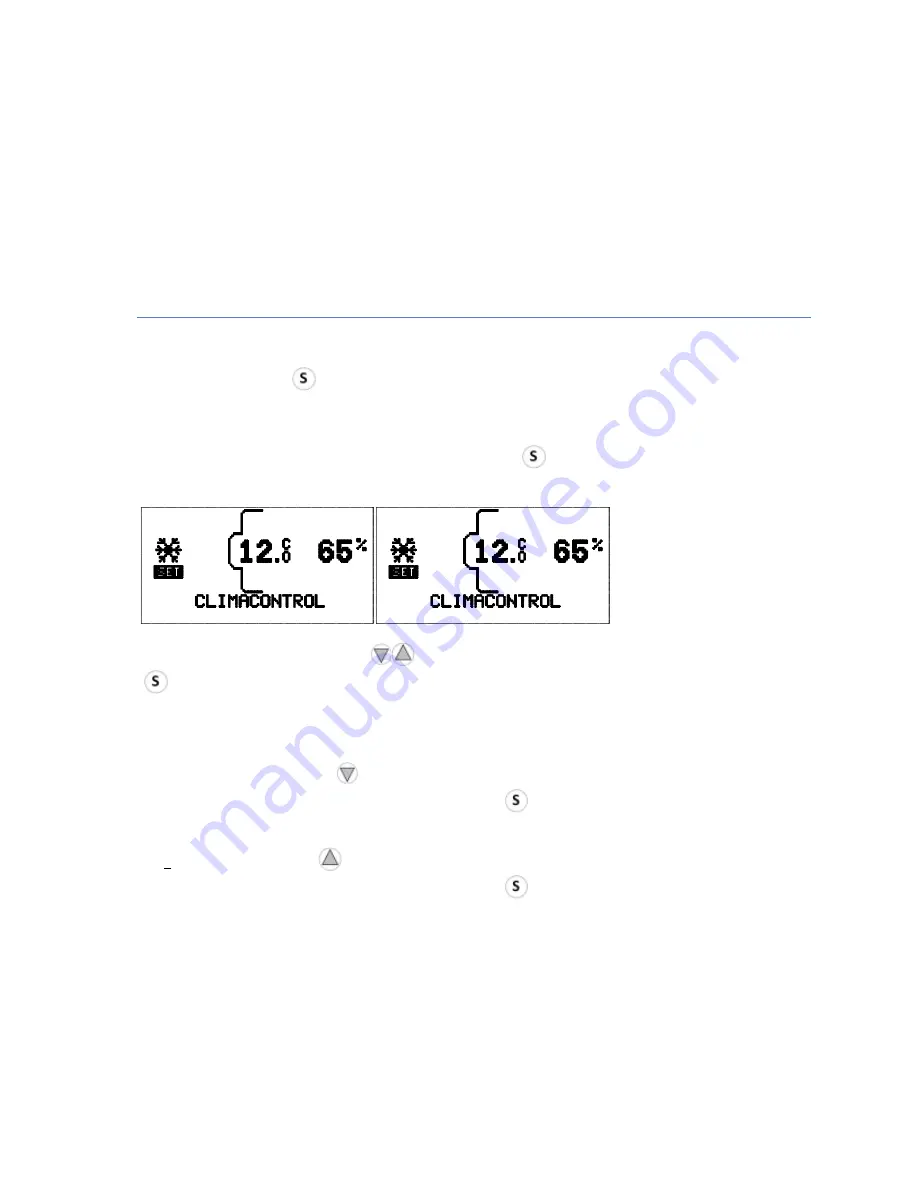
According to your model the below screen is displayed :
•
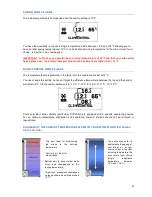
Press the UP and DOWN keys «
» to select the temperature requested, and press the SET key
“
» to validate your choice, or wait a few secondes and you will be back into the main menu. When the
setting is selected, the temperature is in a blinking mode, and then you can adjust it.
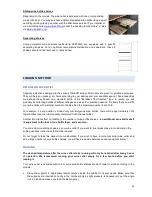
To decrease the temperature :
•
Press the DOWN key “
» to decrease the temperature degree to degree.
•
Validate your selection by pressing the SET key «
»
To increase the temperature :
•
Press the UP key «
» to increase the temperature degree to degree.
•
Validate your selection by pressing the SET key «
»
Содержание DIVA R600A
Страница 27: ...27 INSTRUCTIONS DE MONTAGE DES CLAYETTES COULISSANTES...
Страница 61: ...61 SLIDING SHELVES...
Страница 95: ...95 INSTRUCCI N PARA EL MONTAJE DE LAS BANDEJAS CORREDERAS...
Страница 131: ...131 MONTAGEANWEISUNGEN F R SCHIEBEROSTE...


