HDX-192 Cooling Kit Installation
5
Reinstalling HDX-192 Cards
Reinstalling HDX-192 cards requires the following steps:
• First, reinstall cards into slots 2–4 (the lowest slots), if any.
• Reinstall the HDX-192 card into slot 1 (the top-most slot).
• Reconnect power to all cards.
If only one HDX-192 card is installed, skip to “Slot 1” on page 5
To reinstall HDX-192 cards into slots 4, 3, or 2:
1
If multiple HDX-192 cards are being reinstalled, start with the
card in the lowest slot.
2
Align the card’s PCIe connector with the corresponding PCIe
slot, and gently press the card into the PCIe slot.
3
When the card is properly seated in its slot, use your #2 Phil-
lips screwdriver to tighten the screw on the front bracket of the
HDX-192 card to secure it to the chassis.
Slot 1
To reinstall an HDX-192 card into slot 1:
1
Make sure the DigiSerial cable is accessible.
2
Holding the card in your right hand, bring its front end close to
the front bracket and use your left hand to reconnect the Di-
giSerial cable. Make sure the cable is oriented correctly before
connecting it, and make sure it seats fully into its connector.
3
Carefully guide the back end of the card into its slot in the rear
retaining bracket and gently push it in, making sure the Di-
giSerial cable remains connected.
4
Align the card’s PCIe connector with the corresponding PCIe
slot, and gently press the card into the PCIe slot.
5
When the card is properly seated in its slot, reinstall and
tighten the screw on the front bracket of the HDX-192 card.
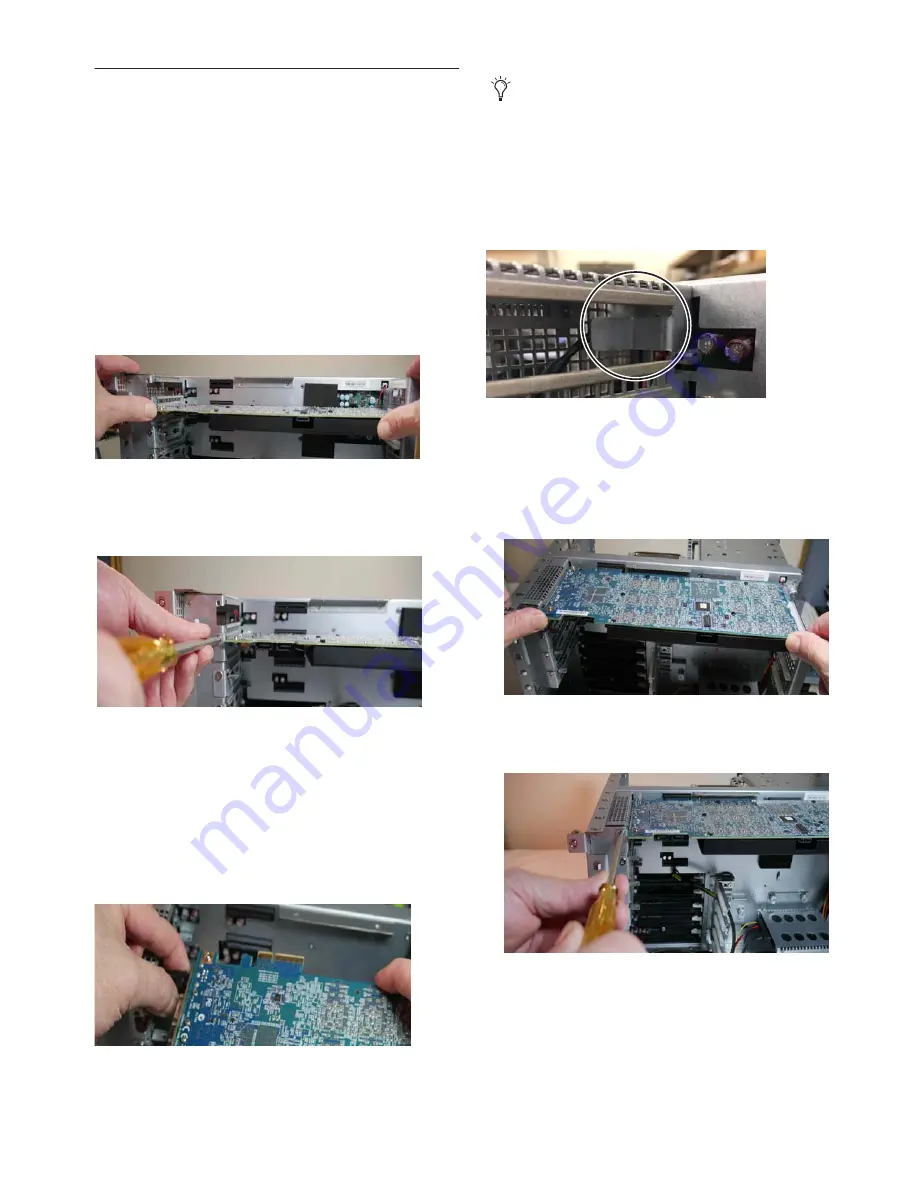
Figure 18. Pressing the HDX-192 card into slot 2
Figure 19. Tightening the front bracket screw on slot 2
Figure 20. Reconnecting DigiSerial cables
Newer E6L Engines have an L-shaped metal retention
bracket (pictured below) that prevents the DigiSerial cable
from coming loose. If your E6L has this bracket, it is not nec-
essary to apply any adhesive to secure the connection of the
cable to the HDX card. If your E6L does NOT have this
bracket, connect the cable and then apply a small amount of
the included adhesive to secure the cable jacket to the HDX
card faceplate.
Figure 21. DigiSerial cable retaining bracket
Figure 22. Pressing the HDX-192 card into slot 1
Figure 23. Tightening the front bracket screw on slot 1
Содержание HDX-192 Cooling Kit
Страница 8: ...HDX 192 Cooling Kit Installation 8...


