Users Manual Model 686 / 686 HT
Control Panel Operation
•
••
•
37
Pressing the MODE / Down Arrow key will take the user to the "DOT SHIFT"
screen. Pressing the EXIT / Up Arrow key will take the user back to the "HOME"
screen.
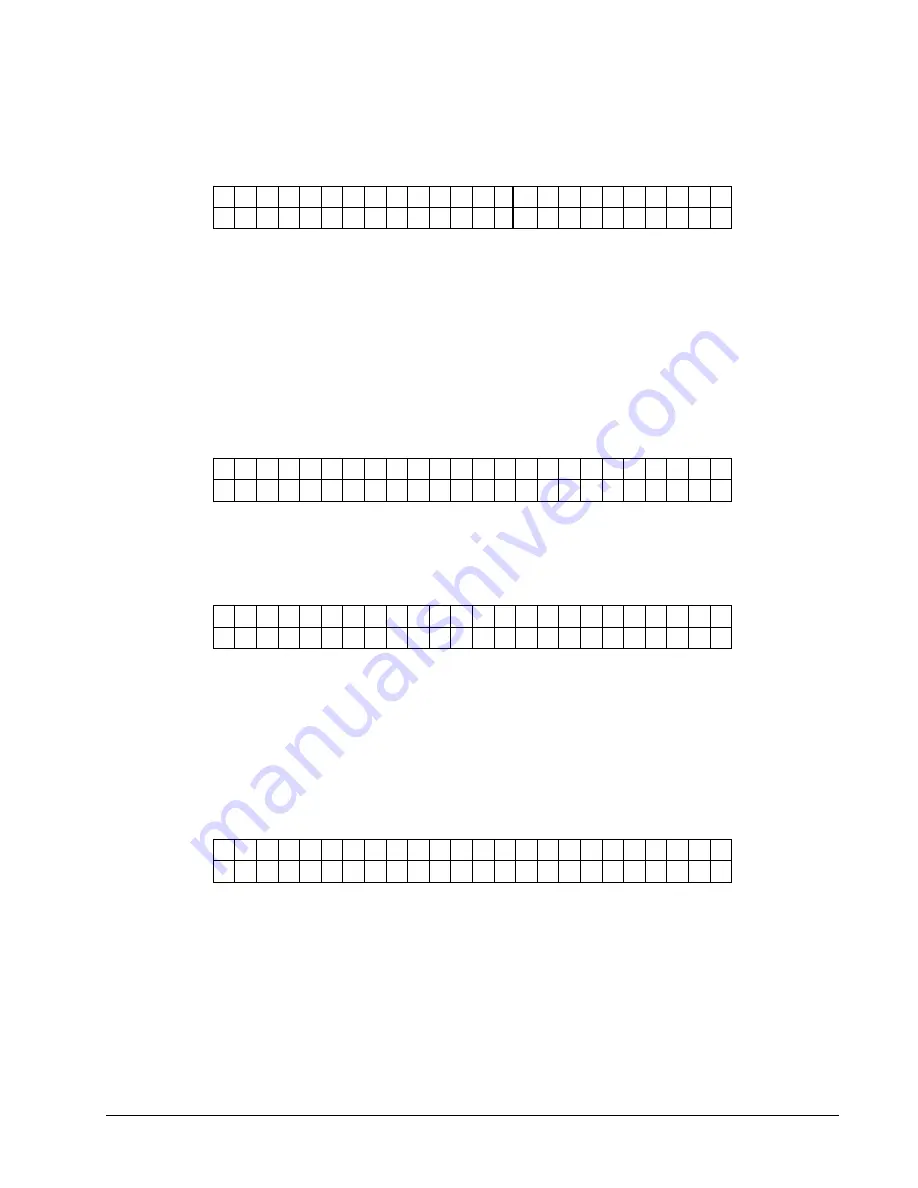
D O T S H I F T
V A L U E : ± X X N E W V A L U E : ± Y Y
This screen follows the "CHANGE CUT POSITION" screen. This screen allows the
print position to be adjusted in the WEB direction. The <YES / NO> buttons are
used to change the new shift value. The value is displayed in a positive / negative
format. The value ranges for XX and YY can be from a -16 to a +16 dots. Pressing
ENTER will change the CURRENT DOT SHIFT value to the NEW DOT SHIFT
value. A more positive number will move the print to the front while a more
negative number will move the print to the back.
Pressing the MODE / Down Arrow key will take the user back to the "PRINT
CHECK OUT FORMAT" screen. Pressing the EXIT / Up Arrow key will take the
user back to the "HOME" screen.
PRINTHEAD SETUP
P R E S S E N T E R F O R
P R I N T H E A D S E T U P
This screen follows the "PRINT / CUT POSITIONS" screen. Pressing ENTER will
take the user to the "PRINTHEAD SETUP" screens. Pressing the MODE / Down
Arrow key will take the user to the "CALIBRATING SENSORS" screen. Pressing
the EXIT / Up Arrow key will take the user back to the "HOME" screen.
C H A N G E S T R O B E
V A L U E : ± X X N E W V A L U E : ± Y Y
This screen is the first screen under "PRINTHEAD SETUP" screen. This screen
allows the user to adjust the strobe. The <YES / NO> buttons are used to change the
new value. The value is displayed in a positive / negative format. The value ranges
for X and Y can be from a -7 to a +7. Pressing ENTER will change the CURRENT
STROBE value to the NEW STROBE value. A more positive number will make the
print darker while a more negative number will make the print lighter.
Pressing the MODE / Down Arrow key will take the user to the "CHANGE HEAD
CATEGORY" screen. Pressing the EXIT / Up Arrow key will take the user back to
the "HOME" screen.
H E A D C A T E G O R Y
V A L U E : ± X X N E W V A L U E : ± Y Y
This screen follows the "CHANGE STROBE" screen. The screen allows the user to
enter the head category. The <YES / NO> buttons are used to change the new head
category value. The value ranges from 1 to 8. Pressing ENTER will change the
CURRENT HEAD category value to the NEW HEAD value. See the section
“PRINTHEAD REPLACEMENT” for instructions for setting the head category.
Pressing the MODE / Down Arrow key will take the user back to the "CHANGE
STROBE" screen. Pressing the EXIT / Up Arrow key will take the user back to the
"HOME" screen.
Содержание 686 HT
Страница 1: ...Users Manual Model 686 686 HT AVERY DENNISON Manual Edition 7 0 09 June 2010 Manual Part Number 551398...
Страница 2: ...This page intentionally left blank...
Страница 67: ...Users Manual Model 686 686 HT Electrical Drawings 65 Electrical Drawings...
Страница 85: ...Users Manual Model 686 686 HT Assembly Drawings 83 Assembly Drawings...
Страница 86: ...84 Assembly Drawings Users Manual Model 686 686 HT Unwind Assembly Drawing...
Страница 88: ...86 Assembly Drawings Users Manual Model 686 686 HT Unwind Turnbar Assembly Drawing...
Страница 90: ...88 Assembly Drawings Users Manual Model 686 686 HT Contrast Sensor Assembly Drawing...
Страница 100: ...98 Assembly Drawings Users Manual Model 686 686 HT Printhead Adjustment Assembly Drawing 5 3 2 1 6 4...
Страница 106: ...104 Assembly Drawings Users Manual Model 686 686 HT Ink Save PC Board Assembly 4 1 5 7 2 6 3...
Страница 108: ...106 Assembly Drawings Users Manual Model 686 686 HT Timing Belt Threading Diagram 5 8 3 5 6 1 2 3 4 3 9 7 1 3 2...
Страница 110: ...108 Assembly Drawings Users Manual Model 686 686 HT Timing Belt 686HT Threading Diagram 7 3 5 4 1 2 3 8 6 1 3 2...
Страница 118: ...116 Assembly Drawings Users Manual Model 686 686 HT Back Reflective Sensor Option Assembly Drawing 4 5 2 3 6 1...


