Installing the Avaya WLAN Outdoor Access Point WAO9122
1
Quick Installation Guide
For Outdoor Access Point WAO9122
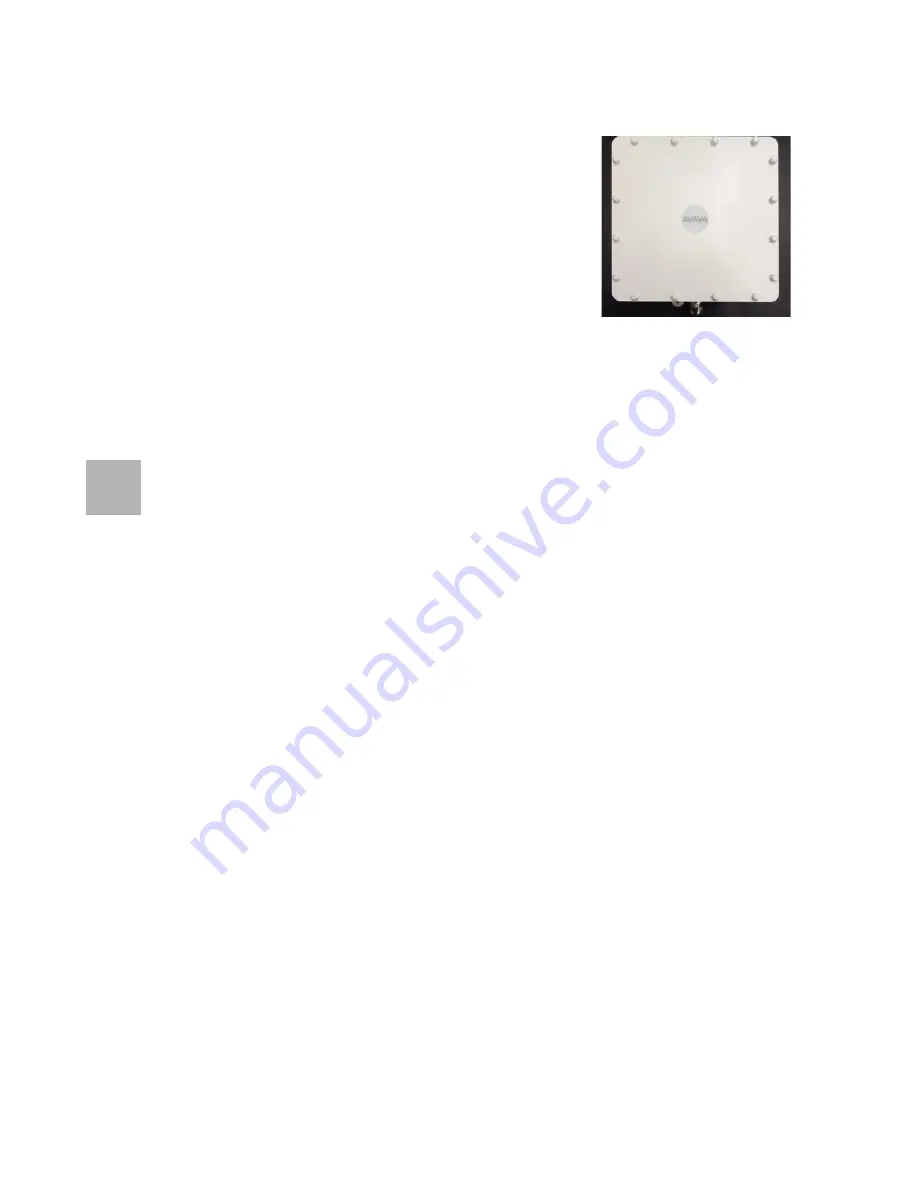
The WAO 9122 Hardened Wireless Access Point (WAP)
provides Avaya wireless technology in a hardened case for
installation outdoors and in other harsh environments.
This guide describes how to install the WAO 9122 on a pole
or wall and execute the initial power up of the WAP. The
pole or wall can be a structure that is installed at ground
level or on a roof. The WAO 9122 is not compatible with other Avaya mounting options. For
additional information, refer to
Using the Avaya Wireless Orchestration System
(NN47252-103).
This document is intended ONLY for WAO 9122 model WAPs. For other models please
see the installation guide for that model series.
You Need the Following Items
Accessory Kit (included in each WAP carton) includes:
Mounting bracket and eight attachment screws
Grounding screw
Watertight RJ connector assembly
Appropriate tools, bands, screws, and/or anchors required for the desired mounting
location (not provided with the WAP).
Antenna and low-loss outdoor-rated coaxial cables terminated with N Male to Reverse
Polarity TNC connectors . Note that some antennas include integrated cables as part of the
unit, and these do not need separate cables - an example is shown in Step 9.
Grounding wire
Workstation with a Web browser to configure the WAP.
RJ-45 Ethernet connection(s) to your wired network.
Power—WAO 9122 WAPs are powered via Power over Ethernet (PoE) using an outdoor-
rated Ethernet Cat 5e or Cat 6 cable that also carries data traffic. Only Avaya-supplied
power injectors, or 802.3af or 802.3at PoE-compliant switches, may be used to power the
WAO 9122. The WAO 9122 is powered by one injector port rated at 20W or higher.
NOTE: PoE Injectors and switches must be installed and used indoors.
1