


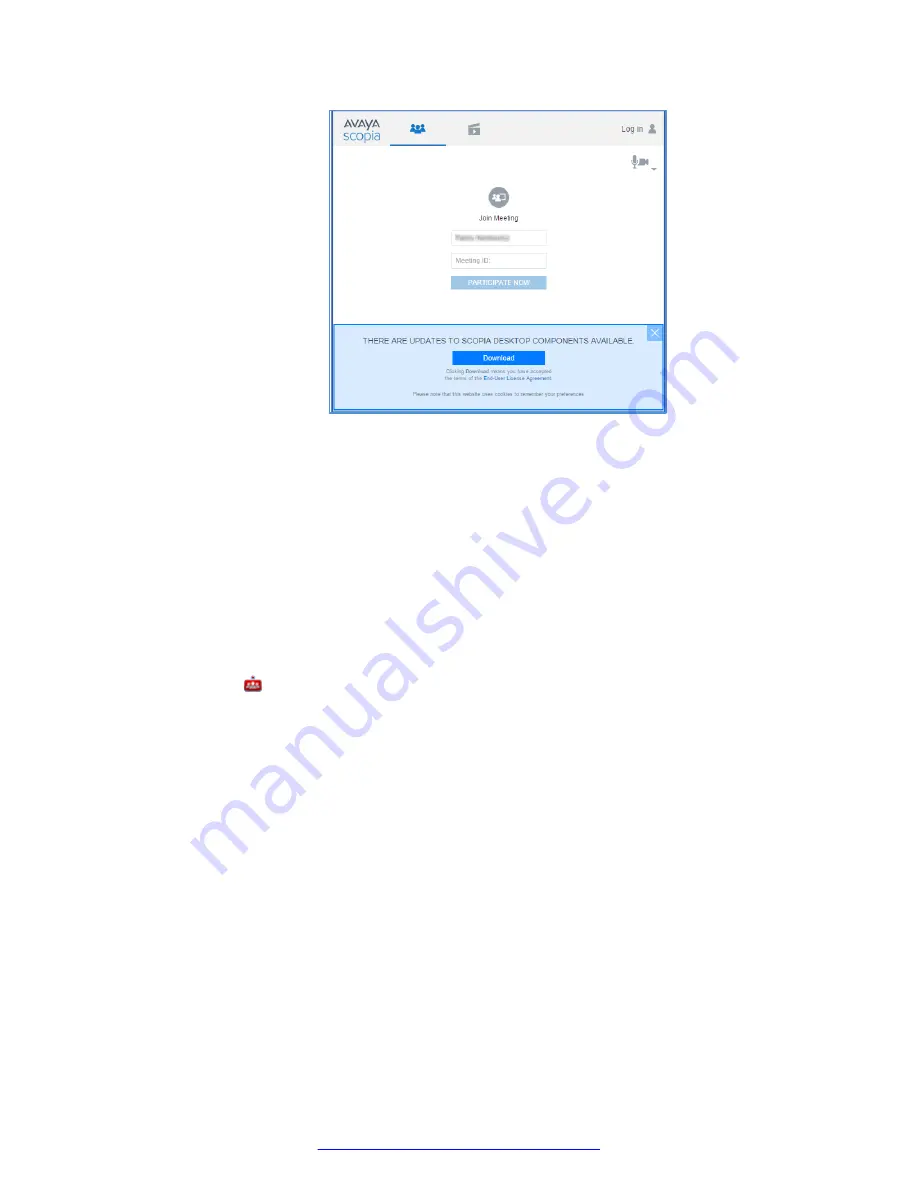
Figure 24: Installing Scopia
®
XT Desktop Client
2. On the Scopia
®
XT Desktop Client web interface, click
Download
.
Scopia
®
XT Desktop Client downloads the installation file.
3. Run the installation file.
4. Restart the browser.
5. If you are installing from Google Chrome or Firefox, click
Launch application
in the
External Protocol Request
dialog box.
6. Install the
Conference Client
to install or update the Scopia
®
XT Desktop Client.
When the Scopia
®
XT Desktop Client installation is complete, you should see the Scopia
®
XT Desktop icon in the task tray at the lower right corner of the screen.
7. To verify which components were installed, select
View and Manage Components
. A list of
installed components appears.
Rolling-Out Scopia
®
XT Desktop Client to End Users
August 2015
Avaya Scopia
®
XT Desktop Server Installation Guide
37
Содержание Scopia XT Camera Switch
Страница 1: ...Avaya Scopia XT Desktop Server Installation Guide Release 8 3 3 Issue 1 August 2015...
Страница 2: ......