


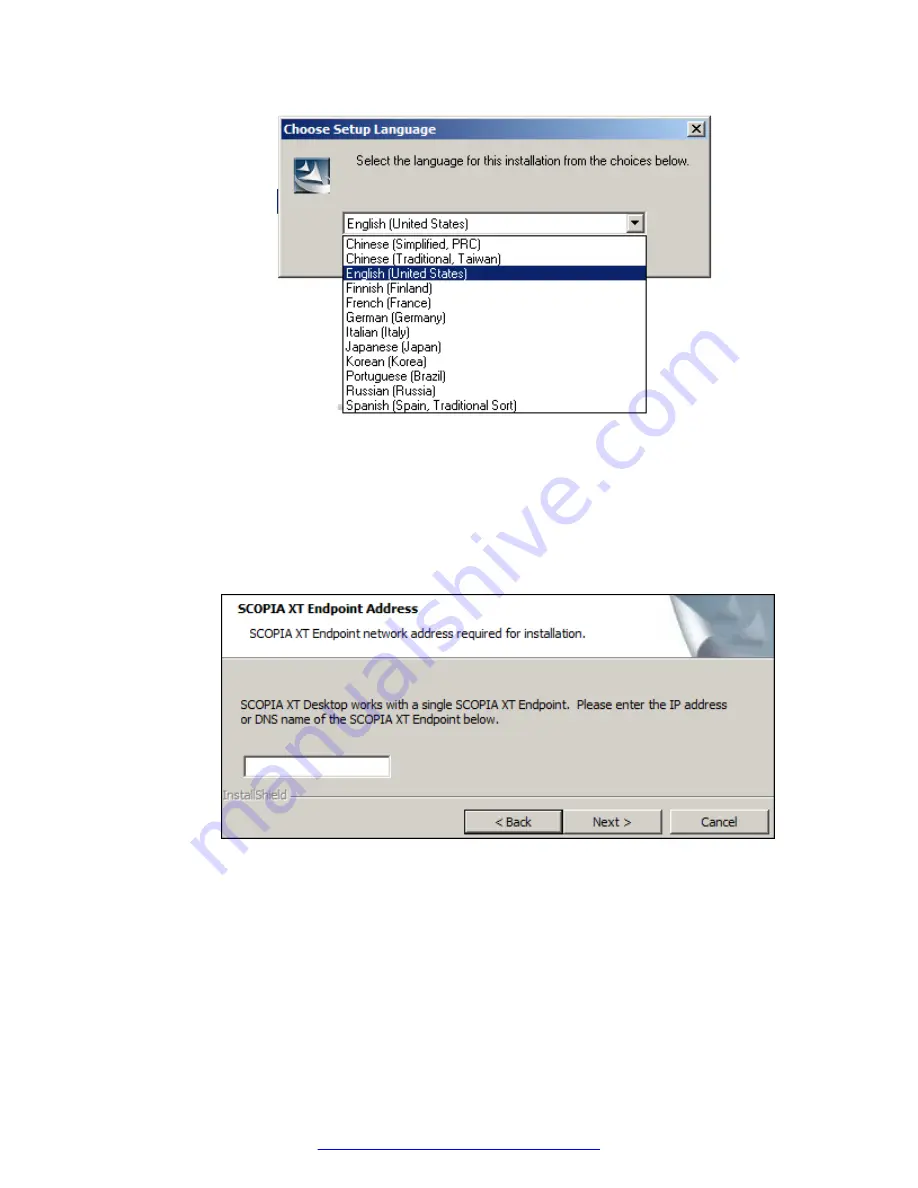
Figure 8: Choosing language for the installation
Scopia
®
XT Desktop starts the installation wizard.
3. Click
Next
, accept the license agreement, and click
Next
.
4. Enter the IP address or DNS name of the Avaya Scopia
®
XT Series SMB Edition which
hosts videoconferences with its built-in MCU in the
XT Series Address
window, and select
Next
.
Figure 9: Specifying the XT Series with built-in MCU
5. In the
Network Configuration
window, select the IP address used for communicating with
the Avaya Scopia
®
XT Series SMB Edition.
If the server has one NIC card, the
Network Interface
field has only one value to choose,
the IP of the NIC. For dual-NIC servers, select the network IP address pointing to the internal
firewall.
Installing the Scopia
®
XT Desktop
22
Avaya Scopia
®
XT Desktop Server Installation Guide
August 2015
Содержание Scopia XT Camera Switch
Страница 1: ...Avaya Scopia XT Desktop Server Installation Guide Release 8 3 3 Issue 1 August 2015...
Страница 2: ......