Using the Network Tree
Issue 7 January 2008
55
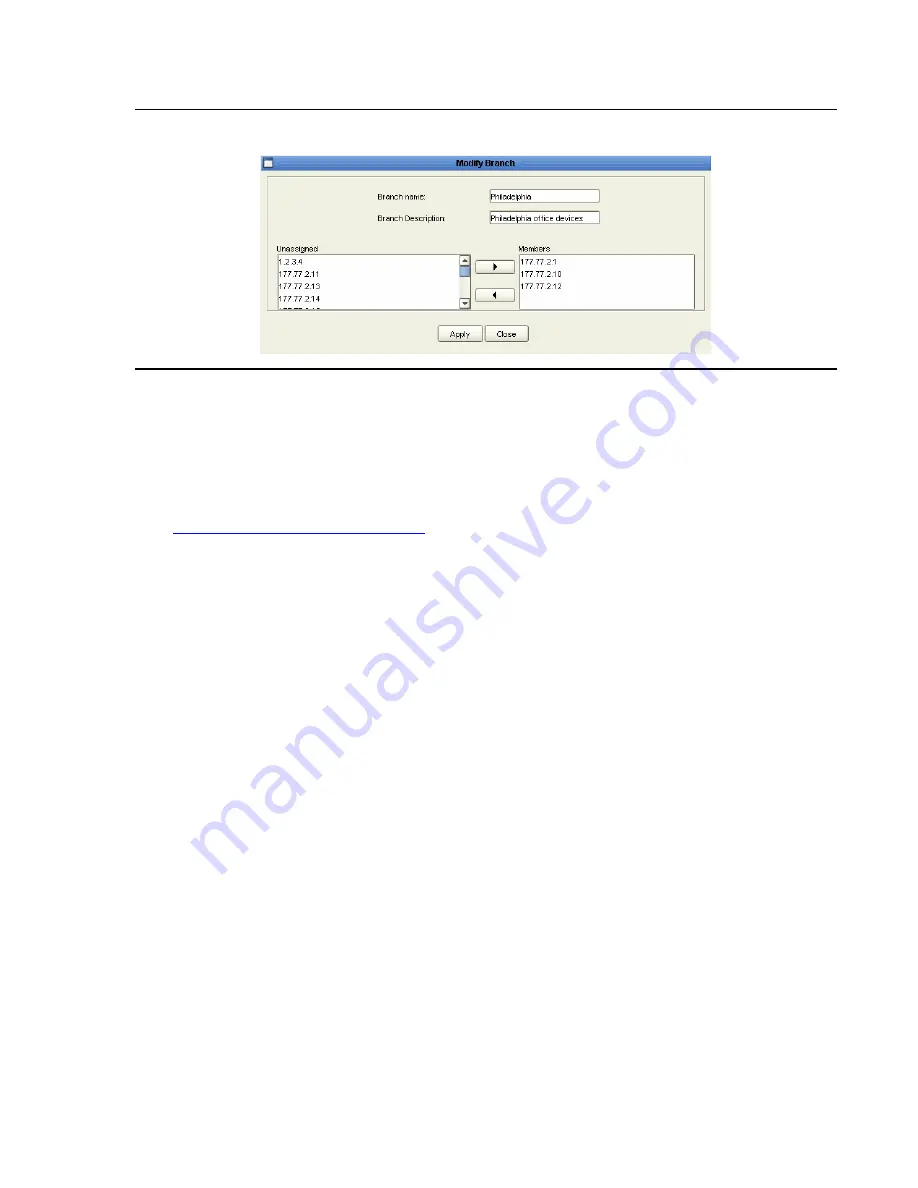
Figure 21: Modify Branch Dialog Box
3. Change the name of the branch using the
Branch name
field.
Note:
Note:
Branch names cannot contain periods.
4. Change the comment attached to the view in the
Branch Description
field.
5. Assign devices to the branch. For instructions on assigning devices to the branch, refer to
Adding Branches in Custom Views
on page 54.
6. Click
Apply
. The branch is modified.
Deleting Branches in Custom Views
You can delete branches from a custom view of the network. To delete a branch of a custom
view of the network:
1. Select the branch you want to delete in the Network Tree.
Note:
Note:
The
Unassigned
branch cannot be deleted.
2. Select
Edit > Delete
. A confirmation dialog box opens.
3. Click
Yes
. The branch is deleted, and all its devices appear in the
Unassigned
list.
Содержание Integrated Management
Страница 1: ...Avaya Integrated Management Release 5 0 Network Management Console 14 300169 Issue 7 January 2008...
Страница 10: ...Contents 10 Avaya Integrated Management Release 5 0 Network Management Console...
Страница 22: ...Avaya Network Management 22 Avaya Integrated Management Release 5 0 Network Management Console...
Страница 73: ...The Network Table Issue 7 January 2008 73 Figure 24 Device Coloring Method...
Страница 132: ...Discovering Your Network 132 Avaya Integrated Management Release 5 0 Network Management Console...
Страница 176: ...Network Management Menus 176 Avaya Integrated Management Release 5 0 Network Management Console...
Страница 182: ...182 Avaya Integrated Management Release 5 0 Network Management Console Index...


