Using your IP Deskphone
61
Installing additional cables
If applicable, you can plug an optional USB device such as a USB mouse
or a USB keyboard into your IP Deskphone. Connect the USB cable to
the USB port on the back of the IP Deskphone.
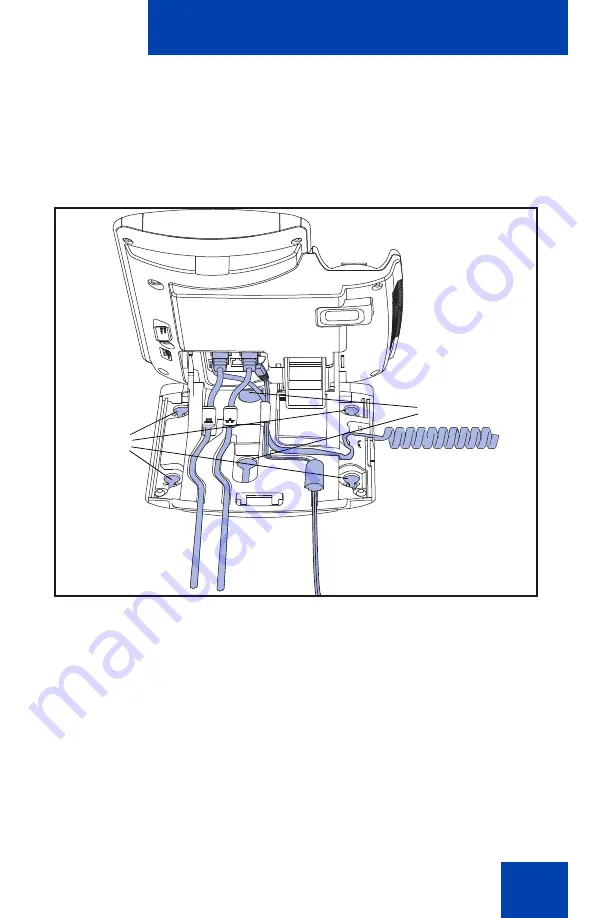
Figure 12: Cable routing tracks and mounting holes
Wall-mounting the IP Deskphone (optional)
You can mount your Avaya 1140E IP Deskphone on a wall either by:
(method A) using the mounting holes on the bottom of the IP Deskphone
stand or (method B) using a traditional-style wall-mount box with an RJ-
45 connector and 15 centimeter (cm) (6-inch) RJ-45 cord (not provided).
Complete steps 1-7, as needed, before you wall-mount your IP
Deskphone:
Method A
Method B
Содержание 1040E
Страница 14: ...Contents 14...
Страница 18: ...Welcome 18 IP Deskphone controls Figure 2 shows the Avaya 1140E IP Deskphone Figure 2 Avaya 1140E IP Deskphone...
Страница 48: ...Welcome 48 Figure 8 Example of a secure connection during an active call...
Страница 108: ...Configuring the Avaya 1140E IP Deskphone 108 Figure 21 Headset screen...
Страница 279: ...Additional features 279 Figure 43 MADN SCA shared line not active Figure 44 MADN SCA shared line active...
Страница 345: ...Advanced features 345 Figure 71 File manager device browsing screen...
Страница 356: ...Visual indicators 356...
Страница 380: ...Multi Level Precedence and Preemption 380...
Страница 408: ...Third party terms 408...
Страница 418: ...Index 418 V Visual Alerter 21 354 Visual indicators 352 Voice Mail 27 230 Volume adjustment 96 Volume control 19...


