Scan QRKeys with each headset
On each of your ClassVR headsets, open the Scanner app by looking at the icon of a QR
code and making a select gesture with your hand in front of the device.
Once the Scanner app launches, simply look at the Wi-Fi QRkey until you hear a beep.
This will add the Wi-Fi connection to your headset.
If your school has a proxy server, repeat this process with the Proxy QRkey, once the
headset has connected to the Wi-Fi.
3.3. Scan your school’s enrolment QRKey
Your headsets may already be enrolled when you receive them. You can check this by
going to
http://portal.classvr.com
, clicking the Deliver tab at the top of the page, and
looking at the Devices pane; the headsets should be listed here. If you do not see all the
devices you would expect, you may need to enrol them in your school’s organisation.
You can find the enrolment QRKey in the Admin section of the ClassVR portal, under the
name of your school:
To access the ClassVR Portal, visit
http://portal.classvr.com
. You will see a login screen.
Enter your email address and password. If you are the Key Contact for your school, Avantis
will send you an email inviting you to join. Otherwise, your Key Contact should send you
an invitation by email.
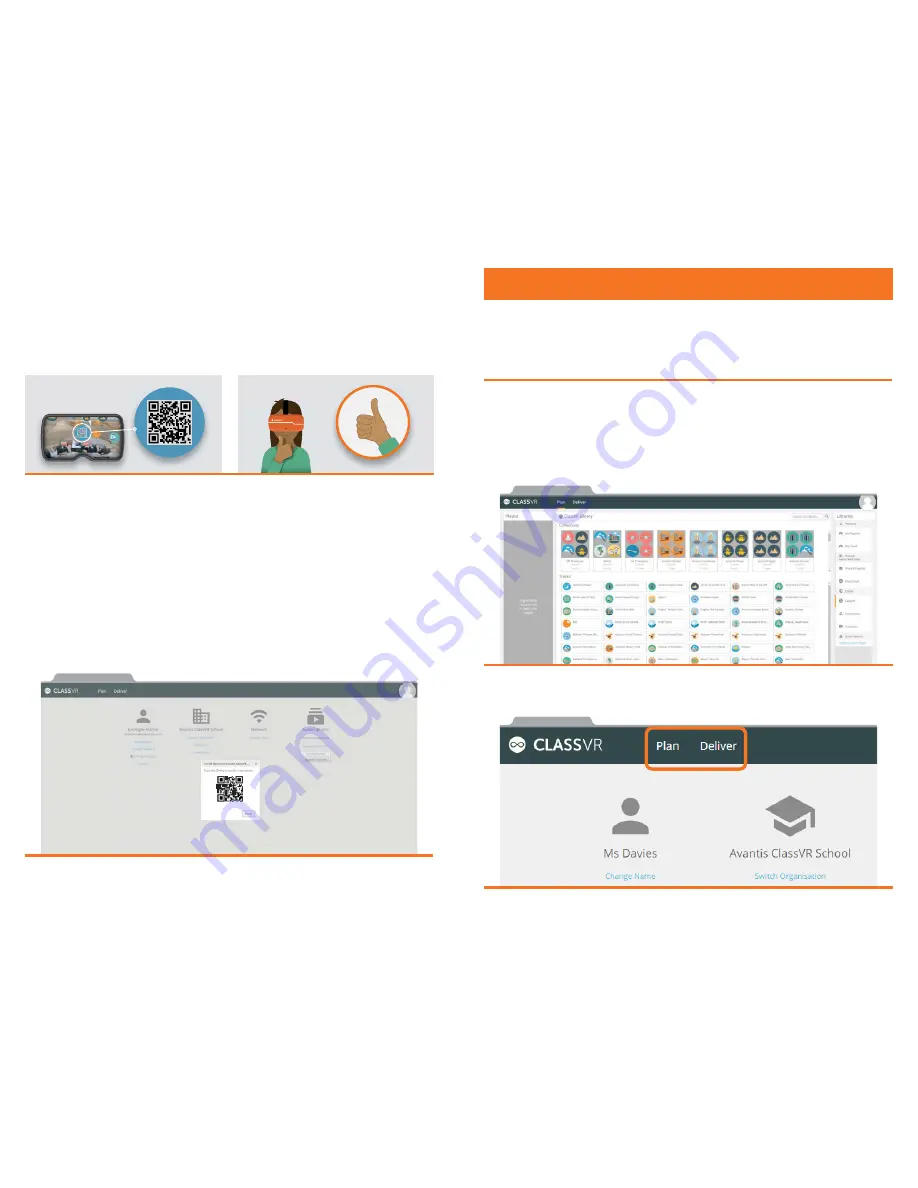
Once you have logged in, you will see the ClassVR Portal page:
The portal has two main tabs: the first helps you to plan the content you’d like to use in your
lesson, and the second to deliver it to student headsets.
Section 4
Using the ClassVR Portal
16
17
Содержание ClassVR
Страница 1: ...www classvr com support V 1 0 Setup and User Guide...
Страница 17: ...www classvr com support...


