2.3.2 Wall-mounting installation
Step 7: The left, right, top and bottom cover plate Installation
①
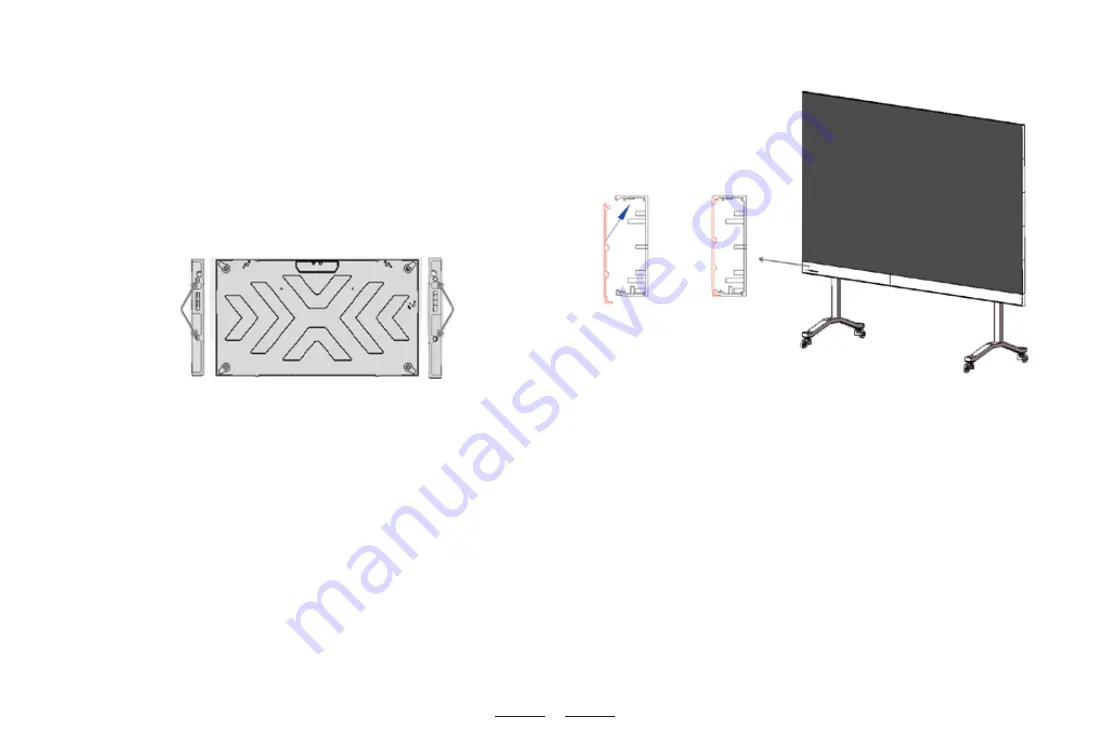
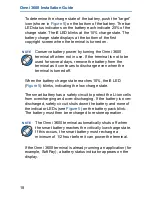
The left and right cover strips are snapped into the side spring
locating pin holes. (as mentioned that spring locating pin and the
cover strip shall be removed from the left side of the screen), as
shown below:
*The cover strip with "R" is the right one, and "L" is the left one
(based on front view)
②
Install the lower frame cover from left to right according to the
position of the cover displayed in the installation diagram with
cross screwdriver and M3*8 black counter sunk head screws, as
shown below:
For wall-mounting installation, there is no need to install the seat
bracket. After assembling the wall-mounting strip according to the
above steps in foot-mounting installation, fix the hanging kits on the
wall with expansion screws, pay attention to the height positioning
of the screen body from the ground, and the subsequent
installation
.
13
left cover strip buckle
mounting hole
right cover strip buckle
mounting hole


