English
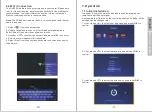
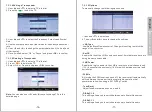
7.2.1 Channel Scan
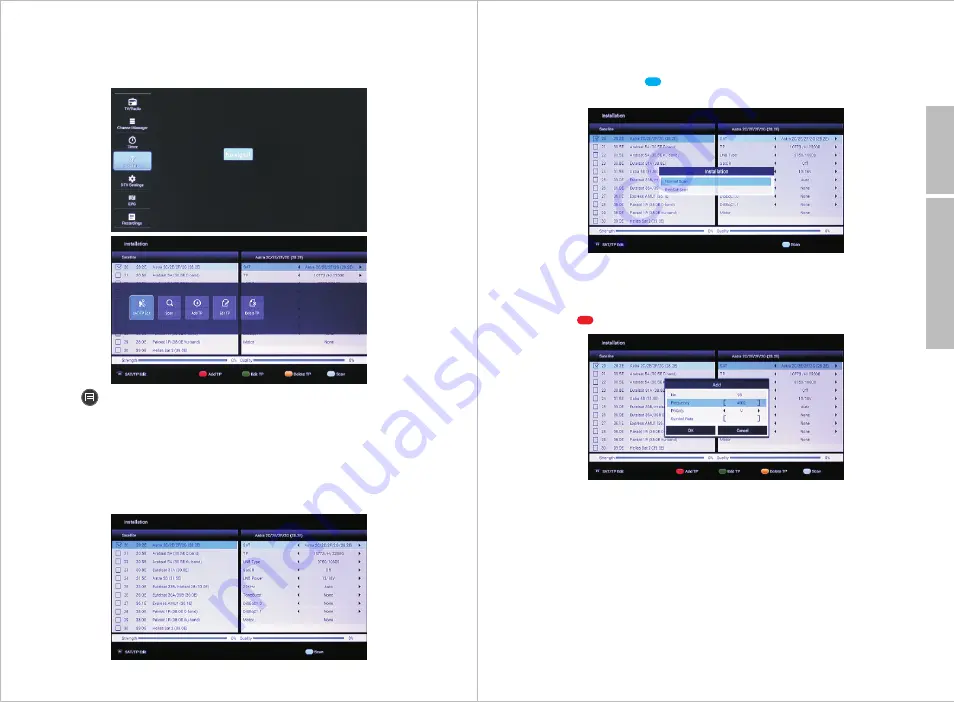
If there are no channels saved on the DVB600, a channel scan will
have to be performed. Select ‘Installation’ in the ‘DTV’ page and
press <
OK
> to enter the channel installation page.
Press< > to list all operation
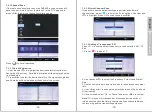
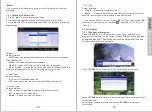
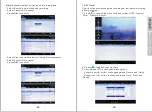
7.2.1.1 Satellite Selection
1. Use <
▲
> and <
▼
> to highlight the desired satellite from the left
hand side of the screen. Detailed information will be displayed on the
right hand side.
2. Press <
OK
> to select the desired satellite. The signal strength and
quality status will be displayed at the bottom of the screen.
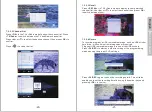
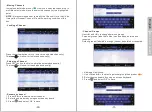
7.2.1.2 Quick Channel Scan
If you wish to use the default settings to perform an automatic
channel scan, press < > to enter the ‘Scan’ options. Use <
▲
> and
<
▼
> to highlight ‘Press OK to scan’ then press <
OK
>.
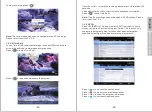
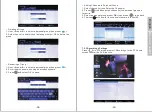
7.2.1.3 Adding a Transponder (TP)
Press <F1> to see the default frequency list and enter the ‘SAT / TP
Edit’.
1. Press < > to add a TP.
2. Use <
▲
> and <
▼
> to select the Frequency, Polarity and Symbol
Rate.
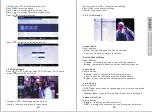
3. Use the number pad to input the values for frequency and symbol
rate.
4. Use <
◀
> and <
▶
> to change the polarity between V (Vertical) and
H (Horizontal).
5. Once finished, select ‘OK’ or ‘Cancel’ and press <
OK
> to confirm.
Note:
TP is in short for transponder. A transponder is a series of
interconnected units that form a communications channel between
the receiving and the transmitting antennas.
-14-
-15-
Back to Content


