31
2.3. How to assemble the roof (VEX option)
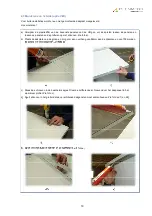
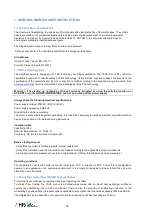
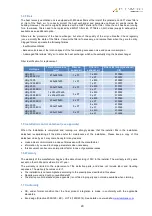
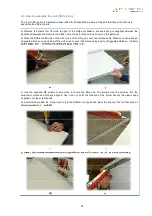
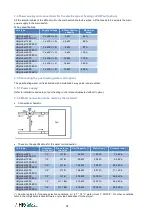
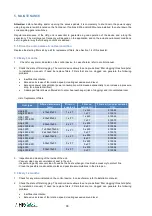
The roof (VEX) option is delivered unassembled for transportation reasons. Please follow these instructions to
assemble the different parts:
a) Remove the plastic film from the top part of the HRg unit. Make a silicone seal (not supplied) between the
panels and between the aluminium profiles on the top part of the unit, as shown on the picture a)
b) Place the different elements of the roof on top of the HRg unit, over the silicone seals. Make sure you leave an
adequate distance on each side of the unit so as to cover the whole unit properly. (Suggested distance: +/-50mm
on the sides, and +/-100mm on the front and back of the HRg).
a)
b)
c) Use the supplied M8 screws to screw the roof onto the HRg unit. The screws must be screwed into the
aluminium profile and properly aligned. Use a pen to point the location of the screw. Mount the plastic caps
supplied over the screw heads.
d) Insert silicone inside the U-clip used to join the different roof parts and place the clip over the roof sections as
shown on pictures d1) and d2)
c)
d1)
e) Make a silicone seal between the aluminium profile and the roof all around the unit, as shown in picture e)
d2)
e)
Содержание HRg 1200
Страница 1: ...KLIMAATTECHNIEK Als het om lucht gaat T 0320 28 61 81 www auerhaan klimaattechniek nl ...
Страница 38: ......

