ADVANCED MANUAL / Bit One /
32
4
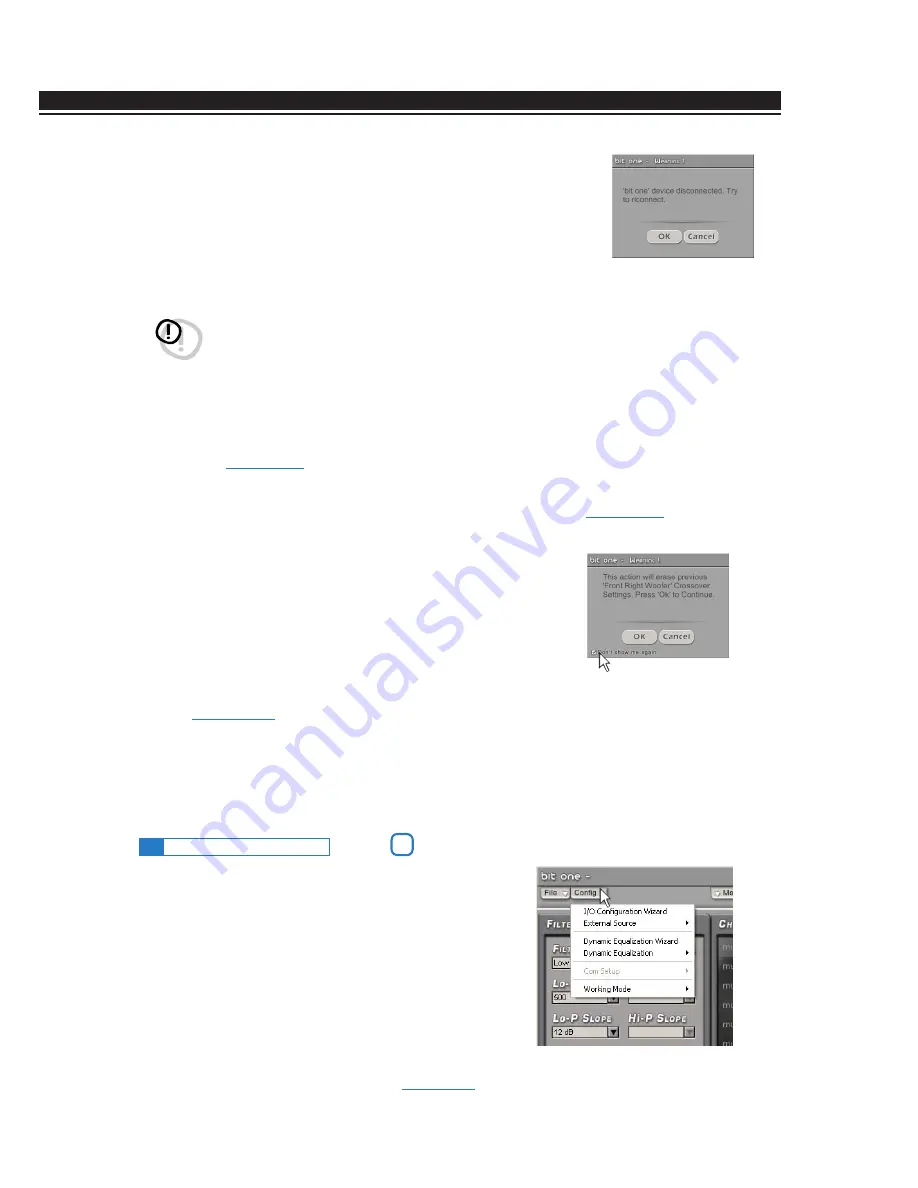
Synchronize, PC -> Bit One or PC <- Bit One:
Synchronize, PC -> Bit One or Bit One -> PC: these functions synchronize
the PC with the Bit One. If a dialog box like the one on the right of this page
shows up, it means that for some reason communication between the PC
and the Bit One has been interrupted. To restore the communication click:
•
PC -> Bit One.
The PC loads in the Bit One the settings that have
been so far selected.
•
PC <- Bit One.
The PC loads in the PC Software the settings that have
been previously stored in the Bit One.
5
Check for updates
: by connecting to the web site “ http://update.audison.eu ”, it checks if any software/
firmware updates of the Bit One or the DRC are present, to be able to update the Bit One and DRC you are
using
(
see section 10.3.6
)
.
To perform this operation, your PC has to be connected to the internet.
6
Update Firmware
: you have to select it to update the Bit One firmware
(
see section 10.1.6
)
.
7
Reset Default Answer
: it restores the display of the warning
messages if they have been disabled by unchecking
“
Don’t show me again
”.
8
Restore Factory Defaults
: it entirely resets the Bit One back to its
default settings, cancelling all the data previously saved in the Bit One
(
see section 10.3.11
)
.
9
Credits
: it shows the information about the Bit One software in use.
10
Exit
: it exits the PC Software.
WARNING:
this operation can not guarantee that the data are always retrieved.
If, once you have run it, the operation is not successful:
1.
exit the Bit One software;
2.
turn the Bit One off;
3.
turn the Bit One on;
4.
launch again the Bit One software.
By performing these actions, synchronization will be restored but the selected settings will be lost.
If you click on the “Config” tab, a drop-down menu
shows up listing the entries shown in the image on the
right of the page:
1
I/O Configuration Wizard:
it provides the ability to
perform a new auto-setup, taking the Bit One to the
conditions required to run this operation
(
see section 8.3.1
)
.
9.3
MAIN MENU: “CONFIG”
2
1
2
3
4
5
6
9


