ADVANCED MANUAL / Bit One /
28
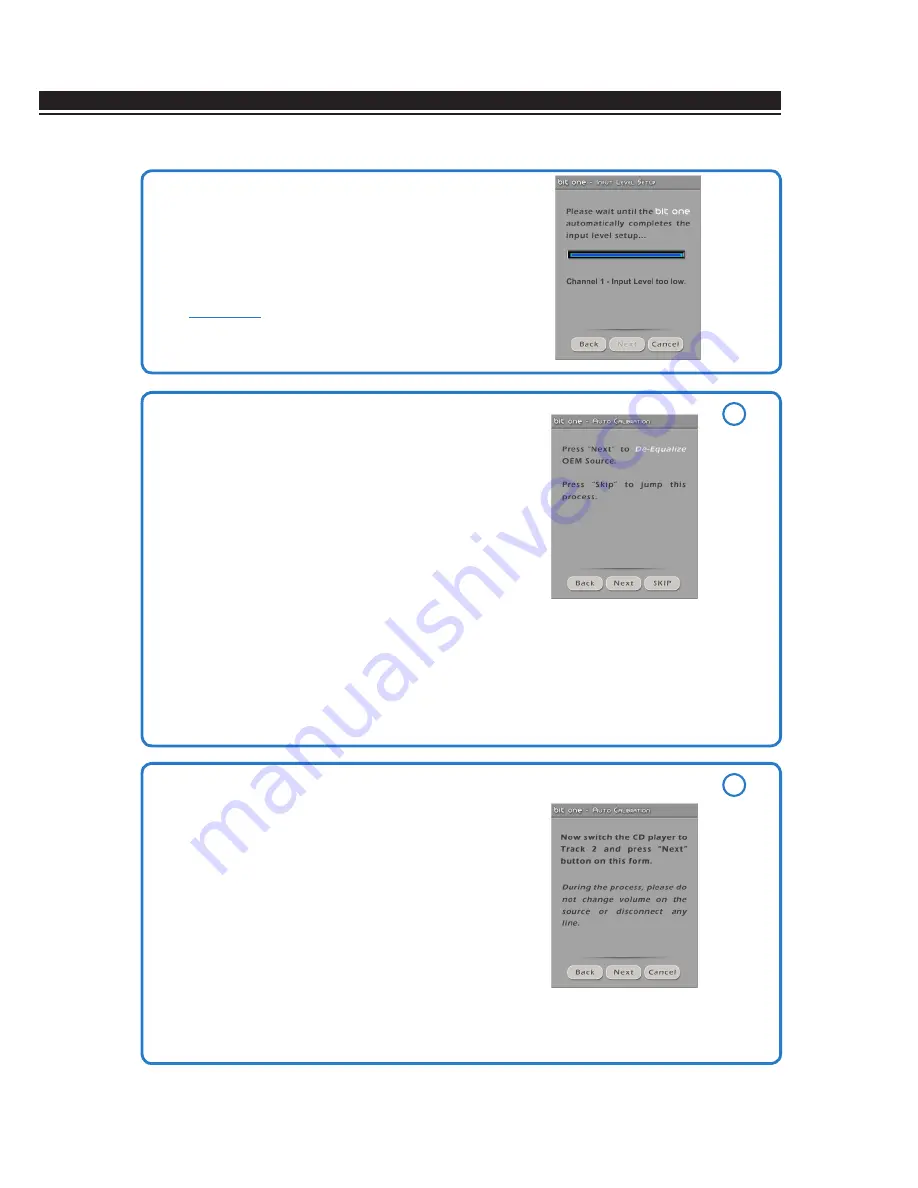
“Input level too low“
Should the procedure get interrupted during the
calibration with the above message showing up,
check if the signal or its level is present on the
indicated corresponding channel.
Press
CANCEL
to log out the program.
Press
BACK
to go back to the inputs set-up
(
see section 8.3.2
)
.
POSSIBLE ERROR MESSAGE
4.
OEM source de-equalization
Optional operation.
While setting up the high-level inputs you can take advantage
of this function to use OEM sources, even if they were equalized
to best adapt to the acoustics of the vehicle they are dedicated to.
The de-equalization process performs an analysis of the electrical
frequency response coming from the different channels of the
OEM source, automatically applying an equalization contrary to
the original one, thus generating a linear signal, much more
suitable to drive high-quality audio systems.
Regardless of the input channels used, the de-equalization will
be performed for each functional group.
Ex. :
even though you are using Front Left Full and Front Right Full as inputs, the software will perform the
de-equalization also on the Rear, Center and Subwoofer as the processor will have to use the signals
identified as Front to possibly also manage the outputs Rear, Center and Subwoofer.
Press
BACK
to go back to the previous step.
Press
NEXT
to go ahead with the set-up procedure.
Press
SKIP
to skip the de-equalization procedure.
5.
Running the de-equalization procedure
If you decide to run the procedure, follow the instructions as listed below:
- Insert the supplied disk:
• insert the “Setup CD” if the head unit you are using is an
AUDIO CD Player;
• insert the “TEST Signal DVD” if the head unit you are using
is a Dolby Digital (AC3) “Audio Car Theatre 5.1” featuring
analog outputs, or if it is an analog audio system featuring
a central channel;
- Play track 2 (press Play);
- Set all tone controls to zero (0);
- Set balance and fader to center (0);
- Don’t change the volume level previously set through the
inputs level automatic calibration;
Press
BACK
to go back to the previous step.
Press
NEXT
to go ahead with the set-up procedure.
Press
CANCEL
to exit the program.
Screen
image
sequence
4
5
8


