11
Getting Ready
Initial Settings
The Initial Settings screen is displayed automatically when first
turning on the power after purchasing the IS11CA, or restarting
after initializing the IS11CA.
For detailed operations on the initial settings, refer to the
supplied Setting Guide (Japanese).
Hold down
P
for at least two seconds to
turn on the power
The Initial Settings screen is displayed.
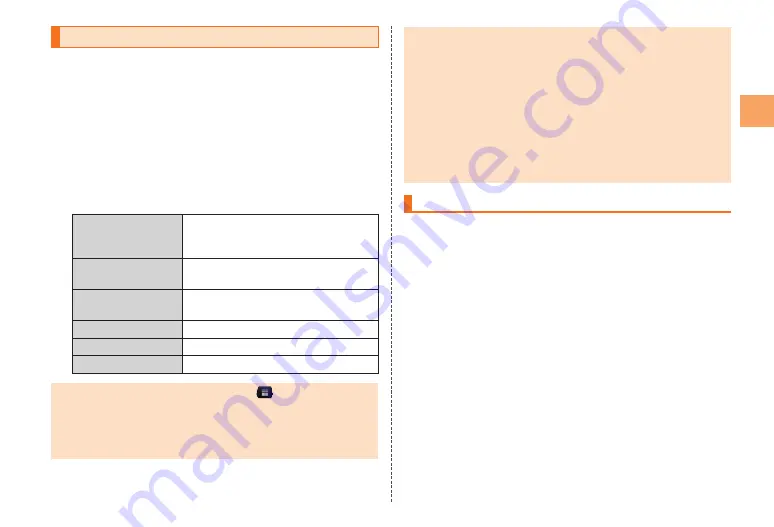
Configure the following initial settings as described in the
instructions on the screen.
Language
Set the language to use.
You can select
日本語
(Japanese)
or English.
•
Date & Time
Set the display format for the date
and time.
E-mail Settings
Do the initial settings for au mobile e-
mail (@ezweb.ne.jp).
au one-ID Settings
Set up au one-ID.
Wi-Fi Settings
Set up Wi-Fi access point.
Google Sign-up
Set up your Google account.
Alternatively, from the home screen, tap
→
[Setup Wizard]
to set up.
About the E-mail initial settings
You need to apply to use E-mail. If you did not apply at the time
of purchase, contact an au shop or Customer Center.
•
•
When configuring the initial settings, select “Japan” for the
“Area Settings” and then configure the settings in a location in
Japan where the signal reception is good. The settings may not
be configured correctly if you are in a location where the signal
reception is poor or if you are moving.
Depending on the time of day, it may take from about 30
seconds to 3 minutes to configure the initial settings. Continue
waiting as long as the message “Configuring mail settings.
Please wait.” is displayed on the screen.
For the procedure to change the e-mail address in the initial
settings, refer to “Changing Your E-mail Address”.
Setting Up a Google™ Account
If you set up a Google account on your IS11CA, you will be able
to use the online services provided by Google.
The Google account setup screen is displayed when, for
example, you configure the initial settings, first start an
application that requires a Google account, or first configure
“Accounts & sync”.
On the Google account setup screen, tap
[Settings]
The Google account setup screen is displayed.
[Next]
→
[Create]/[Sign in]
If you already have a Google account, tap “Sign in” and
enter your username and password, and then tap “Sign in”.
If you do not have a Google account, tap “Create” and
register for an account as described in the instructions on
the screen.
•
•
•


