Tube Installation Instructions
1. Ensure that all mains power is disconnected from the unit.
2. Carefully remove tubes from packing and check that the tube is
free of damage such as cracking or a loose cap-to-dielectric
connection.
3. Inspect the outer metal mesh and adjust, if possible, to maintain
a 1.25cm distance from the end cap. It is ideal if the seams on
both the inner and outer electrodes line up together.
4. Gently pull the conductor strap back far enough to allow the tube to turn freely.
5. Screw the end screw of the tube into the tube-holder hand-tight. Do not over-tighten the tube!
It is important to only hold the tube by the end cap when tightening;
otherwise the outer
mesh may twist, reducing effectiveness, or worse, the seal between the dielectric material and
the cap may break.
6. Once the tube is secure, return the conductor strap to its
normal position and ensure solid contact is made with the
tube’s outer mesh.
Once all tubes are installed and personnel clear, the power
can be re-connected and the system turned on.
!!!CAUTION!!!
Use care in installation:
Only tighten the tube into the tube-holder so the tube is not loose.
Do not release the conductor strap abruptly, as the stress caused by the harsh contact with
the dielectric material may cause stress leading to damage to the tube.
Do not over-stress the conductor strap while installing the tube, causing deformation. The
conductor strap should lay mostly flat against the tube to make solid contact.
!!!CAUTION!!!
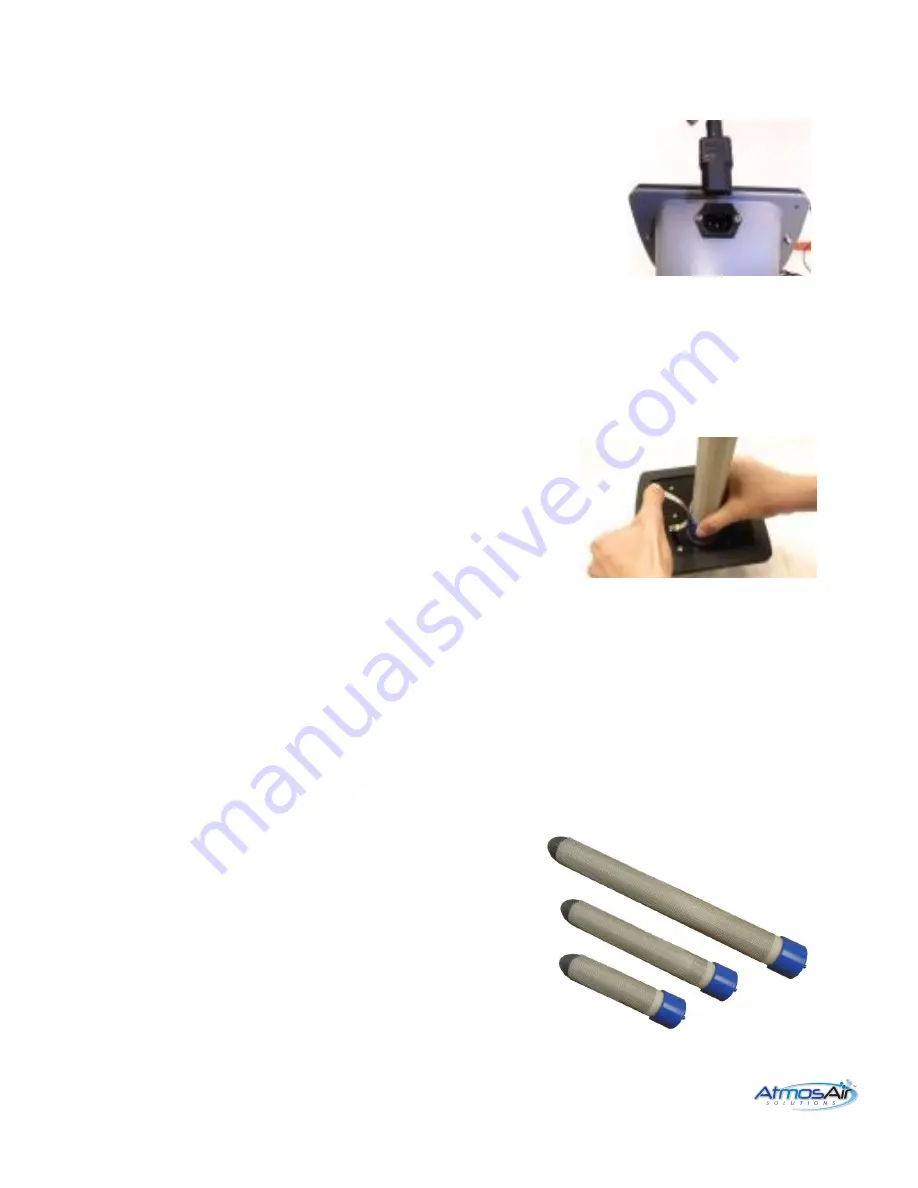
Note: Nearly any size tube can fit the Matterhorn 800
series, including the C tube, the D tube, the E tube, and
the F tube (not shown).


