® Copyright ATH-Heinl GmbH & Co. KG, All rights reserved / Misprints and technical changes reserved / As of: 2020-10
Manufacturer ATH-Heinl GmbH & CO.KG
- 26 -
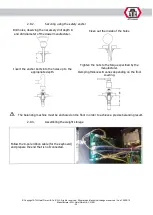
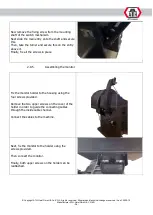
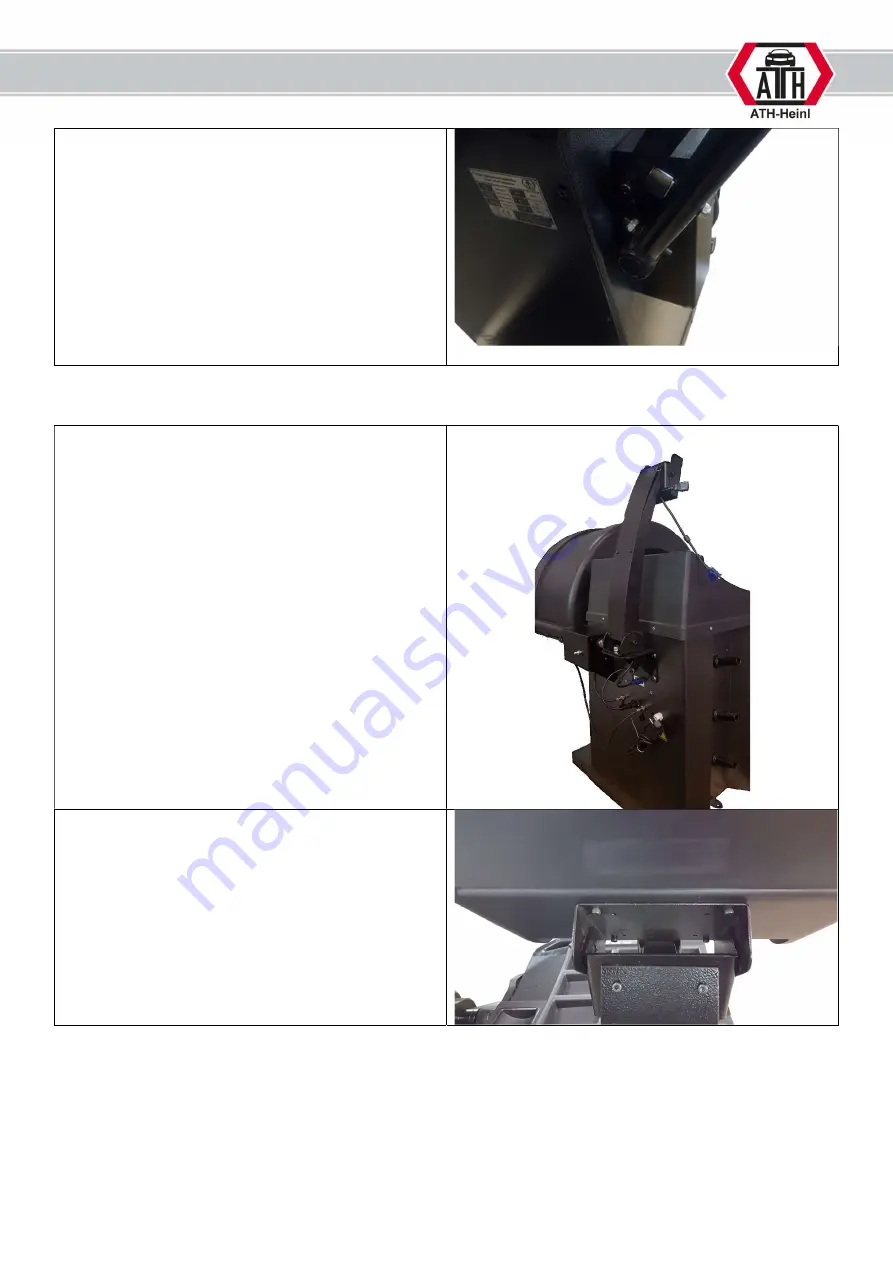
Now remove the fixing screw from the mounting
shaft of the switch mechanism.
Next slide the main entry onto the shaft and secure
this.
Then, take the turner and secure this on the entry
above it.
Finally, fix all the screws in place
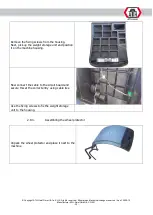
2.9.5.
Assembling the monitor
Fix the monitor holder to the housing using the
four screws provided.
Remove the two upper screws on the cover of the
holder in order to guide the connecting cables
through the inside cable channel.
Connect the cables to the machine.
Next, fix the monitor to the holder using the
screws provided.
Then connect the monitor.
Finally, both upper screws on the holder can be
reattached.
Содержание W142
Страница 3: ...BEDIENUNGSANLEITUNG ATH W142 ...
Страница 59: ...OPERATING INSTRUCTIONS ATH W142 ...
Страница 115: ...MANUEL D UTILISATION ATH W142 ...
Страница 171: ...NÁVOD K OBSLUZE ATH W142 ...
Страница 227: ...MANUAL DE INSTRUCCIONES ATH W142 ...
Страница 283: ...BEDIENINGSHANDLEIDING ATH W142 ...
Страница 339: ...INSTRUKCJA OBŁSUGI ATH W142 ...
Страница 395: ...NÁVOD NA OBSLUHU ATH W142 ...

