® Copyright ATH-Heinl GmbH & Co. KG, All rights reserved / Misprints and technical changes reserved / As of: 2020-10
Manufacturer ATH-Heinl GmbH & CO.KG
- 11 -
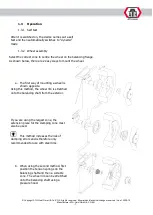
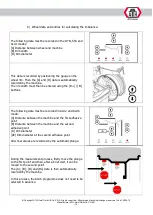
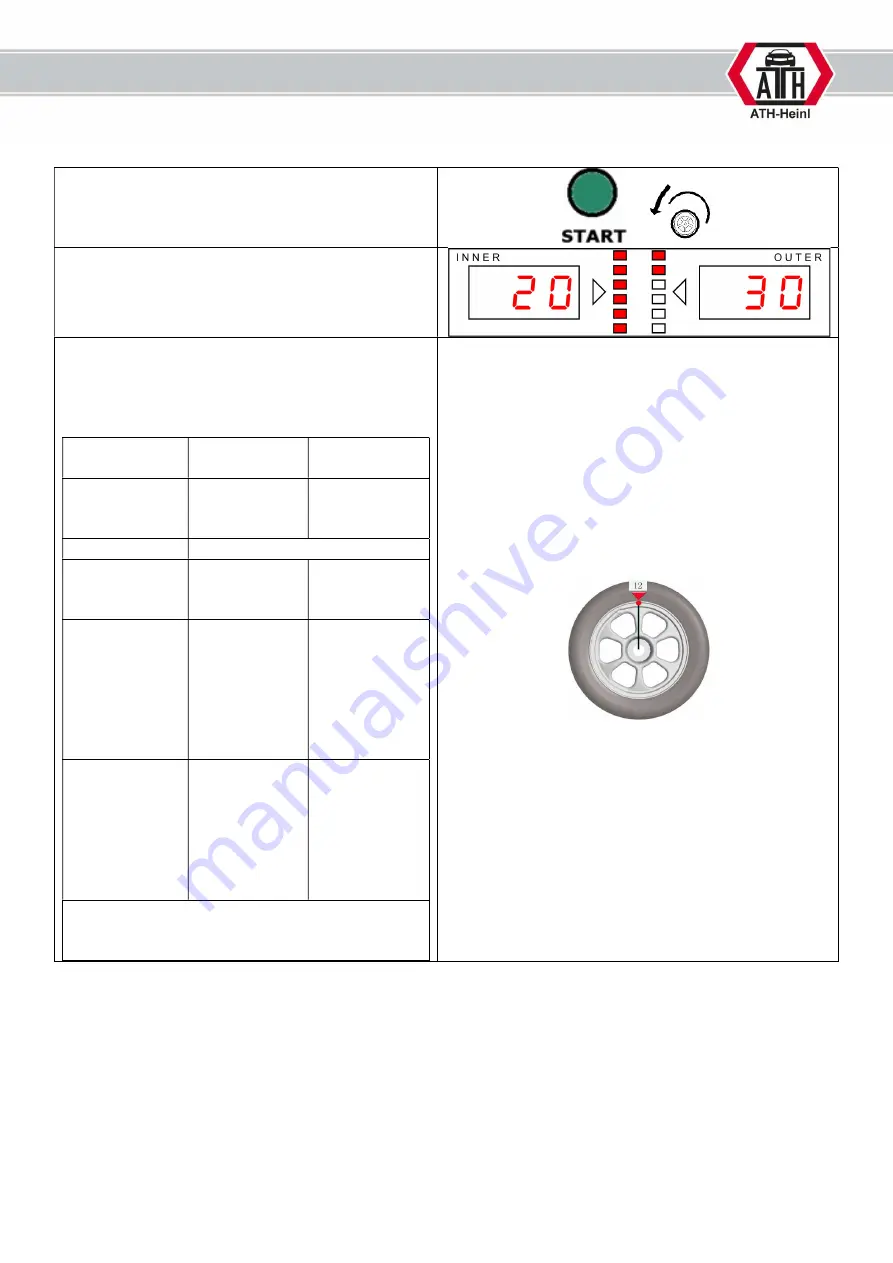
1.3.5 Starting the balancing process
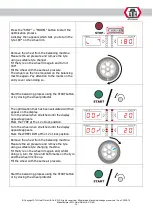
Start the balancing process using the
STARTbutton or by closing the wheel protector
/
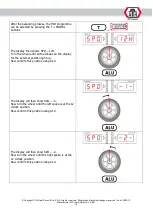
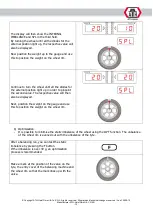
Turn the wheel until all the diodes on the display
light up
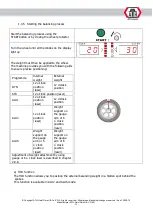
The weight must then be applied to the wheel.
The machine provides you with the following aids
to ensure precise positioning:
Programme
Internal
weight
External
weight
DYN
12 o'clock
position
(laser)
12 o'clock
position
STA
12 o'clock position (laser)
ALU1
12 o'clock
position
(laser)
12 o'clock
position
ALU2
12 o'clock
position
(laser)
Weight
support on
the gauge
arm or 6
o´clock
position
(laser)
ALUS
Weight
support on
the gauge
arm or 6
o´clock
position
(laser)
Weight
support on
the gauge
arm or 6
o´clock
position
(laser)
Adjustment of weight attachment by using
gauge or 6 o´clock laser is described in chapter
2.9.8.
a)
HID function
The HID function allows you to position the external balancing weight in a hidden spot behind the
spokes.
This function is available in ALU2 and ALUS mode.
Содержание W142
Страница 3: ...BEDIENUNGSANLEITUNG ATH W142 ...
Страница 59: ...OPERATING INSTRUCTIONS ATH W142 ...
Страница 115: ...MANUEL D UTILISATION ATH W142 ...
Страница 171: ...NÁVOD K OBSLUZE ATH W142 ...
Страница 227: ...MANUAL DE INSTRUCCIONES ATH W142 ...
Страница 283: ...BEDIENINGSHANDLEIDING ATH W142 ...
Страница 339: ...INSTRUKCJA OBŁSUGI ATH W142 ...
Страница 395: ...NÁVOD NA OBSLUHU ATH W142 ...

