10
Trigger Level
Set to trigger when 9
Volts is applied
Press the Trigger Level button (2nd button located in row of buttons at the
bottom).
In the Trigger Level window, highlight Waveform A01.
Press
Level
. Then press
New Value
. Press the digit “
8
”. Press
OK
.
Press
Slope
. Then press
Rise
.
Press
OR
. Then press
Yes
.
Press
OK
at the lower right hand corner of the menu.
You have just set the trigger to be asserted when the signal input into
channel one rises past 8 Volts.
Save and exit trigger
setup
Press
OK
. Press
OK
.
Test your trigger setup
Input the 9 volt battery voltage and verify the
Trigger Indicator
flashes
yellow as it goes by the 8V set trigger level. If it doesn’t, recheck your
trigger setup.
Arm for capture
Choose
Capture
>
Arm
from the menu bar to arm for capture.
The Capture Progress window pops up indicating status.
Input battery voltage into
Channel #1
A trigger should be produced and the capture continues to the end. While capturing, you
should have seen the waveform for Channel #1 increase from the bottom of the grid to the
top of the grid.
IV. Data Review:
Data capture records can be reviewed on the color display. VCR-like control buttons allow for convenient scrolling through
the data. Cursors can be placed on the data for measurements. During review, the time base can be expanded or
compressed to give appropriate detail of the signal. From the display, part of or all the data can be saved.
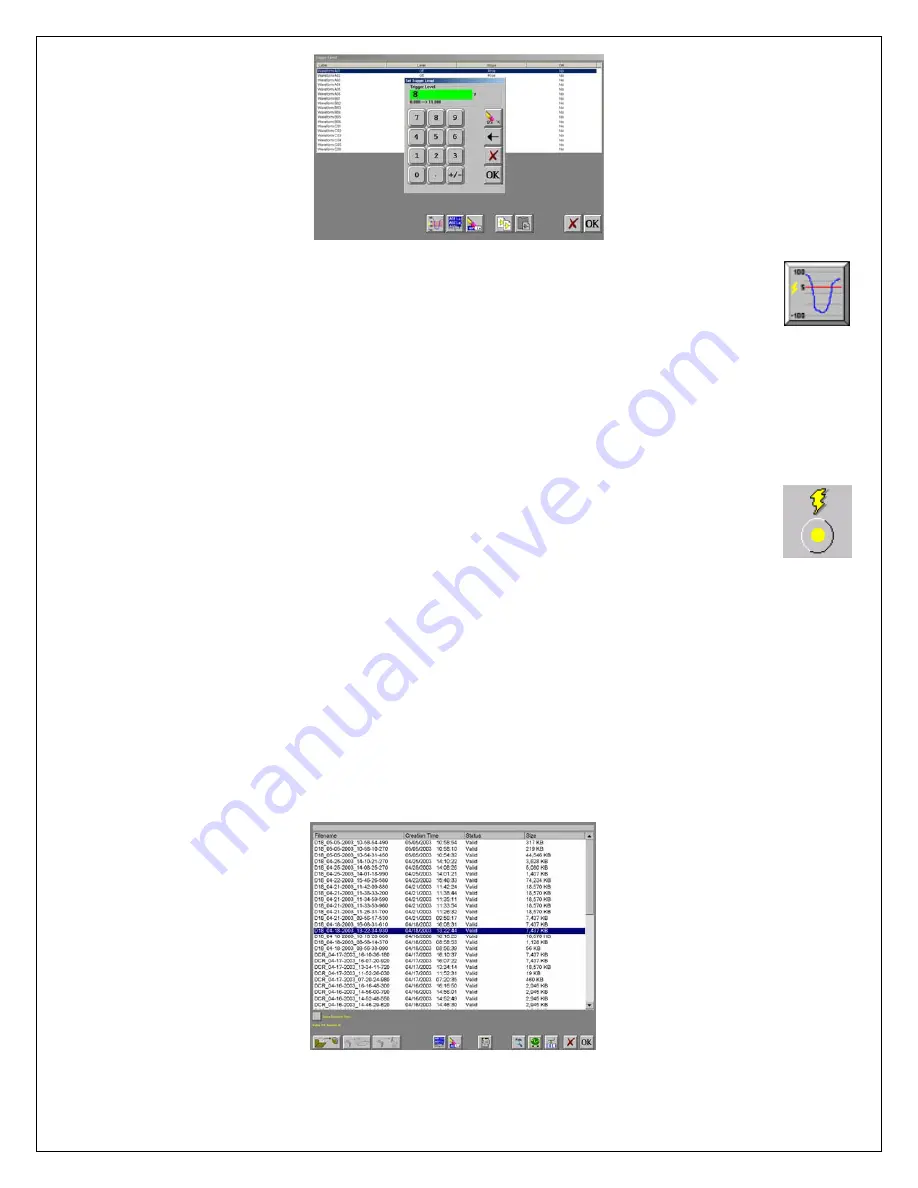
List of data capture records for review


