Placing your Camera (continued)
Wall Mounting the Camera
To mount the camera to a wall or other vertical
surface, you will need the following:
1.
Hold the camera up on the wall and test what the video will look like in the monitor. When you
are satisfied with the video, mark the spot with the pencil. Be sure the cord can reach an outlet.
2.
Drill a pilot hole. Use the 1/4 inch bit for drywall or use the 1/8 inch bit for other surfaces.
3.
Push the drywall anchor into the pilot hole until the lip of the anchor hits the wall.
4.
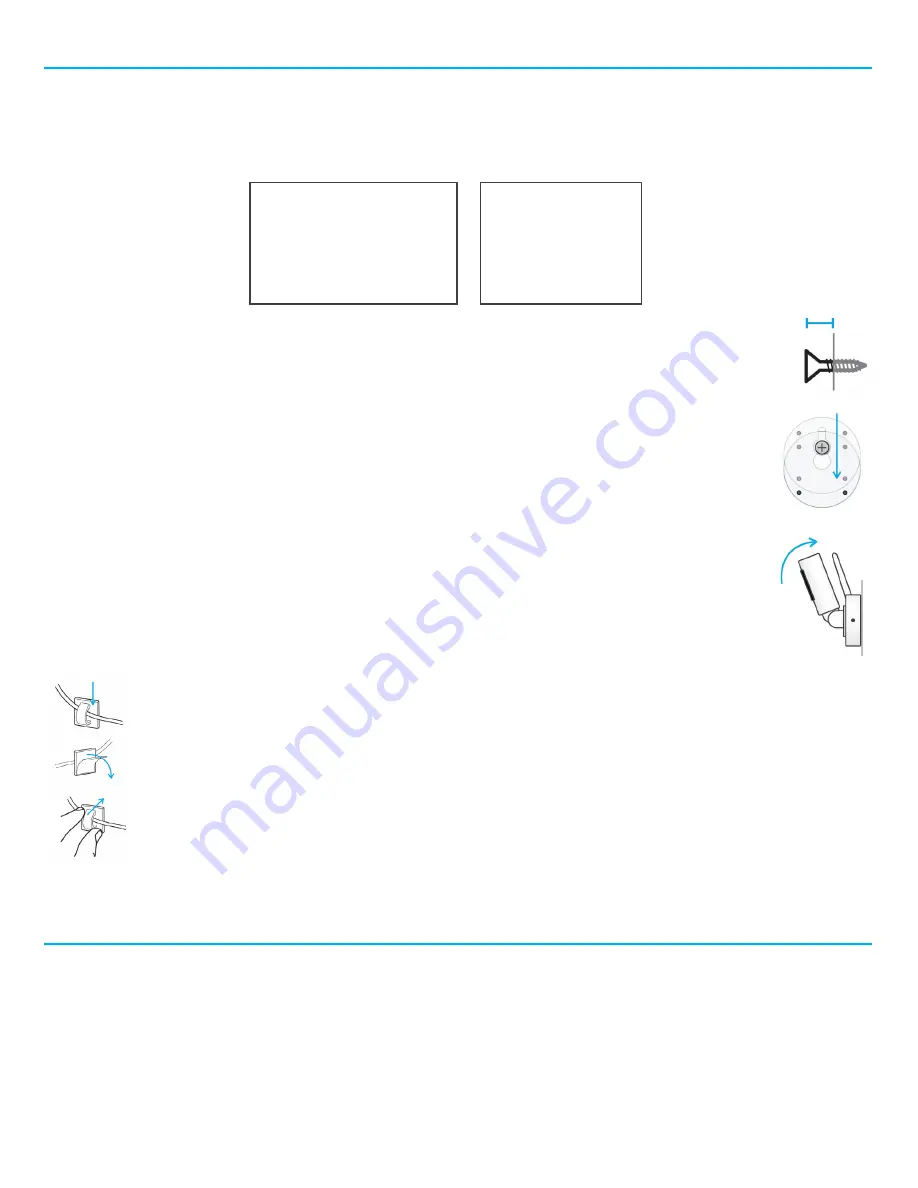
Screw the screw into the anchor or pilot hole, but not completely. The screw head should be about
1/4 inch from the wall.
5.
Place the wall mount hole (on camera bottom) over the exposed screw head. Slide the camera down
until the top of the wall mount hole is resting on the screw.
6.
Rotate back the camera head and antenna to the desired angle. The camera can also swivel up to 350º
Securing the Cord
To prevent entanglement,
ALWAYS
secure the cord to a wall using all 6 of the cord clips provided:
1. Feed the cord through the open part of each clip.
2. Peel the adhesive backing.
3. Press each clip onto the wall with the open part of the clip facing up.
Cleaning and Care
To clean your Smart Sync Wi-Fi Camera, disconnect from power. Use a soft, lint-free cloth. Avoid getting moisture in
openings. Do not use cleaning solutions or compressed air. Keep your camera away from direct sunlight, as well as hot or
humid areas. Do not let the product get wet.
Tools (not included)
• Drill
• 1/4 inch Drill Bit (for drywall)
• 1/8 inch Drill Bit (for other)
• Phillips Screwdriver (+)
• Pencil
Parts
• Drywall Anchor
• Screw
• Camera
• AC Power Adapter
1/4”


