EN 7
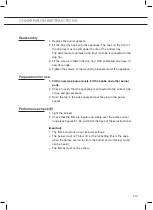
Reassembly
1. Replace the burner gaskets.
2. Fit the drip tray bank onto the appliance. The clips on the front of
the drip tray must be slid under the rim of the bottom tray.
The earth lead of enamelled drip trays must be reconnected to the
drip tray.
3. Fit the screws to fasten the drip tray! With enamelled drip trays, fit
new fibre rings.
4. Tighten the screws of the mounting brackets under the appliance.
Preparations for use
1. Fit the new wok burner parts. Fit the knobs and other burner
parts.
2. Check to verify that the appliance is connected to the correct type
of gas and gas pressure.
3. Open the tap in the gas supply and put the plug in the power
socket.
Performance check (E)
1. Light the burners.
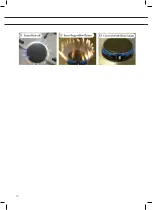
2. Check that the flame is regular and stable over the entire control
range (see figures E1, E2 and E3 at the back of these instructions).
Important:
• The flame must not go out at lower settings;
• The burner must not ‘blow off’ at the full setting (this is the case
when the flames are too far from the burner and a ‘hissing’ sound
can be heard);
• The flames must not be yellow.
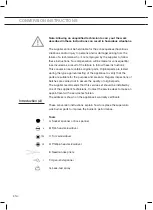
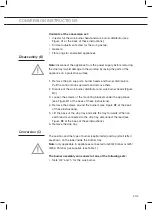
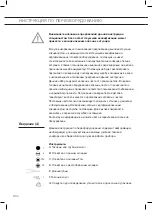
CONVERSION INSTRUCTIONS
Содержание HG6411WEBA/A01
Страница 8: ...NL 8...
Страница 14: ...FR 8...
Страница 20: ...EN 8...
Страница 21: ...RU 3 A 4 B 5 C 5 D 6 7 7 E 7...
Страница 22: ...RU 4 A Supervario A B C Torx D E F G 7 4 T20 P2 7...
Страница 23: ...RU 5 1 B 1 2 B4 3 4 2 5 3 6 C G20 20 G25 G25 3 25 1 H2 h...
Страница 24: ...RU 6 1 h 4 2 2 H2 7 C1 D 1 2 3 4 1 2 150 5...
Страница 25: ...RU 7 3 150 5 4 1 2 3 4 1 2 3 E 1 2 E1 E2 E3...
Страница 26: ...8 A1 B2 B4 B1 B3...
Страница 28: ...10...
Страница 29: ...11...
Страница 30: ...12...
Страница 31: ...13...
Страница 32: ...710637 VER 1 29 03 2018...

