


ASUS Maximus IV Extreme-Z
4-35
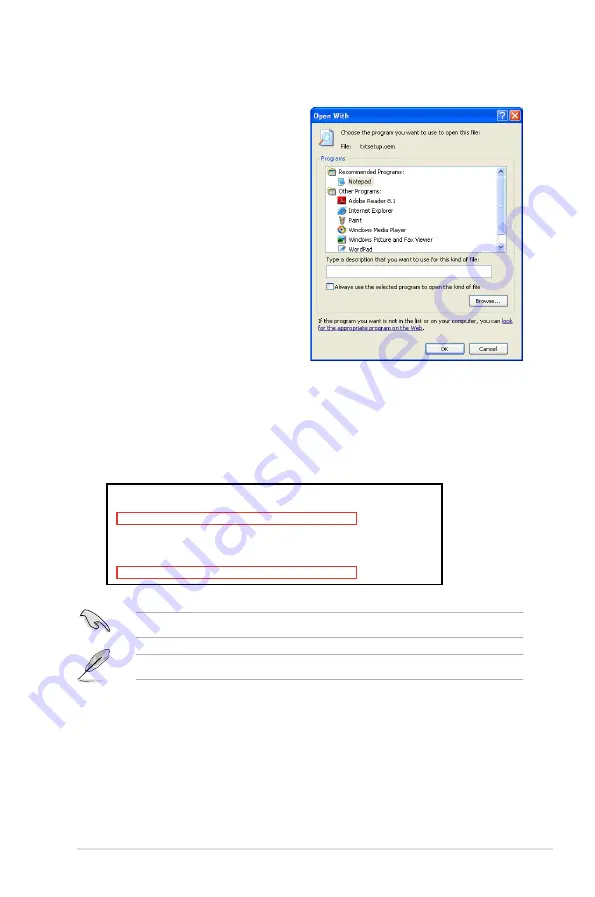
8. Find the
[HardwareIds.scsi.iaAHCI_DesktopWorkstationServer]
and
[HardwareIds.scsi.iaStor_DesktopWorkstationServer]
sections in the
txtsetup.oem
file.
9. Type the following line to the bottom of the two sections:
id = “USB\VID_xxxx&PID_xxxx”, “usbstor”
10. Save and exit the file.
Add the same line to both sections.
The VID and PID vary with different vendors.
7. Use Notepad to open the file.
[HardwareIds.scsi.iaAHCI_DesktopWorkstationServer]
id= “PCI\VEN_8086&DEV_1C02&CC_0106”,”iaStor”
id= “USB\VID_03EE&PID_6901”, “usbstor”
[HardwareIds.scsi.iaStor_DesktopWorkstationServer]
id= “PCI\VEN_8086&DEV_2822&CC_0104”,”iaStor”
id= “USB\VID_03EE&PID_6901”, “usbstor”
Содержание Maximus iv extreme rev 3
Страница 1: ...Motherboard Maximus IV Extreme Z ...
Страница 20: ...ROG Maximus IV Extreme Z Chapter summary 1 1 1 Welcome 1 1 1 2 Package contents 1 1 1 3 Special features 1 2 ...
Страница 73: ...A B 1 2 3 2 3 2 CPU installation ASUS Maximus IV Extreme Z 2 41 ...
Страница 74: ...C B A 5 6 4 2 42 Chapter 2 Hardware information ...
Страница 76: ...To uninstall the CPU heatsink and fan assembly 2 A B B A 1 2 44 Chapter 2 Hardware information ...
Страница 77: ...1 2 3 To remove a DIMM 2 3 4 DIMM installation B A ASUS Maximus IV Extreme Z 2 45 ...
Страница 79: ...DO NOT overtighten the screws Doing so can damage the motherboard 3 ASUS Maximus IV Extreme Z 2 47 ...
Страница 80: ...2 3 6 ATX Power connection 1 2 OR OR 2 48 Chapter 2 Hardware information ...
Страница 81: ...2 3 7 SATA device connection OR 2 OR 1 ASUS Maximus IV Extreme Z 2 49 ...
Страница 87: ...Connect to 5 1 channel Speakers Connect to 7 1 channel Speakers ASUS Maximus IV Extreme Z 2 55 ...
Страница 90: ...2 58 Chapter 2 Hardware information ...
Страница 180: ...4 36 Chapter 4 Software support ...


