20
2
Knowing the Parts
Right Side
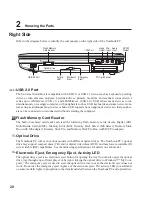
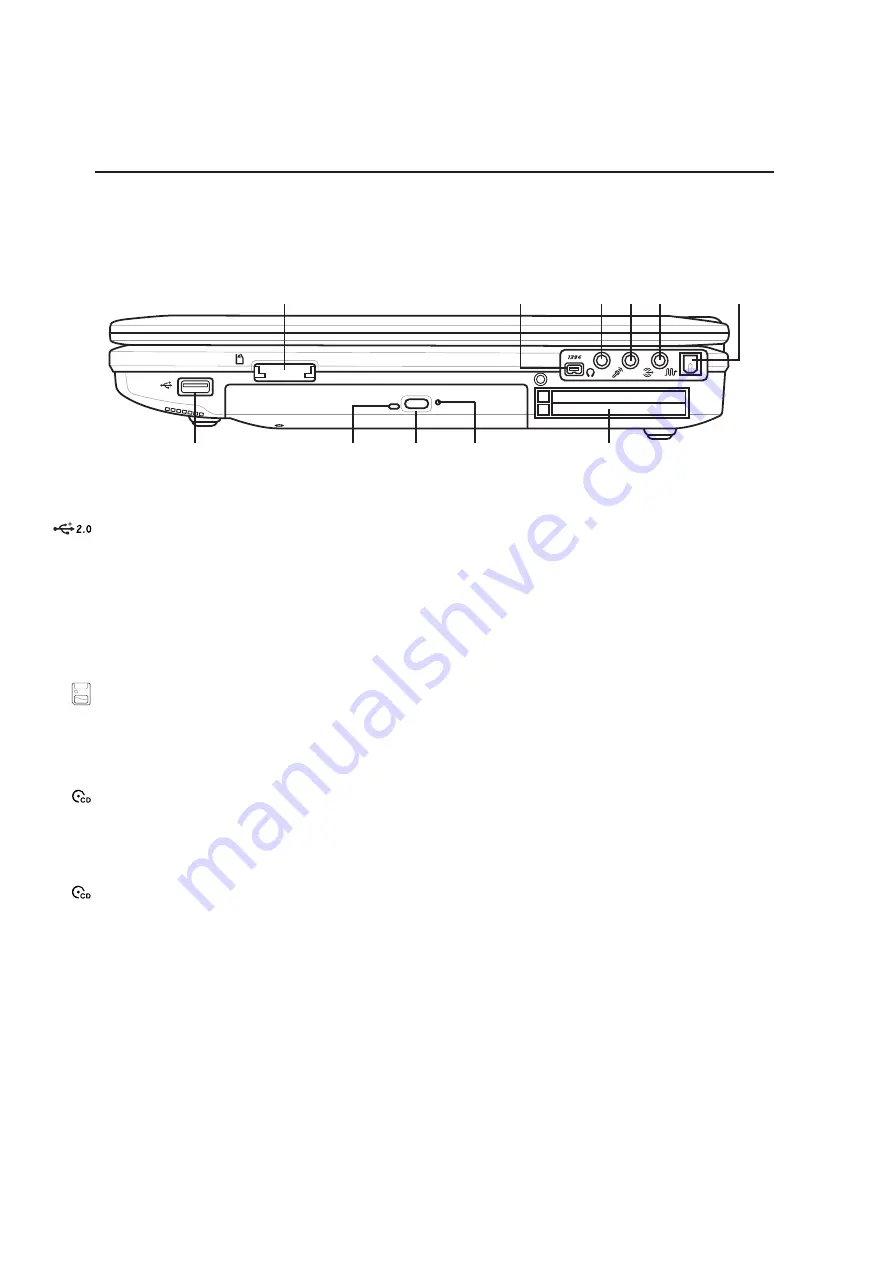
Refer to the diagram below to identify the components on the right side of the Notebook PC.
1394 Port
Flash Memory
Card Reader
PC Card Socket
Optical Drive
Electronic
Eject
Emergency
Eject
Activity
LED
USB 2.0 Port
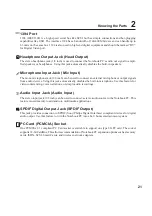
Mic
Input
Head
Output
Audio
Input
SPDIF
Output
Flash Memory Card Reader
The built-in memory card reader can read the following flash memory cards: Secure Digital (SD),
Multi-Media Card (MMC), Memory Stick (MS), Memory Stick Select (MS Select), Memory Stick
Duo (with MS adapter), Memory Stick Pro, and Memory Stick Pro Duo (with MS Pro adapter).
USB 2.0 Port
The Universal Serial Bus is compatible with USB 2.0 or USB 1.1 devices such as keyboards, pointing
devices, video cameras, modems, hard disk drives, printers, monitors, and scanners connected in a
series up to 12Mbits/sec (USB 1.1) and 480Mbits/sec (USB 2.0). USB allows many devices to run
simultaneously on a single computer, with peripherals such as USB keyboards and some newer moni-
tors acting as additional plug-in sites or hubs. USB supports hot-swapping of devices so that peripher-
als can be connected or disconnected without restarting the computer.
Optical Drive
The Notebook PC comes in various models with different optical drives. The Notebook PC’s optical
drive may support compact discs (CD) and/or digital video discs (DVD) and may have recordable (R)
or re-writable (RW) capabilities. See the marketing specifications for details on each model.
Electronic Eject, Emergency Eject, Activity LED
The optical drive eject is an electronic eject button for opening the tray. You can also eject the optical
drive tray through any software player or by right clicking the optical drive in Windows™ “My Com-
puter.” The emergency eject is used to eject the optical drive tray in case the electronic eject does not
work. Do not use the emergency eject in place of the electronic eject. The activity LED (not available
on some models) lights in proportion to the data transferred between the Notebook PC and optical disc.
Содержание L5D
Страница 12: ...11 1 Introducing the Notebook PC About This User s Manual Notes For This Manual Preparing your Notebook PC ...
Страница 15: ...14 1 Introducing the Notebook PC ...
Страница 16: ...15 2 Knowing the Parts Top Side Bottom Side Right Side Rear Side Left Side Front Side ...
Страница 27: ...26 2 Knowing the Parts ...
Страница 43: ...42 3 Getting Started ...
Страница 76: ...75 Appendix A ...

