


ASUS A8N-SLI SE
2-7
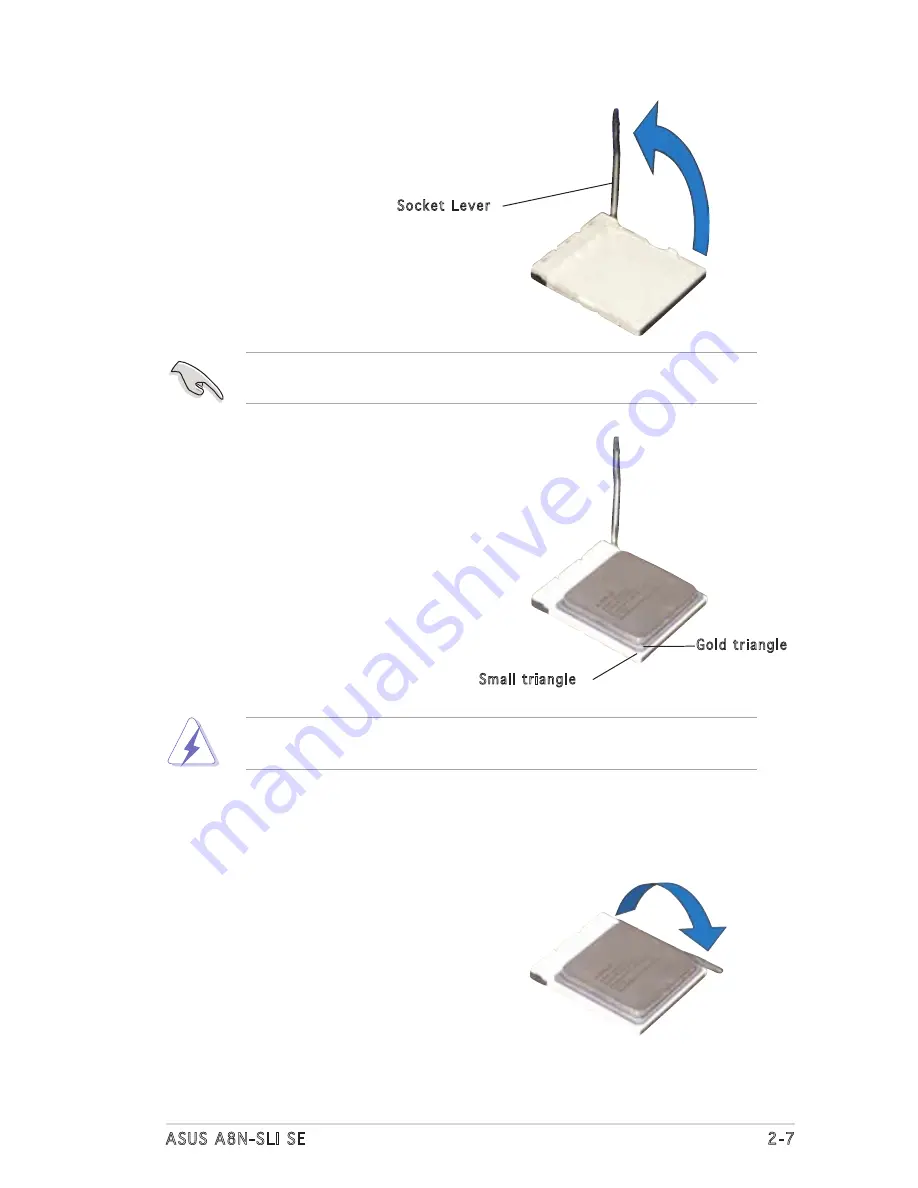
3. Position the CPU above the
socket such that the CPU corner
with the gold triangle matches
the socket corner with a small
triangle.
4. Carefully insert the CPU into the
socket until it fits in place.
2. Unlock the socket by pressing the
lever sideways, then lift it up to a
90°-100° angle.
Make sure that the socket lever is lifted up to 90°-100° angle, otherwise
the CPU does not fit in completely.
The CPU fits only in one correct orientation. DO NOT force the CPU into
the socket to prevent bending the pins and damaging the CPU!
5. When the CPU is in place, push
down the socket lever to secure
the CPU. The lever clicks on the
side tab to indicate that it is
locked.
Gold triangle
Small triangle
Socket Lever
Содержание A8N-SLI SE
Страница 1: ...Motherboard A8N SLI SE ...
Страница 15: ...1 Product introduction This chapter describes the motherboard features and the new technologies it supports ...
Страница 16: ...ASUS A8N SLI SE Chapter summary 1 1 Welcome 1 1 1 2 Package contents 1 1 1 3 Special features 1 2 ...
Страница 22: ...1 6 Chapter 1 Product introduction ...
Страница 53: ...3 Powering up This chapter describes the power up sequence and the ways of shutting down the system ...
Страница 54: ...ASUS A8N SLI SE Chapter summary 3 1 Starting up for the first time 3 1 3 2 Powering off the computer 3 2 ...
Страница 105: ...5 Software support This chapter describes the contents of the support CD that comes with the motherboard package ...
Страница 143: ...6 This chapter tells how to install SLI ready PCI Express graphics cards NVIDIA SLI technology support ...
Страница 144: ...ASUS A8N SLI SE Chapter summary 6 1 Overview 6 1 6 2 Dual graphics cards setup 6 3 ...


