


35
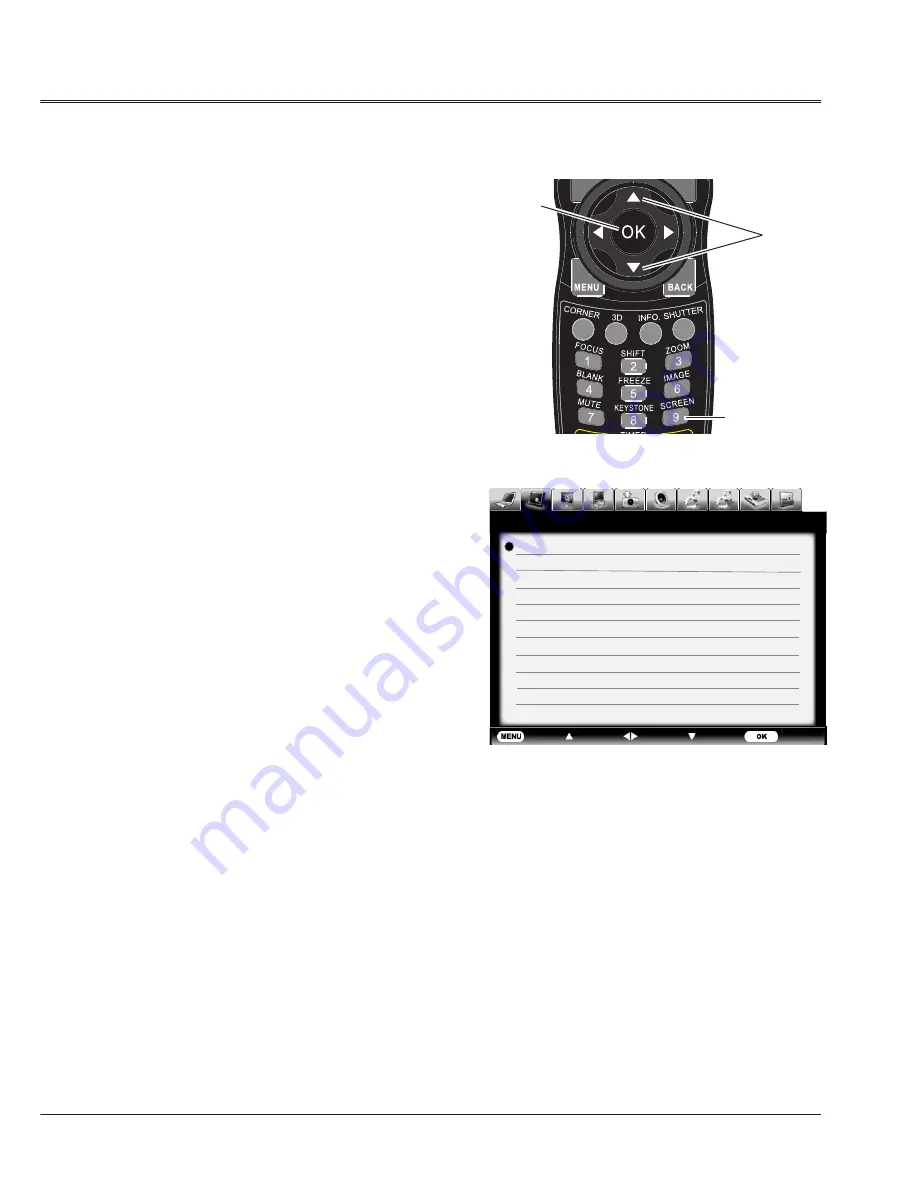
Remote control
SCREEN
OK
TERMINAL
Exit
Move
Next
Next
- - - -
Screen
Normal
True
Wide
Full
Custom
Advanced
Digital zoom +
Digital zoom -
Computer input
Screen menu
Screen size adjust
The screen size can be reset to the value as
you desire.
Normal
To project images in the same aspect ratio with
the input signals.
True
Provide images in original size. When the
original image size is larger than the screen
size XGA (1024x76) or WXGA (1280x800),
the projector enters display area selection
mode automatically. Press
to select
a display area. The arrow turns red upon
adjustment and disappears upon the maximum
limit.
Wide
To provide an image with an aspect ratio of
16:9 by expanding the image width uniformly.
Full
To provide an image to fit the screen.
Custom
Adjust the proportion and position of the screen
manually.
When selecting this item, press
and the
corresponding interface appears on the screen.
Press
button to adjust your required item.
H/V scale: Adjust the horizontal/vertical screen
scale.
H&V: When set to “On”, the aspect ratio is
fixed. The Scale V appears dimmed and
becomes unavailable. Adjust Scale H, and
then the screen scale is automatically modified
based on the aspect ratio.
H/V position: Adjust the horizontal/vertical
screen position.
Common: Save the adjusted scale to all the
inputs. Press OK at Common to display a
confirmation box. To save the scale, press OK.
When Custom is selected, the saved scale is
used.
Reset: Reset all the adjusted values. Press OK
at Reset to display a confirmation box. To set,
press OK at “Yes”.
1 Press MENU button to display the screen
menu. Press
button to select screen icon
and then press
or OK button.
2 Press
to select your required item and
then press OK button.