20
KEY
www.ArtisticCreativeProducts.com
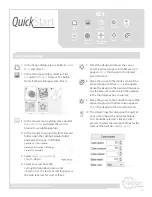
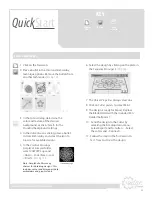
1. Send the design to the Cutter by
selecting the File dropdown menu.
Select
Export
and To
Cutters
… Select
the cutter and <Connect>.
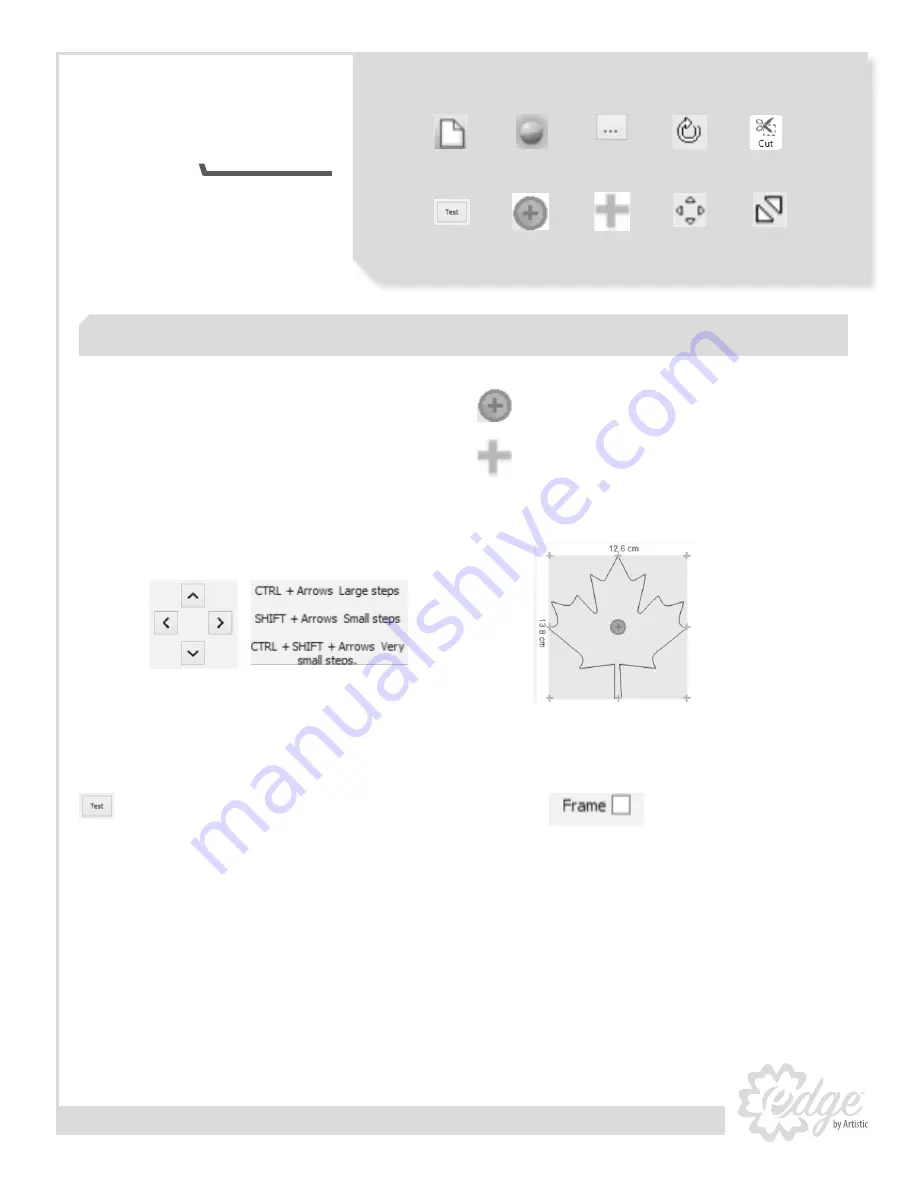
2. Use the arrows in the
Export to Cutter
dialog
to control the movement of the cutter head.
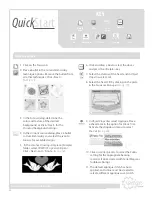
All positioning is determined by the laser
light (
See Fig. 4
).
3. Move the laser light to a position on the
material that will not be used to perform a
test cut. (The test cut will occur below and
right of the laser.)
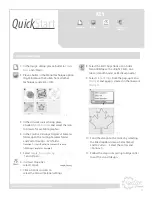
4. Select the <Test> and in the
Test
dialog,
again select <Test>.
5. Check the resulting cut and make any
required changes to Cutter
Pressure
or
Blade
Depth
in the Test dialog and <Apply> Note:
Blade Depth is manually adjusted by moving
the dial on the Blade Holder.
6. Move the laser light to a new position and
retest if necessary.
7. When the test result is as desired <Close>
the Test dialog.
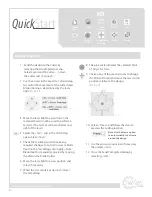
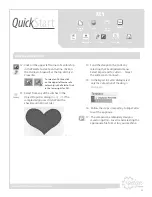
8. The pink circle indicates the selected
Point
of Origin
for
Trace
.
9. Click on any of the green crosses to change
the Point of Origin and move the laser to this
position relative to the design.
(
See Fig. 5
)
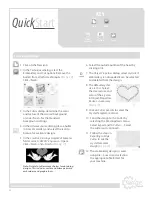
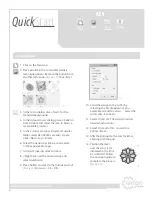
10. Select <Trace> and follow the laser to
preview the cutting location.
11. Use the arrows to reposition if necessary
then select <Cut>.
12. Close the Send Completed dialog by
selecting <OK>.
Note: Use the Frame option
to automatically cut a frame
around the design
Fig. 4
Fig. 5
Exporting to Edge Cutter
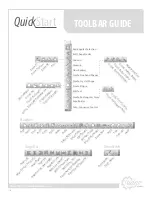
Create
New
Rotate
Bullet
Cut
From
Artwork
Test
Move
Resize
Point of
Origin
Change Point
of Origin
Quick
Start
Содержание Edge 12
Страница 12: ...12 www ArtisticCreativeProducts com Edge 15X Wireless Set up Guide ...
Страница 17: ...17 www ArtisticCreativeProducts com SimpleCut Software Start Guide ...
Страница 29: ...29 Notes ...
Страница 32: ...Part EdgeManual Printed in USA 4 15 ...

