


59
MANAGING IMAGES
To do this:
Exit the image selection screen
Specify the number of copies to be
printed
Insert a date stamp into the image
Scroll forward to the next image
Scroll back to the previous image
Select this option:
EXIT
COPIES
DATE
NEXT
BACK
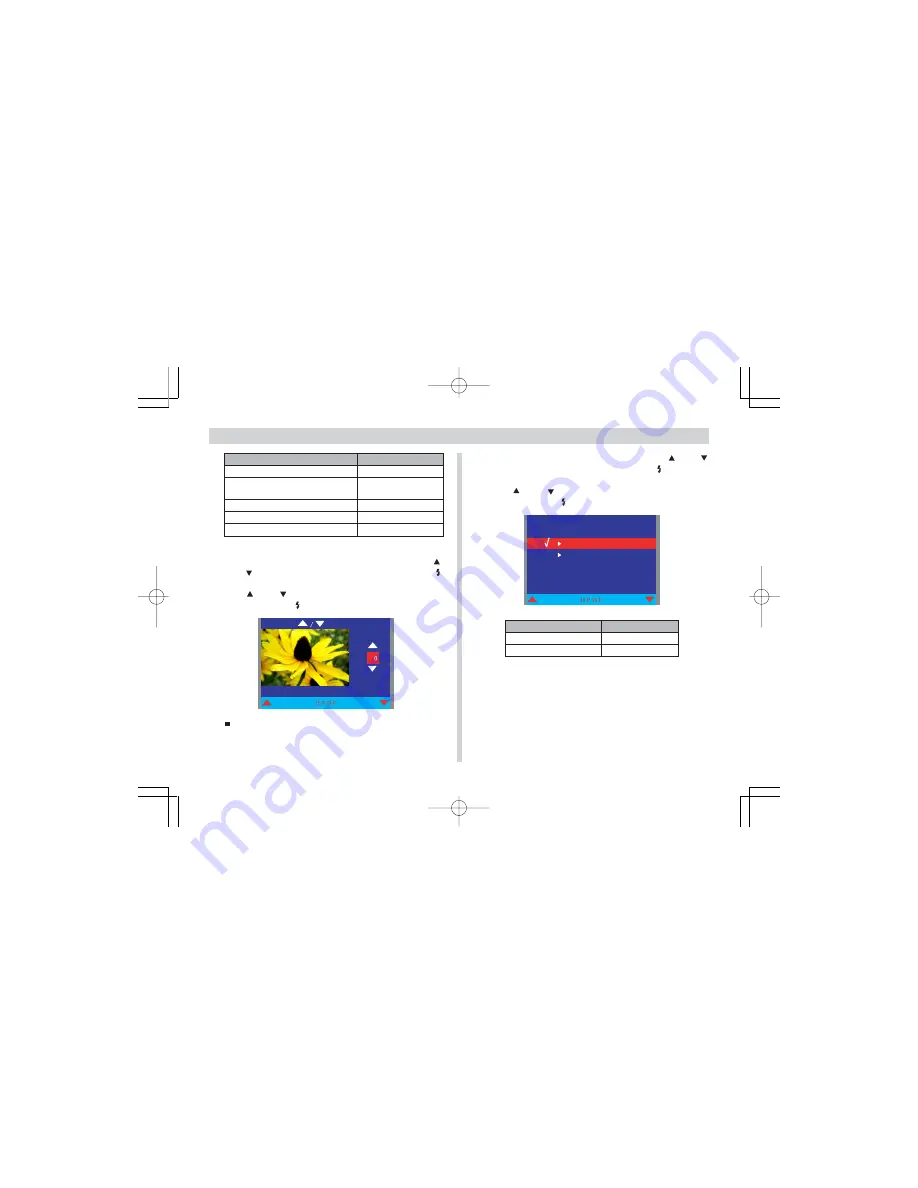
6.
To set the number of prints of an image, use [ ]
and [ ] to select “COPIES” and then press SET .
7.
Use [ ] and [ ] to specify the number of prints and
then press SET .
P R E S S T H E N S E T
You can specify from 1 to 99 prints. Specify 0 if you do
not want to have the image printed.
10.
T o e x i t t h e p r i n t s e t t i n g c o n f i g u r a t i o n
procedure, press MENU.
8.
To configure the date stamp setting, use [ ] and [ ]
to select “DATE” and then press SET .
9.
Use [ ] and [ ] to select the option you want, and
then press SET .
O F F
D A T E S T A M P
O N
To do this:
Turn on date stamping
Turn off date stamping
Select this option:
ON
OFF
¥¼©R¦W-7
2002/6/18, AM 11:31
Page 59
Adobe PageMaker 6.5C/Win


