


56
MANAGING IMAGES
5.
Use [ ] and [ ] to select the operation you want to
perform, and then press SET .
P R O T E C T
P R O T E C T
E X I T
O N
O F F
N E X T
B A C K
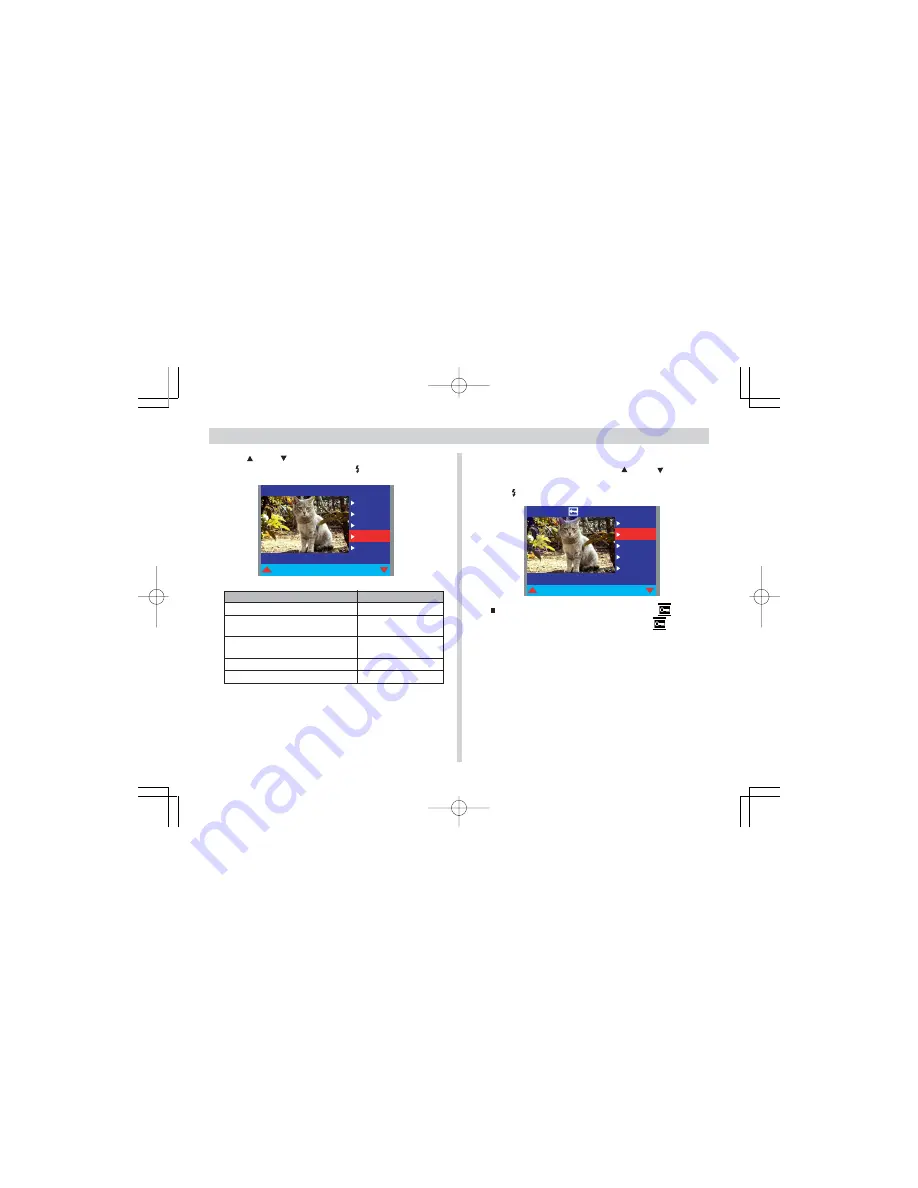
6.
When the image you want to protect or
unprotect is displayed, use [ ] and [ ] to select
“ON” (protect) or “OFF” (unprotect) and then press
SET .
P R O T E C T
P R O T E C T
E X I T
O N
O F F
N E X T
B A C K
A protected image is indicated by the
icon. An
unprotected image does not have a
displayed
with it.
7.
To exit the image protect procedure, press MENU.
To do this:
Exit the image selection screen
Protect the currently displayed
image
Unprotect the currently displayed
image
Scroll forward to the next image
Scroll back to the previous image
Select this option:
EXIT
ON
OFF
NEXT
BACK
¥¼©R¦W-7
2002/6/18, AM 11:31
Page 56
Adobe PageMaker 6.5C/Win


