9-5
9
3. Remove the axle and nut securing the shift lever to
the upper shift arm; then remove the shift lever.
Account for a spring and two O-rings.
4. Using two open-end wrenches, remove the lock
nut securing the shift rod to the upper shift arm.
Remove the shift rod and discard the lock nut.
NOTE: Never reuse a lock nut. Once a lock nut
has been removed, it must be replaced with a new
lock nut.
INSTALLING
1. Place the shift rod into position on the engine shift
arm and secure with the existing E-clip.
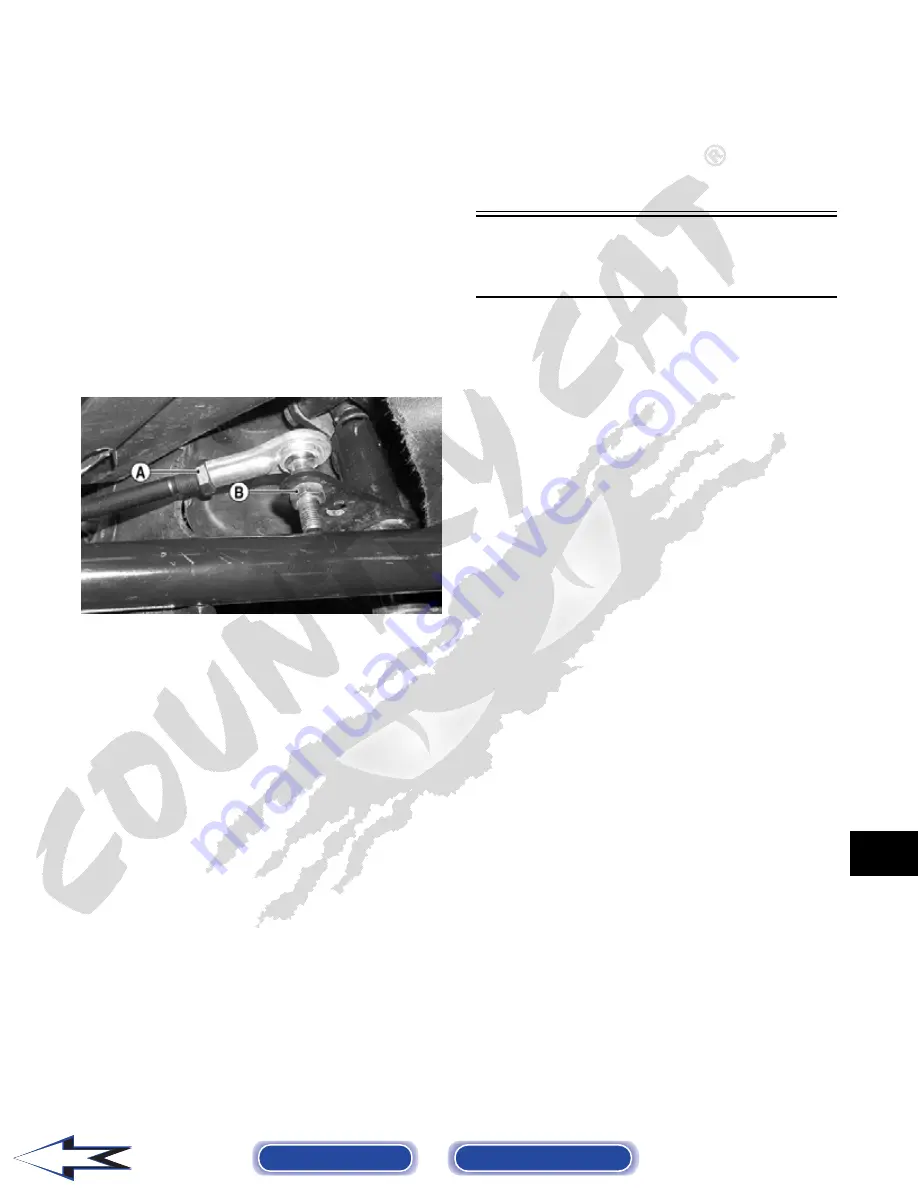
2. Using a new lock nut (B), secure the shift rod to
the upper shift arm; then using two open-end
wrenches, tighten securely.
AF941A
3. Place the spring into position between the upper
shift arm and shift lever; then making sure the
O-rings are in place on the axle, secure the shift
lever to the arm with the existing axle and nut.
4. Check shift lever adjustment (see Section 2); then
tighten jam nut (A) securely.
5. Install the left-side splash panel.
Speedometer/
Tachometer/LCD
REPLACING
To replace the speedometer, use the following proce-
dure.
1. Remove the two reinstallable rivets securing the
instrument pod; then remove the ignition switch
retaining ring.
2. Remove the two nuts securing the mounting studs;
then remove the speedometer from the instrument
pod and disconnect the multi-pin connector.
3. Mount the speedometer in the instrument pod and
secure with the two nuts; then connect the
multi-pin connector.
4. Install the instrument pod and secure with the rein-
stallable rivets.
5. Secure the ignition switch with the retaining ring.
Back to TOC
Back to Section TOC
Back


