60
MD1094
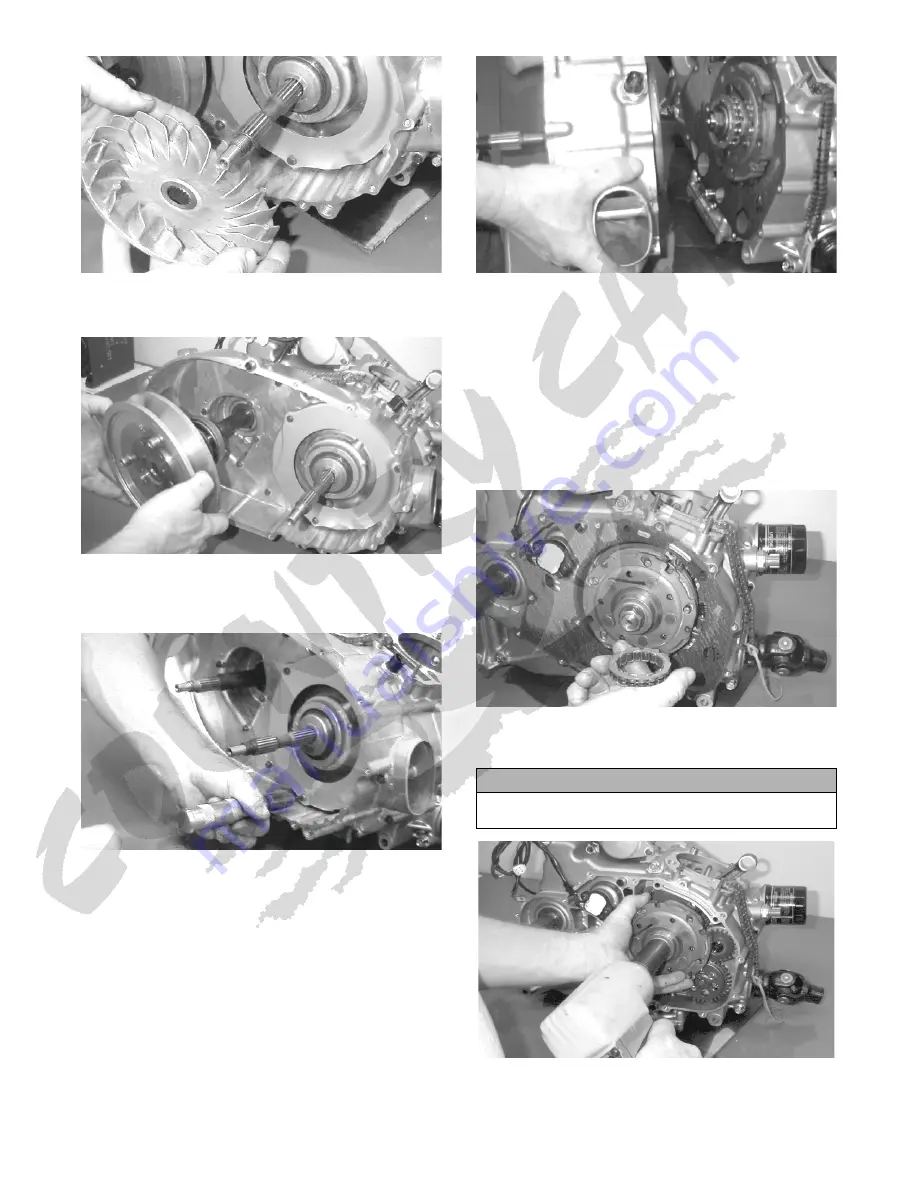
7.
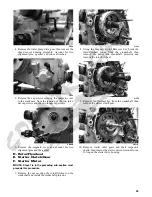
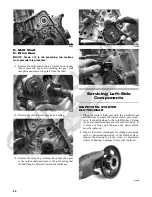
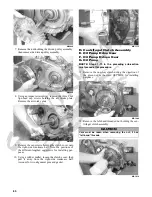
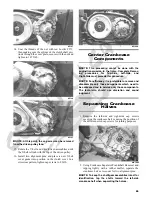
Remove the nut holding the driven pulley assembly;
then remove the driven pulley assembly.
MD1068
8. Using an impact screwdriver, remove the three Phil-
lips-head cap screws holding the air intake plate.
Remove the air intake plate.
MD1092
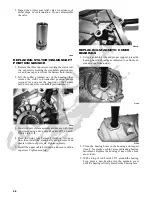
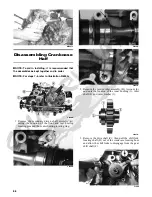
9. Remove the cap screws holding the clutch cover onto
the right-side crankcase half. Note the positions of
the different-lengthed cap screws for installing pur-
poses
.
10. Using a rubber mallet, loosen
the clutch cover;
then
pull it away from the right-side crankcase half.
Account for two alignment pins and gasket.
MD1115
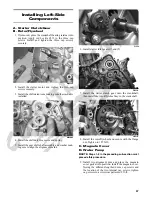
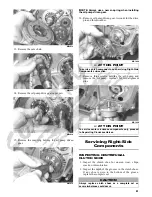
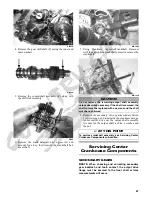
D. Centrifugal Clutch Assembly
E. Oil Pump Drive Gear
F. Oil Pump Driven Gear
G. Oil Pump
NOTE: Steps 1-10 in the preceding sub-section
must precede this procedure.
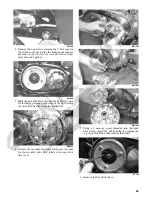
11. Remove the one-way clutch noting the direction of
the green dot or the word OUTSIDE for installing
purposes.
MD1286
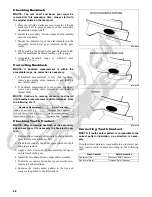
12. Remove the left-hand threaded nut holding the cen-
trifugal clutch assembly.
MD1014
CAUTION
Care must be taken when removing the nut; it has
“left-hand” threads.
Содержание 2014 XC 450
Страница 1: ...450 ATV SERVICE MANUAL 2014 ...
Страница 3: ......
Страница 130: ...Printed in U S A Trademarks of Arctic Cat Inc Thief River Falls MN 56701 p n 2259 833 ...

