42
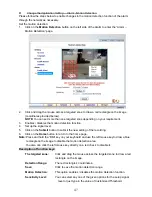
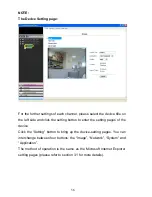
Figure A
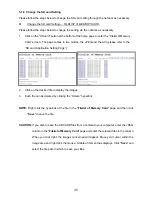
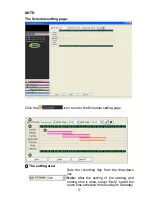
Figure B
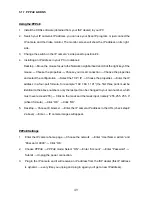
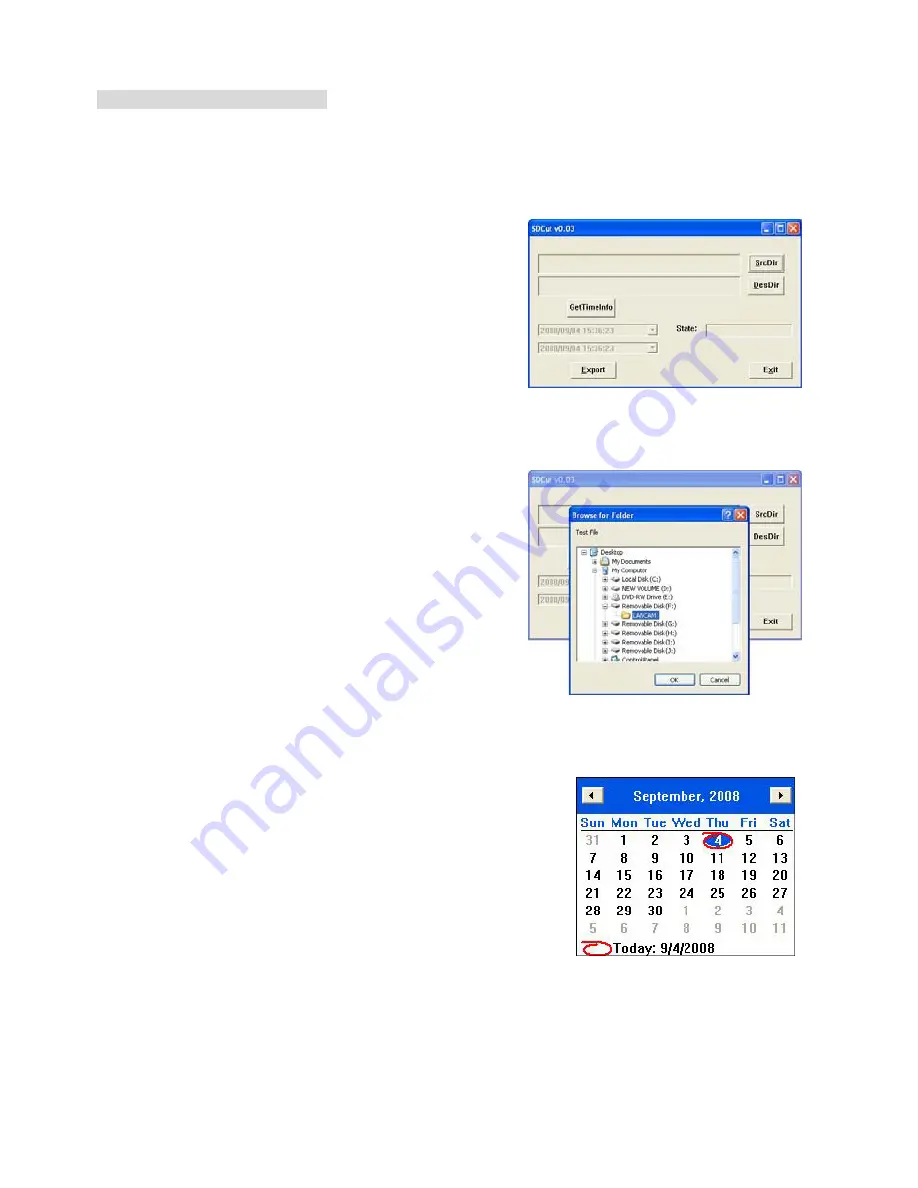
Figure C
Description of SDCut software
The image, which is stored in the
MJPEG Continuous Format
can be shown by our
SDCut
software.
When selecting the MJPEG Continuous Format, the user can just run or download the software by click
“Download SD Utility”. You also can click “Download SD Utility to SD Card” to backup the software to
your SD card. Use this software to export the files into MJPEG images so that the image can be read by
a computer.
Step 1: Start to use the SDCut software
Execute the software (after download) to open the "SDCut"
window, as shown in Figure A.
Step 2: Select a recorded file
Insert an SD Card into the SD card slot of your computer.
Click the
SrcDir
button to browse the recorded files stored
in the "LANCAM" directory of the SD card, as shown in Figure B.
Step 3: Select the exporting path
Specify the file path where you want to export the picture.
Click the
DesDir
button to browse to select the path for the
single picture.
Step 4: Save the images to the PC
When all is ready, please click
Export
to start to export.
Step 5: To view the images of the PC
After exporting, you can select the folder which the images are saved.
NOTE:
You can click the
GetTimeInfo
to set the starting and
ending points of the recording period. Modify the time or click the
inverted triangle to determine the date by an electronic calendar,
as shown in Figure C.

