


8
STAC5 Hardware manual
920-0026 Rev. B
4/22/2011
know who I’m talking about) then you will not be able to communicate with your drive. The only way to “recover” it is to use the universal
recovery address.
Setting F is “DHCP”, which commands the drive to get an IP address from a DHCP server on the network. The IP address automatically
assigned by the DHCP server may be “dynamic” or “static” depending on how the administrator has configured DHCP. The DHCP setting
is reserved for advanced users.
Your PC, or any other device that you use to communicate with the drive, will also have a unique address.
On the drive, switch settings 1 through E use the standard class B subnet mask (i.e. “255.255.0.0”). The mask for the universal recovery
address is the standard class A (i.e. “255.0.0.0”).
One of the great features of Ethernet is the ability for many applications to share the network at the same time. Ports are used to direct
traffic to the right application once it gets to the right IP address. The UDP eSCL port in our drives is 7775. To send and receive com-
mands using TCP, use port number 7776. You’ll need to know this when you begin to write your own application. You will also need to
choose an open (unused) port number for your application. Our drive doesn’t care what that is; when the first command is sent to the
drive, the drive will make note of the IP address and port number from which it originated and direct any responses there. The drive will
also refuse any traffic from other IP addresses that is headed for the eSCL port. The first application to talk to a drive “owns” the drive.
This lock is only reset when the drive powers down.
If you need help choosing a port number for your application, you can find a list of commonly used port numbers at http://www.iana.org/
One final note: Ethernet communication can use one or both of two “transport protocols”: UDP and TCP. eSCL commands can be sent
and received using either protocol. UDP is simpler and more efficient than TCP, but TCP is more reliable on large or very busy networks
where UDP packets might occasionally be dropped.
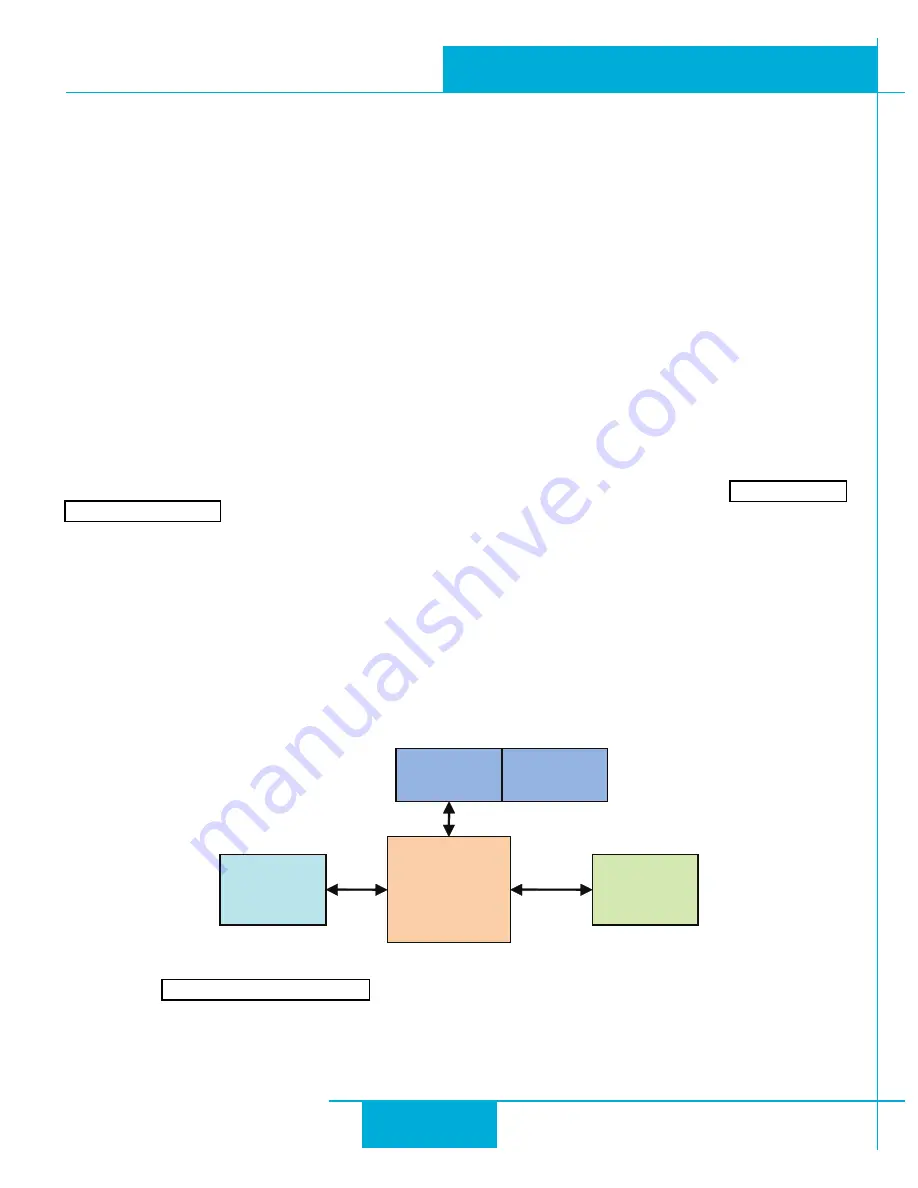
Option 1: Connect a Drive to Your Local Area Network
If you have a spare port on a switch or router and if you are able to set your drive to an IP address that is compatible with your network,
and not used by anything else, this is a simple way to get connected. This technique also allows you to connect multiple drives to your
PC. If you are on a corporate network, please check with your system administrator before connecting anything new to the network. He
or she should be able assign you a suitable address and help you get going.
If you are not sure which addresses are already used on your network, you can find out using “Angry IP scanner”, which can be down-
loaded free from http://www.angryip.org/w/Download. But be careful: an address might appear to be unused because a computer or
other device is currently turned off. And many networks use dynamic addressing where a DHCP server assigns addresses “on demand”.
The address you choose for your drive might get assigned to something else by the DHCP server at another time.
Once you’ve chosen an appropriate IP address for your drive, set the rotary switch according the address table above. If none of the
PC
NIC
SWITCH
or
ROUTER
LAN
DRIVE


