AHM-6XX6A User Manual
31
Chapter 3 BIOS Setup
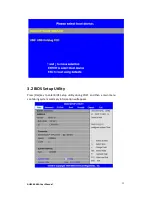
3.1 Operations after POST Screen
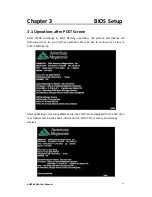
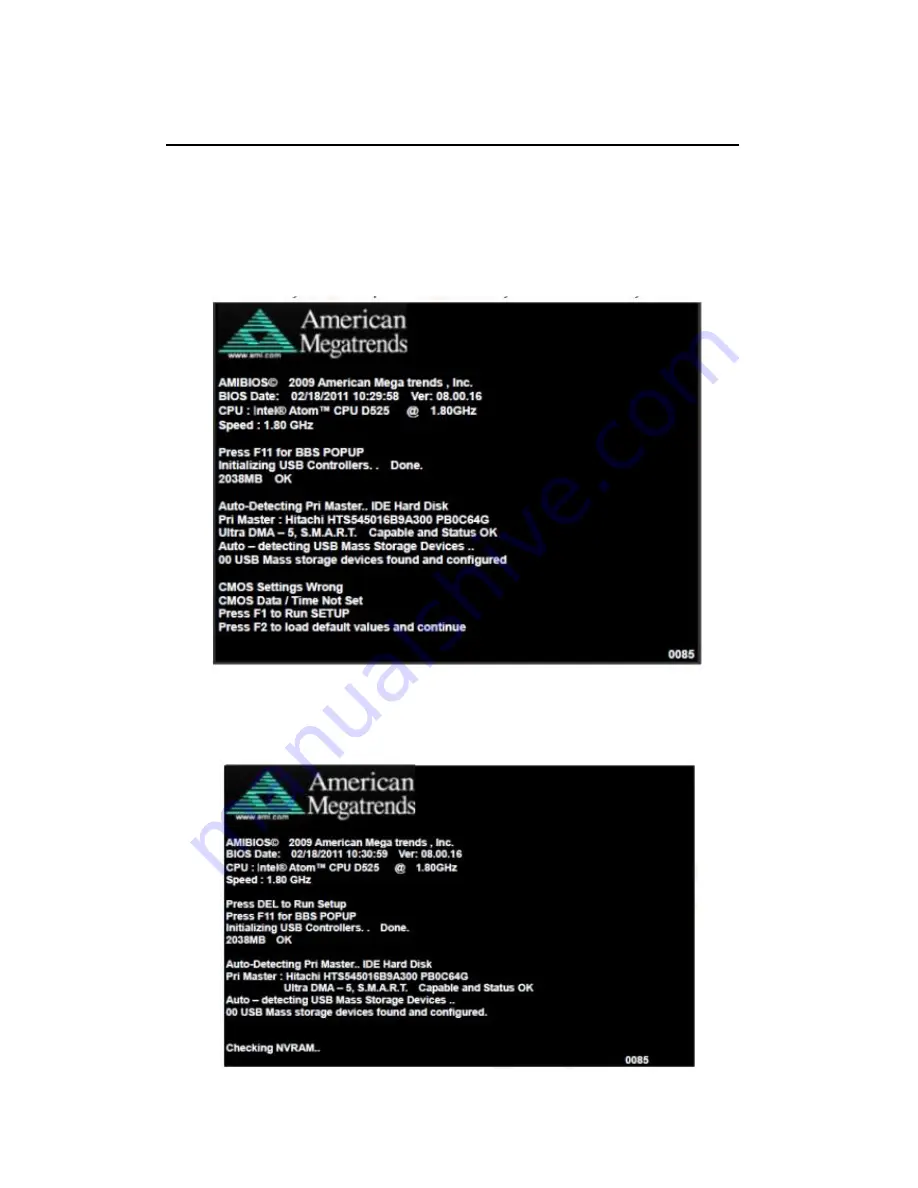
After CMOS discharge or BIOS flashing operation, the system will display the
following screen for your further operation. Press F2 key to continue or F1 key to
enter CMOS Setup.
After optimizing and exiting CMOS Setup, the POST screen displayed for the first time
is as follows and includes basic information on BIOS, CPU, memory, and storage
devices.
Содержание AHM-6XX6A
Страница 9: ...AHM 6XX6A User Manual 8 1 2 Dimensions Figure 1 1 Dimensions of the AHM 6086A ...
Страница 10: ...AHM 6XX6A User Manual 9 Figure 1 2 Dimensions of the AHM 6126A ...
Страница 11: ...AHM 6XX6A User Manual 10 Figure 1 3 Dimensions of the AHM 6156A ...
Страница 12: ...AHM 6XX6A User Manual 11 Figure 1 4 Dimensions of the AHM 6176A ...
Страница 13: ...AHM 6XX6A User Manual 12 Figure 1 5 Dimensions of the AHM 6196A ...
Страница 15: ...AHM 6XX6A User Manual 14 Figure 1 8 Front View of AHM 6126A Figure 1 9 Front View of AHM 6156A ...
Страница 16: ...AHM 6XX6A User Manual 15 Figure 1 10 Front View of AHM 6176A Figure 1 11 Front View of AHM 6196A ...
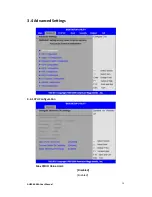
Страница 35: ...AHM 6XX6A User Manual 34 3 4 Advanced Settings 3 4 1 CPU Configuration Max CPUIO Value Limit Disabled Enabled ...
Страница 63: ...AHM 6XX6A User Manual 62 ...
Страница 66: ...AHM 6XX6A User Manual 65 ...
Страница 67: ...AHM 6XX6A User Manual 66 ...
Страница 69: ...AHM 6XX6A User Manual 68 Follow the step by step installation process to install the LAN driver ...
Страница 70: ...AHM 6XX6A User Manual 69 ...
Страница 72: ...AHM 6XX6A User Manual 71 Follow the step by step installation process to install the Realtek HD Audio driver ...
Страница 73: ...AHM 6XX6A User Manual 72 Click FINISH A Driver Installation Complete ...
Страница 77: ...AHM 6XX6A User Manual 76 5 Installing ...
Страница 78: ...AHM 6XX6A User Manual 77 6 The Install Shield Wizard Completed appears Click Finish ...

