


Chapter 2. Getting Started
7
you can configure or operate all the advanced functions ONLY at mouse mode.
2.2.1.1 From mouse mode to IR mode
You can change it to “IR control” mode from the main screen by clicking the “Setup”
button, enter “system configuration”. Under “Running mode”, change the “Control” field
from “mouse” to “IR” and then click “OK”. AP-5004 will reboot and change to IrDA
control mode.
2.2.1.2 From IR mode to mouse mode –
Follow these instructions to switch from IR remote control running mode to mouse running
mode:
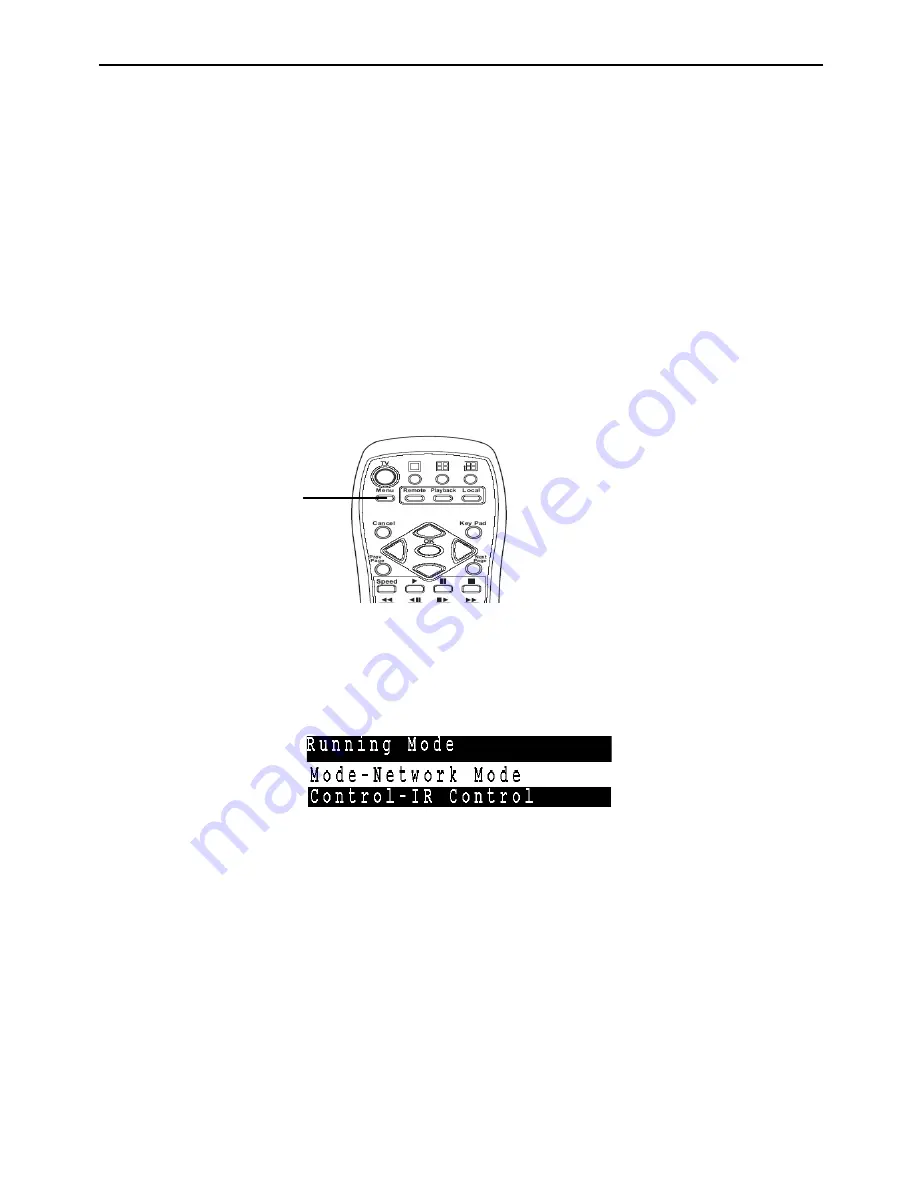
1. Press the
Menu
button on the remote control to display the setup menu on screen.
Fig. 2-2
2. Use the up and down arrow buttons to highlight the
Running Mode
option and press the
OK
button to confirm your choice.
The running mode menu will be displayed on screen.
3. Use the up and down arrow buttons to highlight the
Control – IR Control
field.
4. Use the left and right arrow buttons to toggle between
Control – IR
and
Control – mouse
.
5. Press the
OK
button when the control field is set to mouse.
The unit will reboot when the
OK
button is pressed. It will restart in mouse running mode.
Please
refer to Chapter 4 for IR control OSD operation.
Menu button
Содержание AP-5004
Страница 99: ...Chapter 5 APEC Network Operation 99 Fig 5 44...


