18
Programming (e.g. if you want to create program with 10 steps, set P.End=10).
“rEd.1 - rE.16”- a red LEDs saturation (0-255)
“GrE.1 - Gr.16“ - a green LEDs saturation (0-255)
“bLu.1 - bL.16 “ -a blue LEDs saturation (0-255)
“Stro.“ - a strobe, shutter (0-255)
“dimr“ - a dimmer (0-255)
“F.tim.“ - a fade time, (0-25.5) seconds
“S.tim.“ - step time, value (0-25.5) seconds
“COPY“. – this item duplicates the current prog. step to the next prog. step. The item “P.End” is increased
automatically.
6.
Use the UP/DOWN buttons to set a DMX value of the channel and then press the ENTER button.
7.
Use the UP/DOWN buttons to select next channel and press the ENTER button.
8.
After having set all channels in the current program step, press the MODE button to go by one
menu level back and select another program step.
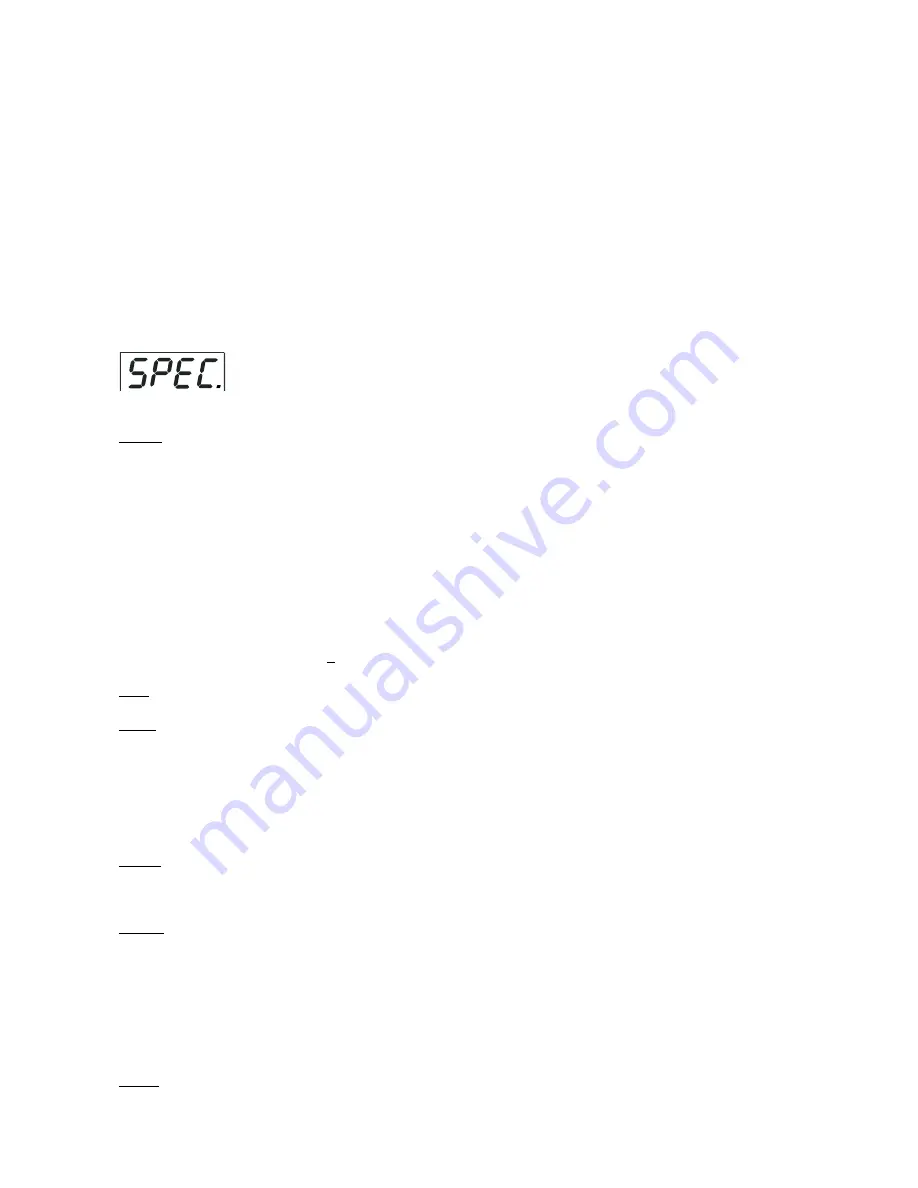
8.6 Special functions
Use this menu for special services.
dM.Pr.
---
DMX presetting
.The function allows to select desired DMX mode.Use [UP] and [DOWN] buttons
to select desired channel mode
(“
Mod.1-Mod.6
”)
and press [ENTER] to confirm.For detail description of all
channels see DMX protocol.
M.F.ti. --- Max. fade time.
Select this menu item to set a desired max. fade time (0-5.5 sec.). This adjusted
fade time influences fade of RGB and dimmer during DMX operation:
If time between two receiving DMX values is > than fade time set in the item M.F.ti., the entire adjusted fade
time will be used.
If time between two receiving DMX values is < than fade time set in the item M.F.ti., the adjusted fade time will
be reduced to fill entire time between the two receiving DMX values.
e.g. M.F.ti.=2sec. and fixture has received Red=0 DMX, after 5 seconds will receive Red=255 DMX. It means,
that red will go to full intensity during seconds.
M.F.ti.=8 sec. and fixture has received Red=0 DMX, after 5 seconds will receive Red=255 DMX. It means, that
red will go to full intensity during 5 seconds. (Max, fade time is reduced from 8 sec. to 5 sec.).
Note
: the value adjusted in the item M.F. ti. will not influence fade time set in the program steps.
CALi.
---
LED intensity calibration
.The menu allows you to adjust the max. light intensity of individual LEDs
(colour channels),e.g. the light intensity of all red LEDs connected to the channel 4.This action is suitable in case
that adjacent LEDs (e.g. in LED array) have a different light intensity (but these LEDs have to be connected to
the different zones of the ArcPower 16x1).
Use [UP] and [DOWN] buttons to select desired LED,press [ENTER] and adjust suitable light intensity (0-55)
using [UP] and [Down] buttons,confirm by pressing [ENTER].This adjusted light intensity is its maximum intensity
which can be reached if dimmer=255 DMX. After calibration all LEDs, select Stor
.
to save adjusted values.
bALA.
---
Balance
.Select this function to enable (On) or disable (OFF) the white balance which is set in "White
colour balance" menu below.If this function is set OFF,ArcPower 16x12 will use maximum value (255) of satura
-
tion for red, green and blue channels.
C.bAL.
---
White colour balance.
Using this menu you can set white balance:
1.
Set all red,green and blue channels on maximum saturation(55)
2.
Browse through the menu by pressing the [UP] and [DOWN] buttons until the display shows "C.bAL." menu.
Press [ENTER] button and
"
rEd.b.
"
will appear on the display.
3
.Press [ENTER] button again and use [UP] and [DOWN] buttons to adjust the new maximum value required
for the red channel.Confirm your choice by pressing [ENTER].Use the [UP] and [Down] buttons to select next
colour.
4.
Repeat step 3 for green channel "GrE.b
.
" and for blue channel "bLu.b".
CHAr.
---
Dimmer characteristic.
The option allows selection from the dimming curves:
EYE
- The dimming curve takes into account a gamma curve
LinE
- Linear running of the dimming curve.
Содержание ArcPower 16x12
Страница 1: ...Version 1 3...
Страница 9: ...CHAr EYE LinE i bLi On Off dFSE no YES uPd no YES...
Страница 23: ...23...


