background image


5


Section 2 

 Setup & Installation 

 
2.1 

 Setup


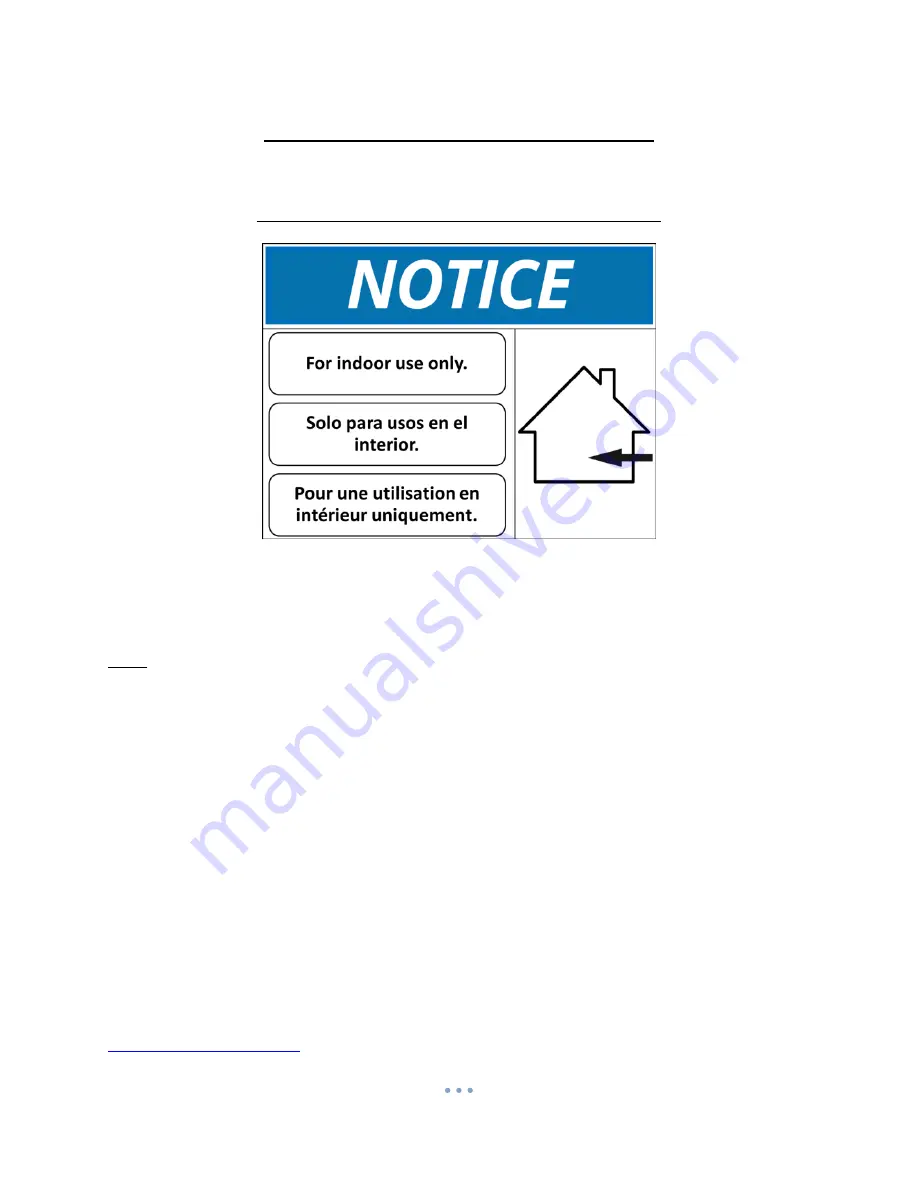
NOTICE:  THIS MODEL MACHINE IS FOR INDOOR USE ONLY.


Inspect for any connectors or components that may have been dislodged during shipping.  The lock and keys for 
your changer will be inside the manila envelope along with this manual and other pertinent information.  To install 
the lock, insert the cylinder into the hole in the middle of the T-handle and push until it stops.  Turn the key until 

you hear it “snap."  Turn the key counterc

lockwise ¼ turn and remove the keys. 


NOTE: The only way to get a duplicate set of keys made is to save the tag that comes with the keys.  The ID # 
begins with 

“AC”

 or 

ACC

” followed by digits.”  If  you purchased Medeco locks with your machine the ID will 

begin with “7RA”

 followed by digits

.”


CHECKING  SHIPMENT:  Be  sure  to  check  the  shipment  against  the  Bill  of  Lading  for  shortages.    Also,  check  for 
external damage to the packaging. Note any shortages and/or damage to the packaging on the Bill of Lading in 
the presence of the carrier and ask the carrier to initial on the Bill of Lading accordingly.  Immediately report any 
shortages or damage to the packaging to the carrier and American Changer. 

TEST: 

Before permanently installing the changer, do a functional test to verify that there is no shipping damage to 

your new changer.   

Plug the power cord into a 

dedicated,


grounded 120VAC outlet

.  

The machine is preset to accept $1, $5, $10, and 

$20 and dispense 25

¢

 coins (unless otherwise specified at the time of purchase).   


Fill  each  of  the  coin  hoppers  with  a  minimum  of  100  coins.    On  the  Main  Logic  Board,  turn  the  switch  on  the 

bottom right corner “ON.” 

The rocker switch has an “I” and “O” printed on it.  When the “I” is pressed down, the 

changer is “ON.”


If  the  machine  does  not  function  properly  please  contact  American  Changer’s

  Technical  Support  Department  at 

[email protected]

 or 1-888-741-9840.   

Содержание AC2006

Страница 1: ...Industry Installers Service Technicians Read and understand the instructions detailed in this manual Owners Operators Keep this manual in a safe place to provide to any service technicians working on...

Страница 2: ...2...

Страница 3: ...11 3 4 Programming Menu Universal Board 13 3 5 Programming Menu Super Universal Board 22 Section 4 Maintenance 4 1 Coin Hopper Maintenance 31 4 2 Bill Validator Maintenance 32 4 3 Parts List 36 4 4 W...

Страница 4: ...NTY AND EXCLUSIVE REMEDIES SOME HIGHLIGHTS FROM SAID SECTION ARE Coin Hopper s Coin Acceptors and Logic Board These items are warranted for one year from date of purchase Bill Validators These are war...

Страница 5: ...azards that can kill or hurt you and others All safety messages will follow the safety alert symbol and either DANGER WARNING or CAUTION These words mean You can be killed or seriously injured if you...

Страница 6: ...r services to be 100 secure against criminal attempts All machines products and services are to be used in accordance with business best practices and the owner s or operator s best judgement Installa...

Страница 7: ...ng for shortages Also check for external damage to the packaging Note any shortages and or damage to the packaging on the Bill of Lading in the presence of the carrier and ask the carrier to initial o...

Страница 8: ...de enforcement to see if it is allowable to plug the changer into a grounded outlet If it is not there must be 120VAC run through conduit or other means to meet local codes to the changer If it is not...

Страница 9: ...ble free operation we strongly recommend plugging all of our machines into a DEDICATED AC outlet this means there are no other machines on location plugged into the same AC line A simple way to check...

Страница 10: ...oval are to be no lower than 15 inches and no higher than 48 inches from the floor This requirement must be met whether a changer is installed on a base on a table or in the wall NOTE This drawing is...

Страница 11: ...ense smaller coins Bill Validator This model machine may have been sold without a bill validator It is intended to work with a 24VDC bill validator using the MDB protocol 6 Pin MDB Connector Pinout Pi...

Страница 12: ...behind the I O board pictured below Flex 2 Main Logic Board Flex I O to Flex 2 Main Logic Board Harness Flex I O to Internal 12 Key Keypad Flex I O to 4 Arrow Selection Overlay I O Board 24VDC Power I...

Страница 13: ...y Keypad This model machines uses a 12 key keypad for entering information into the programming menu It is mounted on the front of the machine Printer This machine comes standard with an audit receipt...

Страница 14: ...lem loading the paper Please follow the steps of either Method 1 or Method 2 below to properly load your thermal printer with new paper Method 1 Automatic Feed NOTE This method must be performed with...

Страница 15: ...oward the printer refer to Figure P3 for the correct placement 3 Wrap the paper under the Paper Guide and begin to feed it into the Paper Slot You do not need to fold or cut the paper in any way it sh...

Страница 16: ...the rear of the printer and discard the roll 2 With the Paper Feed Lever still in the UP position slide a new roll of paper onto the Roll Holder oriented so the paper comes off on the side toward the...

Страница 17: ...merican Express and Discover cards based on merchants account configuration 3 3 Out of Service Conditions Error Codes System Failures Below are conditions that will cause the machine to go into an Out...

Страница 18: ...alidator Sensor Sensor failure Check for dirty sensors Repair or replace the validator CheckSum Indicates error with the firmware file stored on validator main board Repair or replace the bill validat...

Страница 19: ...ter In Out Printer Error Conditions Error An error occurred while printing Head Up Printer head is not in its locked position RAM Fail A RAM failure occurred Out of Paper Paper is not present in the p...

Страница 20: ...ts status Back Next Selects the item Exit Exits the setup menu NOTE ALL MENUS MAY NOT APPLY TO YOUR SPECIFIC MODEL MACHINE UNUSED MENUS WILL BE IDENTIFIED BY AN ASTERISK Menu 01 Print Help Menu A list...

Страница 21: ...Menu 10 System Disable Disables the machine if any of the selected devices goes offline Hopper 1 Hopper 2 CassetteU CassetteL ccTalk coin acceptor Menu 11 Promo Token Payout Enter the of items paid f...

Страница 22: ...edit card receipts Menu 23 Bills Loaded Cassette Upper Enter number of bills loaded in the upper cassette If this number is zero the machine will use the Bill Dispenser s low bill sensor instead Menu...

Страница 23: ...r credit card transactions Menu 33 Anti Stringing Setup a maximum cash amount maximum time and shut off time for anti stringing purposes Menu 34 Programmer Enable or disable dual display mode In dual...

Страница 24: ...4 Once the Yes key has been pressed a brief reminder will be displayed followed by a confirmation System Settings will be erased if Updated This reminder will stay on for a few seconds before transit...

Страница 25: ...is recommended for cleaning excessively dirty exit windows The red LED on the exit window board will begin flashing indicating a dirty opto sensor Warning Be careful when re inserting the board back i...

Страница 26: ...y pushing in the top latch and lifting the cassette up and out Unplug the I O connector and or power connector from the right side of the acceptor Remove the Lower Transport by pushing in the latch lo...

Страница 27: ...3 Unhook and remove the magazine by holding the latch and lifting up and then back on the magazine 4 Unlatch the LED Housing by lifting up on the metal bar located below the Status LED 5 Remove the LE...

Страница 28: ...m Sensor Assembly Repeat for the other side of the note path on the drive belt assembly 5 Using the cotton swab or lint free cloth wetted with cleaning solution and applying light force only carefully...

Страница 29: ...emove the Cassette 3 Lift up the purple Access Latch on the back of the Bottom Sensor Assembly and gently slide the module out of the Channel Assembly 4 Clear the jammed note s from the note path 5 Re...

Страница 30: ...Board 3 4 5 AC9000 GFCI 15A 125VAC GFCI 6 AC9090 Magtek Credit Card Reader 7 8 AC1047 SUZO Evolution Hopper with 12 Pin Female Connector 9 10 AC790 Receipt Printer 11 AC5080 QS Screw in T Handle 12 A...

Страница 31: ...use set forth in the owner s manual supplied with the goods or use storage or operation of the goods in a manner that fails to comply with all applicable laws rules and regulations including without l...

Страница 32: ...D TO CREDIT CARD AND OR DEBIT CARD NUMBERS PERSONAL IDENTIFICATION NUMBERS PERSONAL PASSWORDS OR PASSCODES OR OTHER SIMILAR PERSONAL INFORMATION OF THE USER OF THE GOODS IN NO EVENT SHALL AMERICAN CHA...

Страница 33: ...mber ____________________________________ Coin Mechanism Serial Number ____________________________________ Your Name ____________________________________ Company Name ________________________________...

Отзывы: