www.amcelettronica.com
Installation Instructions
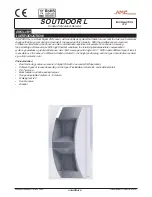
soutdoor L
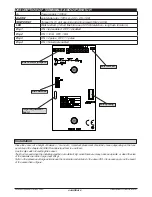
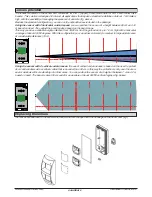
description of terMinaLs and dip-sWitch
+/-
Power supply 13.8Vcc
aLarM
solid state relay 100 mA - 40 V - 2.5 -16 Ω
taMper no
Tamper (N.C.) anti opening and anti removal 30vcc a 0.5A
Led
Walk test led (1 short flash for one of 2 PIR detetction - long flash for alarm)
dip 1
ON = led enabled OFF = disabled
dip 2
ON = 12mt OFF = 6mt
dip 3
ON = 2 pulse OFF 1 = pulse
dip 4
ON = Noise/pet enabled
Dip switches
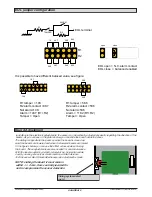
EOL resistor jumpers
Walk test LED
anti-opening
height adjustment
board
Installation
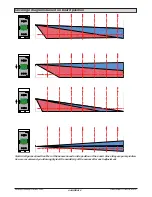
Place the sensor at a height of between 1 m and 2m. Important: placement should be chosen depending on the lens
used. Read the chapter LENSES to understand how to use them.
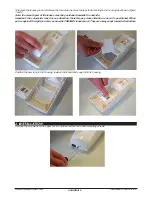
Use the dip switch for setting the sensor.
The Dip 4 is used when the installing condition are diificult. Eg. when there are many trees and plants, or when the size
of the animals are rather large (over 25kg).
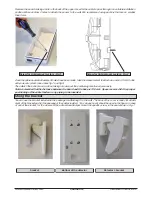
Note: in the presence of large animals use the horizontal curtain lens in the down PIR, if is necessary move the board
of the sensor like in figure.

