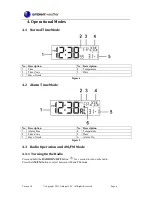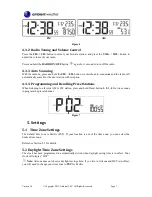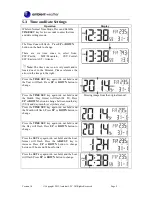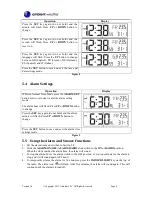
Version 1.0
©Copyright 2015, Ambient LLC. All Rights Reserved.
Page 2
http://ambientweather.wikispaces.com/rc6050
2.
Warnings
Warning
. Never look directly into the time and temperature projector. This can cause
temporary blindness.
Warning.
Only use approved AC adapter.
3.
Getting Started
3.1
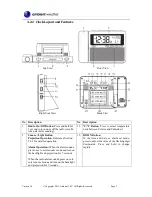
Parts List
QTY
Item
1
Clock Radio
Frame Dimensions (LxWxH): 5.5 x 2.2 x 3.8"
1
UL Rated AC Adapter
1
User Manual
Figure 1
3.2 Powering Up
1.
Plug the AC adaptor into the DC jack of the clock.
2.
Remove the battery door on the back of the clock and insert 3 new AAA batteries, according
to the polarity information marked on the battery compartment, and replace the battery door.
3.
Once the batteries are inserted, all of the LCD segments will light up briefly before entering
the radio controlled clock (RCC) reception mode.
4.
The RCC clock will set to 12:00pm and will attempt to synchronize with the RCC.
The clock will automatically search for the time signal at 2:00, 8:00, 14:00 (2pm) and 20:00
(8pm).
Note:
If no display is present after powering up the clock, press the reset key on the back of the
clock with an open ended paper clip or sharp tool.
3.2.1 Radio Controlled Clock (RCC)
Eight seconds after power up, the clock begin radio controlled clock (RCC) reception and the RCC
search icon
will turn on. The RCC will continue to search for six minutes. It will try again
every two hours.
RCC Icon
Description
RCC Icon
Description
No signal
Acceptable signal
Weak signal (flashes between
two icons). Cannot be
interpreted.
Excellent signal
Figure 2
If the time is incorrect by increments of an hour, or does not change on your radio controlled clock
(RCC), please reference Section 7, Troubleshooting Guide.


