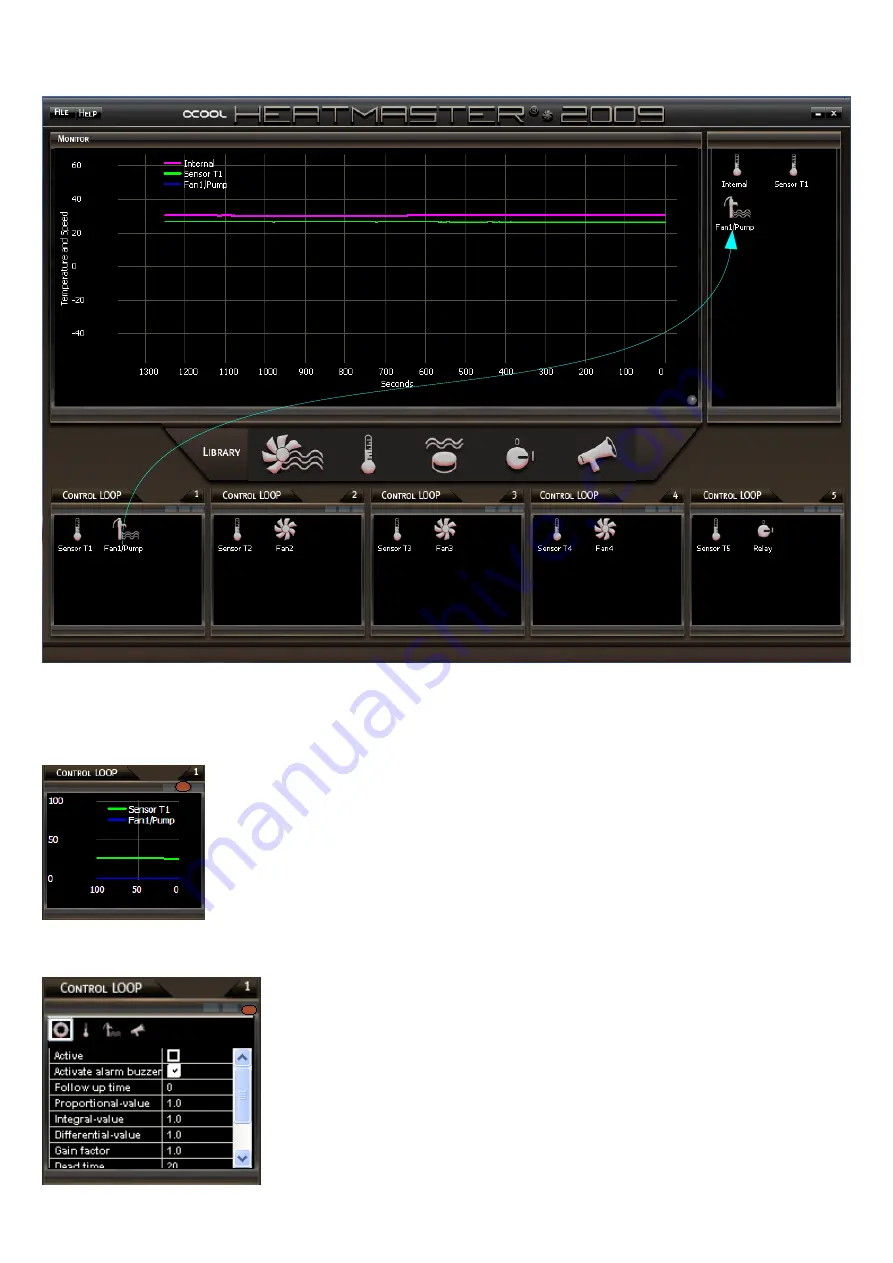
II. Add Devices (Monitor Content)
Fan 1 (respectively the pump) is added to the monitor content per drag and drop, through the dragging of
the device icon from the control-loop panel (12) of the monitor (2). The icon can also be dropped on the
monitor. In both these situations graphs will be displayed.
III. Control loop Buttons (Button 2)
One click on button 2 displays the auxiliary graphical view of the devices
respectively, which are in control-loop 1. You can scroll the display, if you
point the mouse on the auxiliary graphic and click the left button.
IV. Control loop Buttons (Button 3 configuration)
If you click button 3, you can see the properties of each components,
which are selected actually with miniature symbols, in the configuration
( In the picture left the loop itself (the frame around the miniature-symbol
shows the selected element)). If you mark “
Active
”, the control and
function of this loop is activated. If you want to activate
Alarm buzzer
for
this loop, you must configure the loop over button 3 and mark the
property “
Activate alarm buzzer
”. If nothing happens, drag the device
icon for the alarm buzzer from the library (5) in to the control-loop panel
(12) and also configure the properties
Loop1, Sensor T1, Fan1/Pump
over button 3 as wished. With configuration of the sensor/fan repeat this
step with the property “
Activate alarm buzzer
”. Nothing more is
necessary for the basic function at this moment.
14


