


associate to the wireless LAN.
Control table
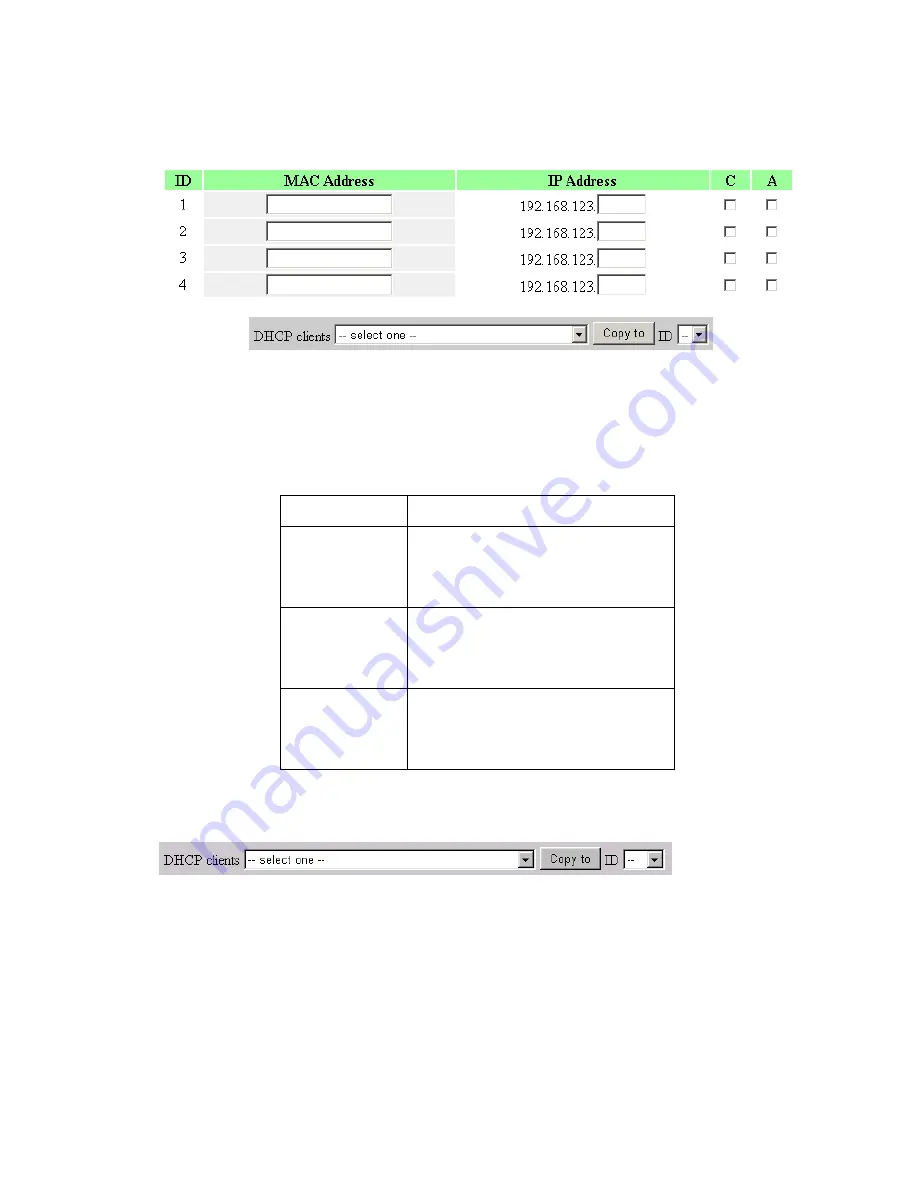
"Control table" is the table at the bottom of the "MAC Address Control"
page. Each row of this table indicates the MAC address and the expected
IP address mapping of a client. There are four columns in this table:
MAC Address
MAC address indicates a specific client.
IP Address
Expected IP address of the corresponding
client. Keep it empty if you don't care its IP
address.
C
When "
Connection control
" is checked,
check "
C
" will allow the corresponding client
to connect to this device.
A
When "
Association control
" is checked, check
"
A
" will allow the corresponding client to
associate to the wireless LAN.
In this page, we provide the following Combobox and button to help you to input the MAC address.
You can select a specific client in the “DHCP clients” Combobox, and then click on the “Copy to”
button to copy the MAC address of the client you select to the ID selected in the “ID” Combobox.
Previous page and Next Page
To make this setup page simple and clear, we have divided the
“Control table” into several pages. You can use these buttons to
navigate to different pages.
39
Содержание Tornado 140
Страница 14: ...4 4 Basic Setting 4 4 1 Primary Setup WAN Type Virtual Computers 14...
Страница 17: ...connect to ISP automatically after system is restarted or connection is dropped 4 4 1 6 Virtual Computers 17...
Страница 21: ...WPA PSK 1 Select Preshare Key Mode 2 Fill in the key Ex 12345678 21...
Страница 24: ...4 5 Forwarding Rules 4 5 1 Virtual Server 24...
Страница 28: ...4 6 Security Settings 28...
Страница 41: ...4 7 Advanced Settings 41...
Страница 53: ...4 8 Toolbox 53...
Страница 54: ...4 8 1 System Log You can View system log by clicking the View Log button 54...
Страница 55: ...4 8 2 Firmware Upgrade You can upgrade firmware by clicking Firmware Upgrade button 55...
Страница 60: ...a Select Obtain an IP address automatically in the IP Address tab b Don t input any value in the Gateway tab 60...
Страница 65: ...4 We will change EAP type to fit the variable test condition Figure 2 Enable IEEE 802 1X access control 65...
Страница 67: ...Figure 4 Certificate information on PC1 Figure 5 Authenticating 67...
Страница 71: ...3 Add and edit some settings 71...
Страница 73: ...Choose View available Wireless Networks like below Advanced choose 123kk 73...
Страница 76: ...5 Then Choose certificate like above 76...
Страница 77: ...6 Then go to Authentication and first Remove EAP TLS and Add EAP TLS again 77...
Страница 78: ...7 Go Network and Select 1 and ok 78...
Страница 80: ...2 Then Install this certificate and finish 3 Setting on the router and client Router 80...


