33
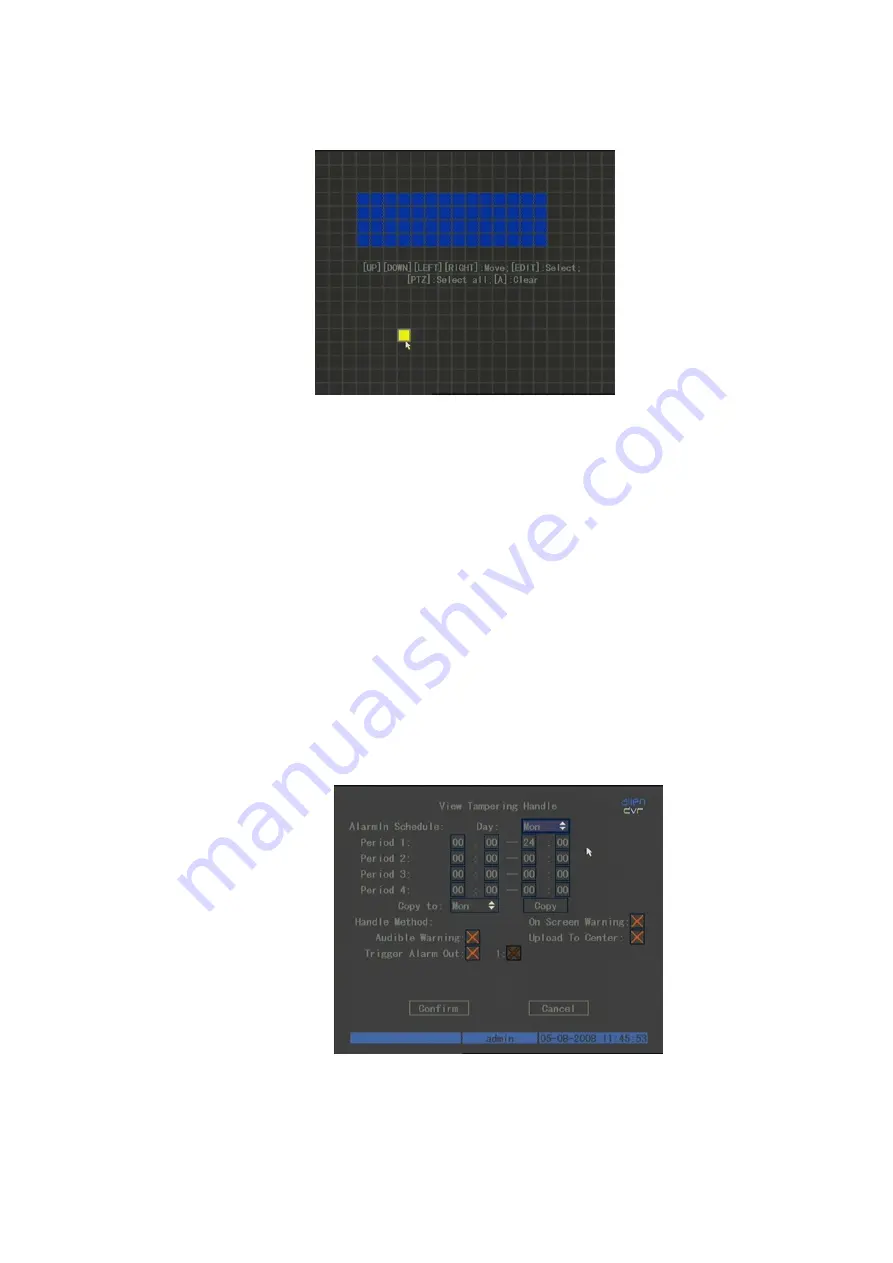
The following screen is displayed:
Move the yellow square using the mouse to where you wish to exclude video
capture. Now press the left mouse key and Edit button and use the arrow keys
to set the first area. Press Edit again to save the mask area. The maximum
mask area is 8 x 8 panes and the minimum size is one pane. Press Enter to
return to Advanced Settings and press Confirm to save the masks set. Press A
to clear all mask areas. The maximum mask areas are 4. The total mask areas
are displayed during setup.
5.8
View
Tampering
Alarm
This option is used to produce an alarm warning if the camera video is blocked.
Select Camera menu and Advanced settings and then select View Tampering
by clicking on up or down arrow buttons to the right of this. This will change
the Off display to either Low, Normal or High sensitivity and setup the Area
and Policy Boxes. The Area allows one box to be set similar to the Privacy
Masking option. Press Enter to return to the Advanced Settings box and then
click on Confirm. If you click on the Policy button you can enter the View
Tampering Handle menu.
This allows the user to set up to four periods per day for one week The DVR
will react only as per schedule set. You can copy one days settings as another
day. Do not overlap time periods and reboot DVR to make effective.


