PX925X/PX925XE Series
58
5.
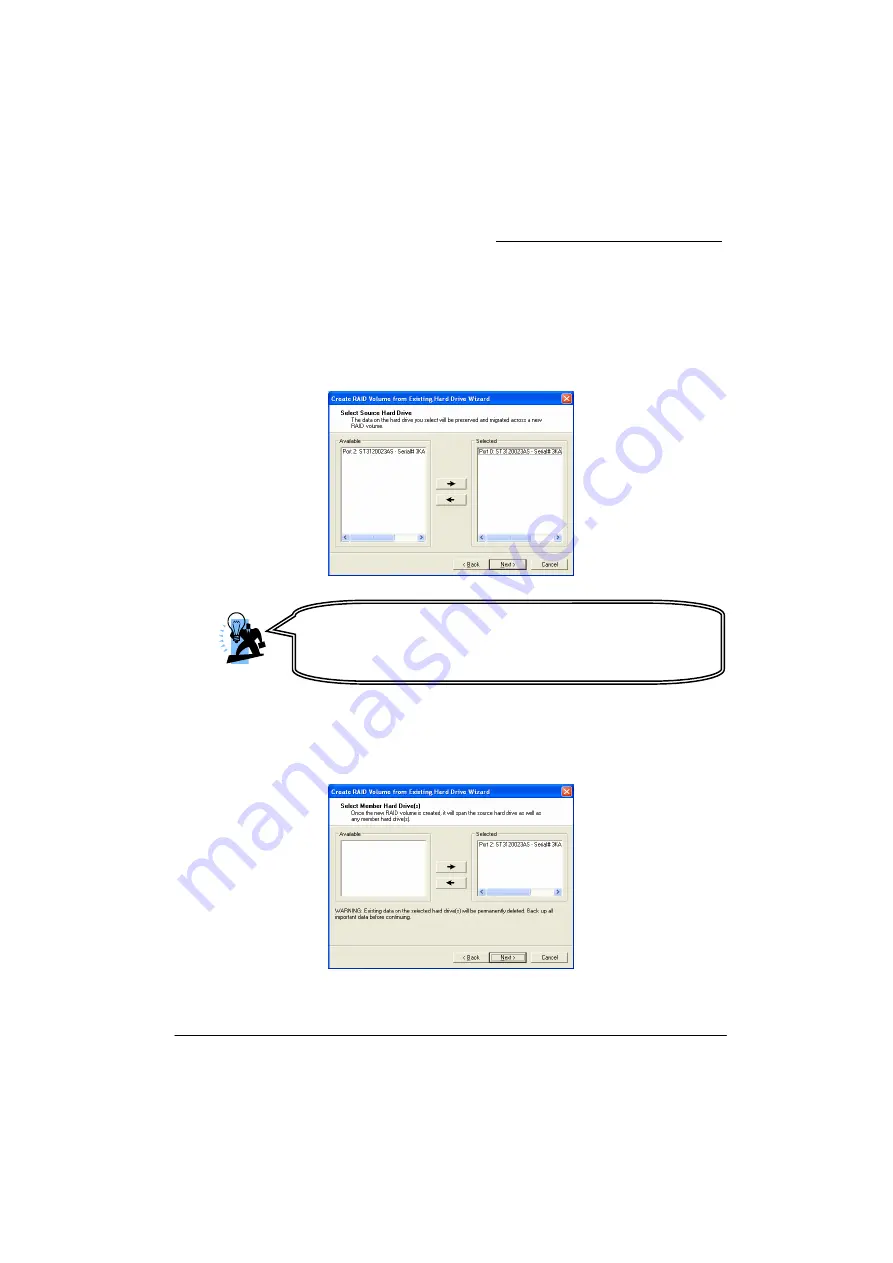
Next, you have to select the source drive (original RAID Ready Drive) from the list
provided. Highlight the source drive and click “
→
” to move it to the “Selected” box.
The screen will show as right, then click <Next>.
Important: To identify your source drive, you must first identify which physical
connector your source drive is connected to (SATA1, SATA2 etc.). Once you identify
the connector, you must determine what port number corresponds to that
connector. Port 0 is SATA1. Port 1 is SATA2. Port 2 is SATA3. Port3 is SATA4. Once you
determine the Port number, you can make a selection from the “Available” list box.
6.
Next, you have to choose the available drive to be the second drive of your RAID
volume. Highlight one of the available driver and click the “
→
” to move it to the
Selected box. The screen will display as shown below. Click <Next>.
Attention
The pictures above are for reference only. The example disk
drive information in these pictures will differ with the
information that displays on your screen.
Содержание PX925X Series
Страница 9: ...PX925X PX925XE Series 5 Configuration Layout of PX925XE PRO...
Страница 10: ...PX925X PX925XE Series 6 Layout of PX925XE PRO R...
Страница 11: ...PX925X PX925XE Series 7 Layout of PX925X...
Страница 12: ...PX925X PX925XE Series 8 Layout of PX925X R...
Страница 13: ...PX925X PX925XE Series 9 Layout of PX925X PRO...
Страница 14: ...PX925X PX925XE Series 10 Layout of PX925X PRO R...


